
How to Cut Pool Fence Mesh – DIY Method 1: Trim to Fit (No Materials Needed)
Whether you’re a professional installer or a DIYer tackling your backyard project, cutting pool fence mesh to fit your layout is an essential part of the process. This method, Trim to Fit, is the simplest of three common approaches — and it doesn’t require any extra materials.
This guide will walk you through the step-by-step process using basic tools you likely already have on hand.
Tools You’ll Need
- Cordless Drill
- #2 Phillips Bit or #2 Square Drive (depending on your screws)
- Tape Measure
- China Marker (or wax pencil)
- Heavy-duty scissors
- Utility Knife
- Safety Gloves (recommended)
Step-by-Step Instructions
Step 1: Trim Excess Mesh, Leave Slack
Start by cutting off any excess mesh — but leave at least 8 inches of slack to give yourself enough material to grip and stretch during the install.
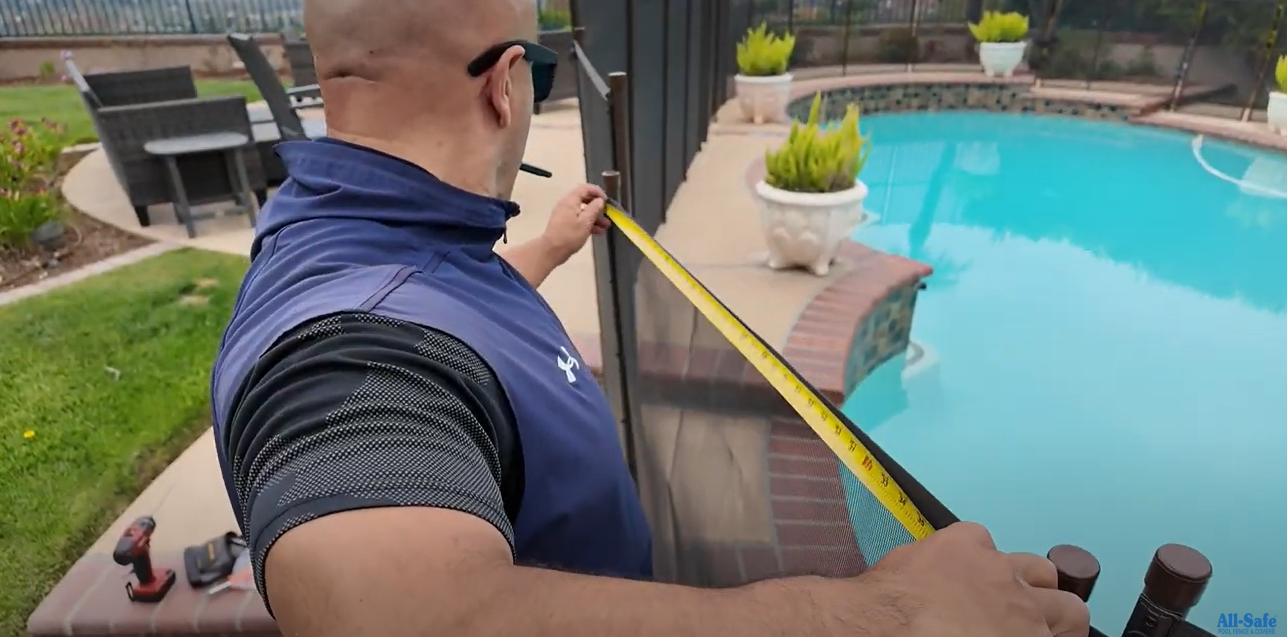
Step 2: Mark Your Cut Line
Wrap the bottom border of the mesh tightly around the pole.
Use your China marker to mark the center of the pole on the mesh border.
Measure that mark from the previous pole, then transfer the same measurement to the top border. This ensures a straight, level cut.
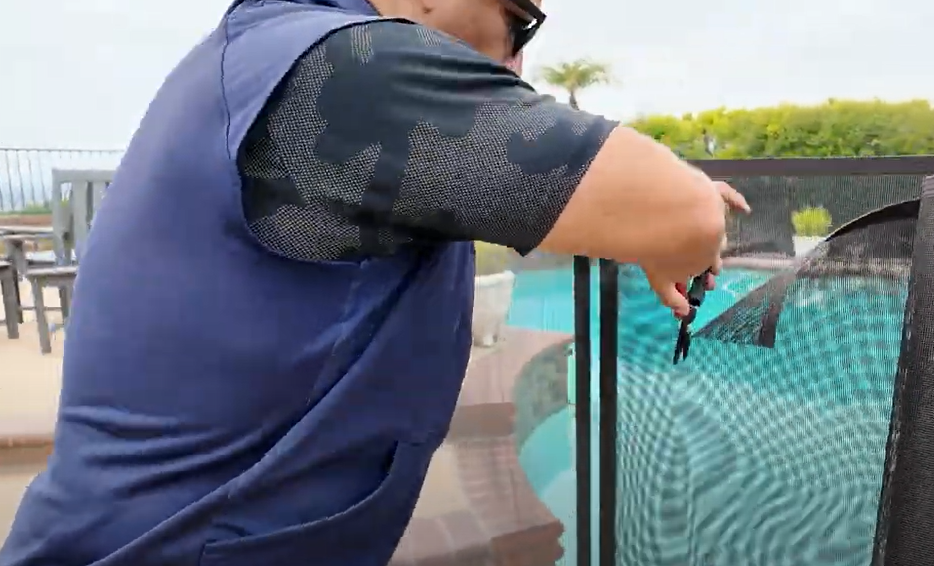
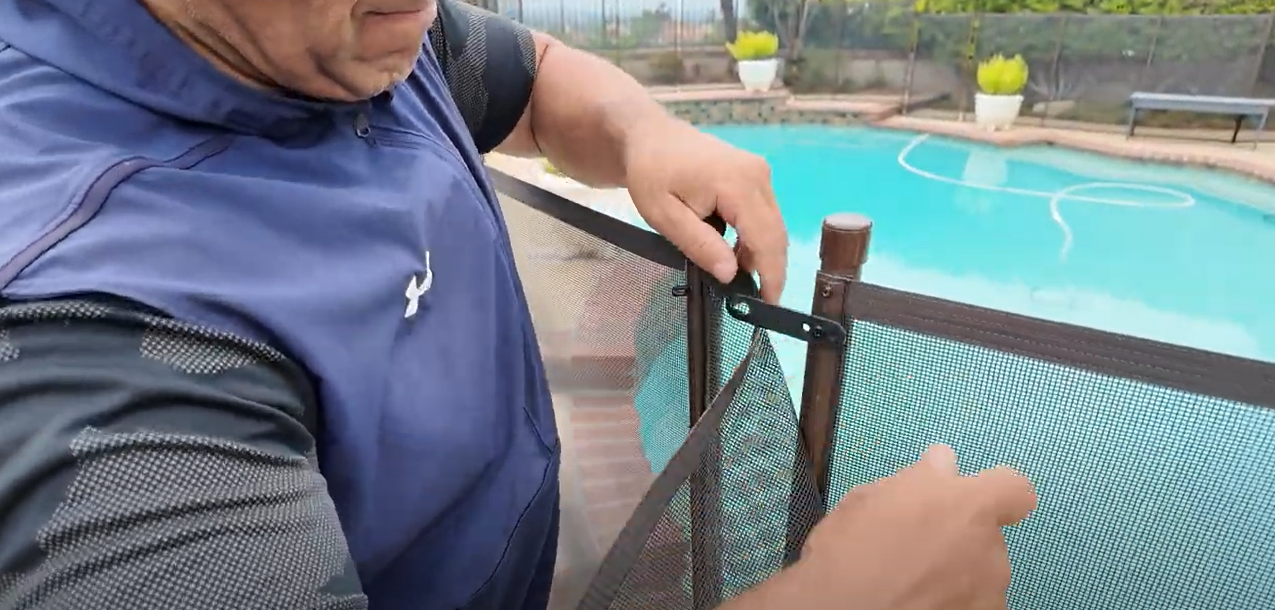
Step 3: Pre-Set Screws and Install the Top
Take a section screw and pre-set it into the top hole of the edge molding.
Hold the molding so the top of the mesh border slightly overlaps the molding.

Drive the screw through the mesh and into the pole at your mark.

Pro Tip: Keep your fingers clear — aim for the screw to go between, not into, them!
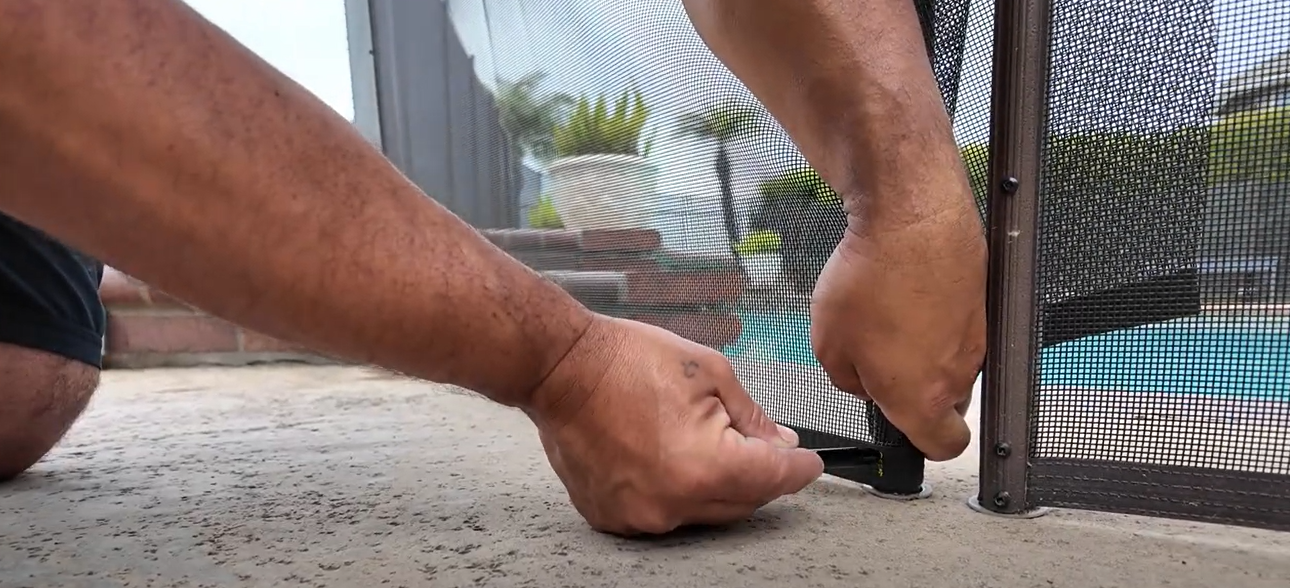
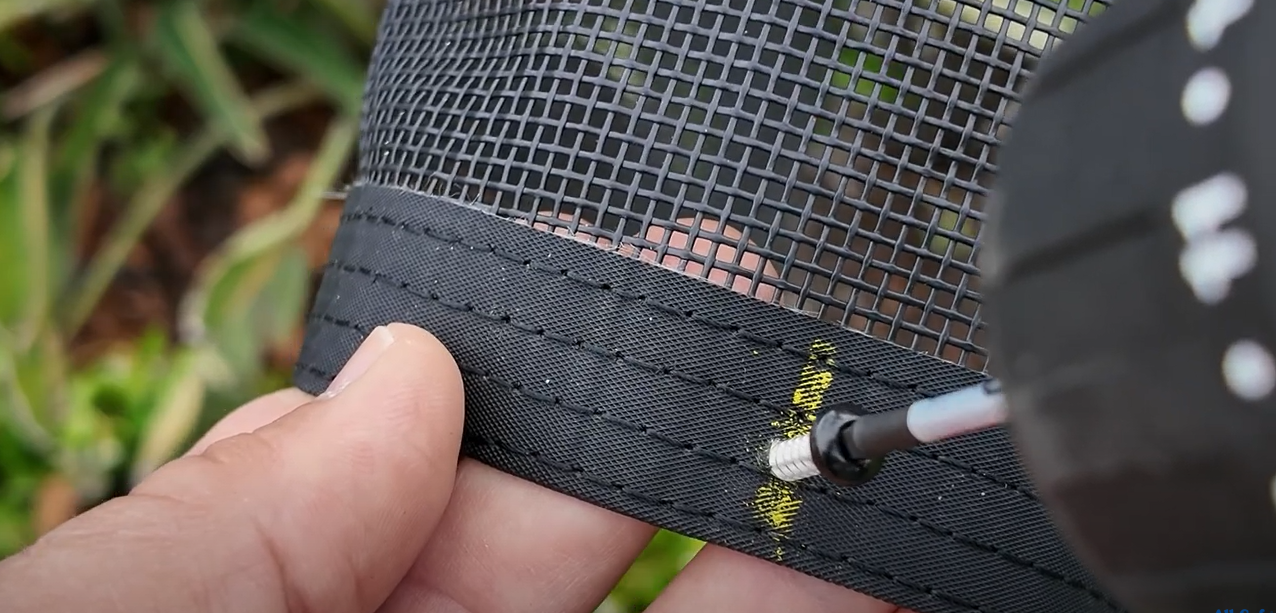
Step 4: Pre-Drill the Bottom Hole
Drill into the bottom border just above the second thread from the bottom.
Pre-set a screw into the bottom hole of the molding.
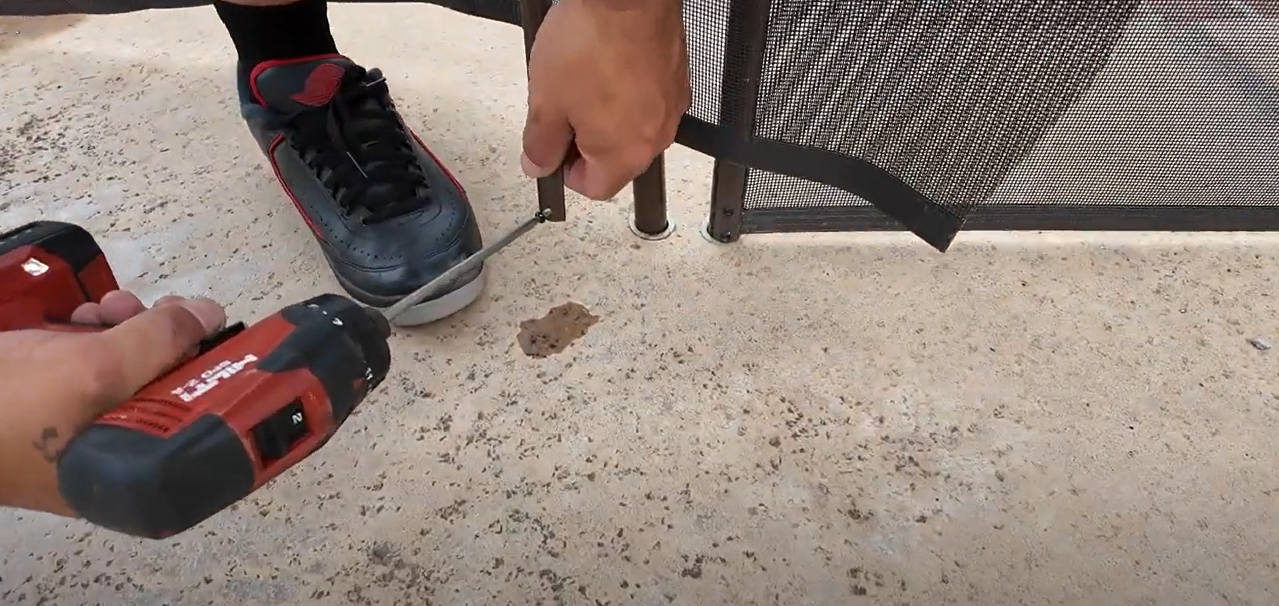
Now, with your drill in your dominant hand, engage the bit and push toward the pole. Use your other hand to hold the mesh tight.
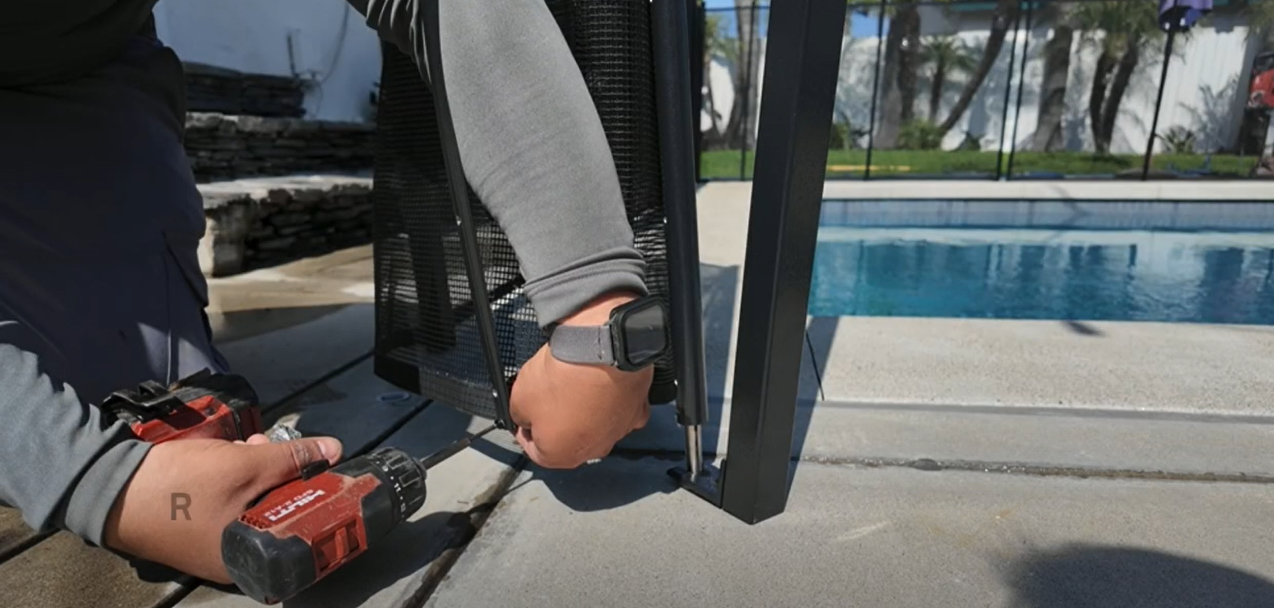
Use your arm between the mesh and the molding to create a slight bend in the molding. Once the screw drives through the mesh, remove your arm — this helps stretch the mesh tight and prevents wrinkles.
Pro Tip: Having trouble accessing the bottom screw? Try lifting the pole slightly out of the deck sleeve for better access. Just remember to push it back in and secure it after!
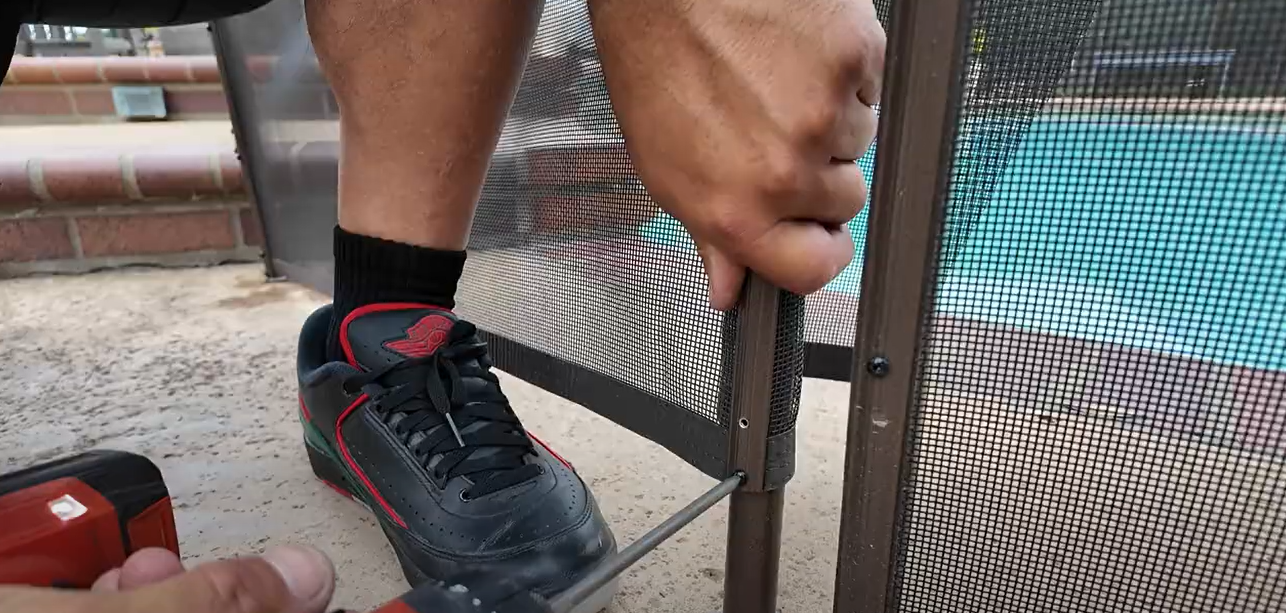
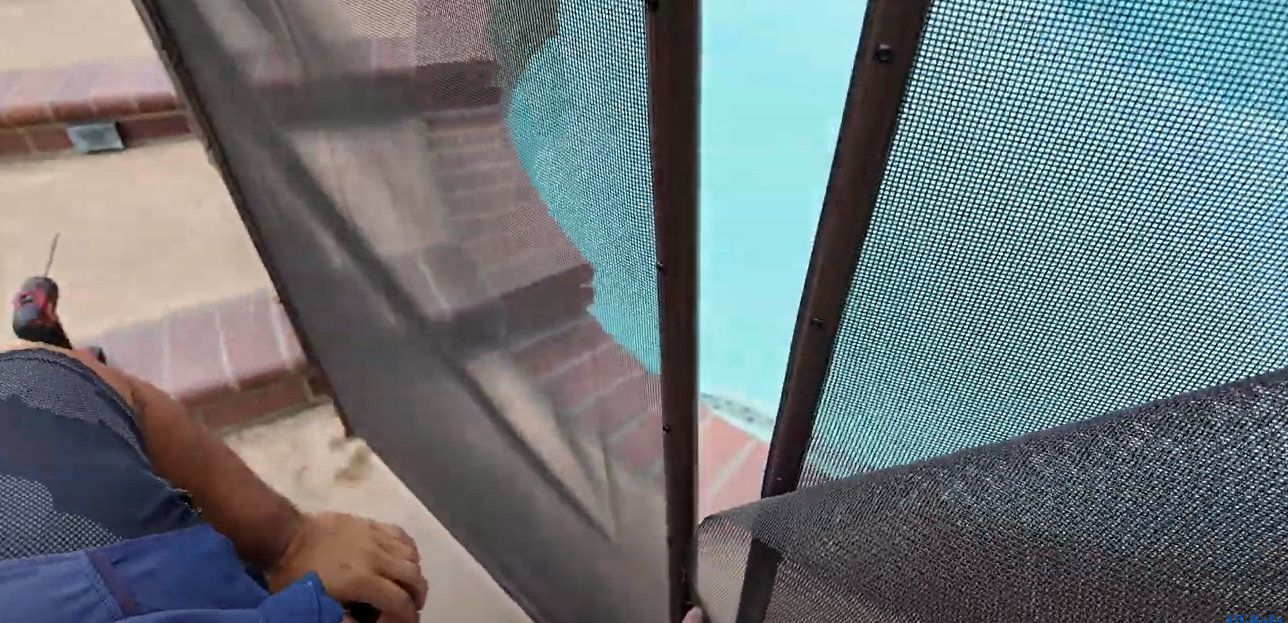
Step 5: Finish Tensioning the Mesh
With the pole secured, pull the remaining slack from the mesh between poles.
Start at the center of the molding, drive a screw in while pulling tight. Then work your way down, pulling and securing as you go. Finally, install screws upward from your starting point.

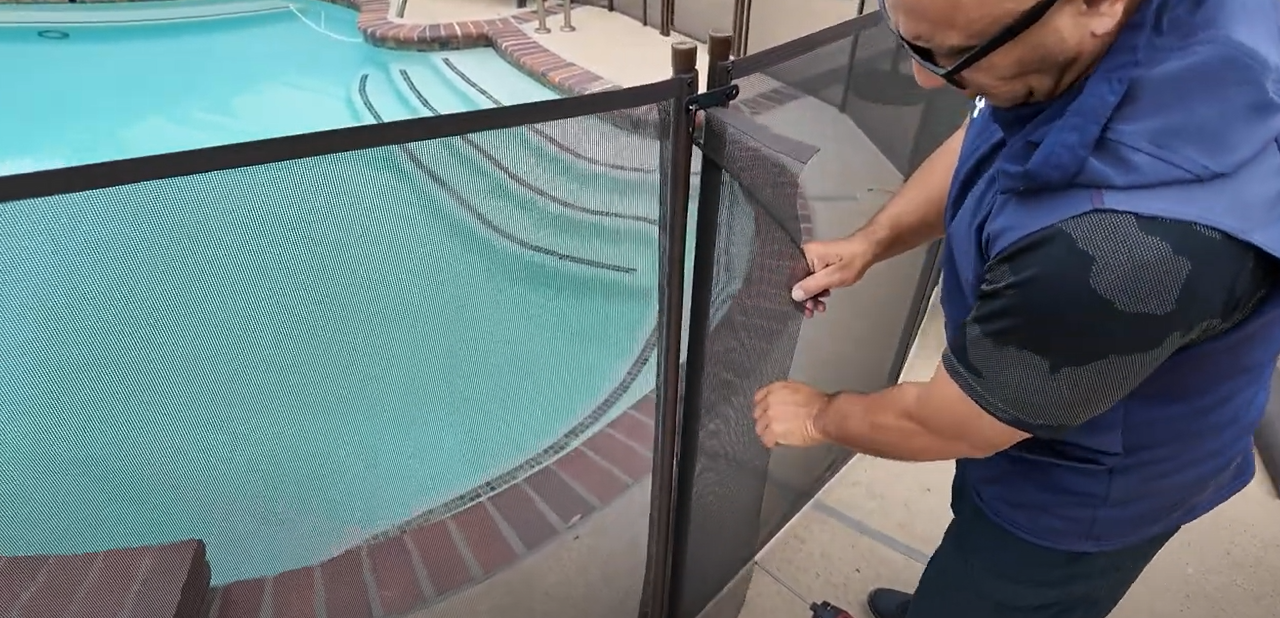
Step 6: Trim the Mesh Cleanly
Once all screws are in, disconnect the section from the pole.
Use your utility knife to carefully trim the excess mesh flush with the edge of the molding.
Reconnect the section — and you’re done.
When to Use This Method
- Quick layout adjustments
- Minimal tools available
- Mesh edges won’t be highly visible
- Great for fence layout fine-tuning before final install
Limitations
- Leaves raw edge — not as clean or durable as other methods
- May fray slightly over time
- Not ideal for gate mesh or visible edge work
Continue Learning
- How to Cut Pool Fence Mesh to Fit Your Layout: 3 DIY Methods
- How to Cut Pool Fence Mesh – DIY Method 2: Border Trim & Tape (Clean Finish with Border Roll)
- How to Cut Pool Fence Mesh – DIY Method 3: Double Molding Cut
- How To: Repair or Replace Pool Gate Mesh