Hammer Drill Guide : Installing Peg Pole Pool Fencing
Whether you’re a seasoned professional in installation, just starting out in the industry, or diving into a DIY project, drilling the correct angled holes for a pool fence is crucial for both functionality and aesthetics. The Hammer Drill Guide presents the most cost-effective method for installing a removable pool fence. Let’s explore the steps for utilizing the Hammer Drill Guide effectively.
Please note: This video & photos on this article include a vertical sleeve component that was part of a prototype and is not included with the final product.
Tools Needed
- Drill Guide (recommended)
- Pliers
- Hammer Drill
- Box Cutter
- 5/8″ X 18″ Masonry Drill Bit
- 5/8″ Rebar cutting Bit (if needed)
- Marker (Pencil or Grease Pencil)
- ¼” Masonry Drill Bit
- Chalk Line
- Cordless Drill with #2 Phillips bit
- Garden Hose or Rope
- 1/8” Drill Bit
- 5/32” Drill Bit
- Bullet Level
- Tape Measure
- Zip Ties
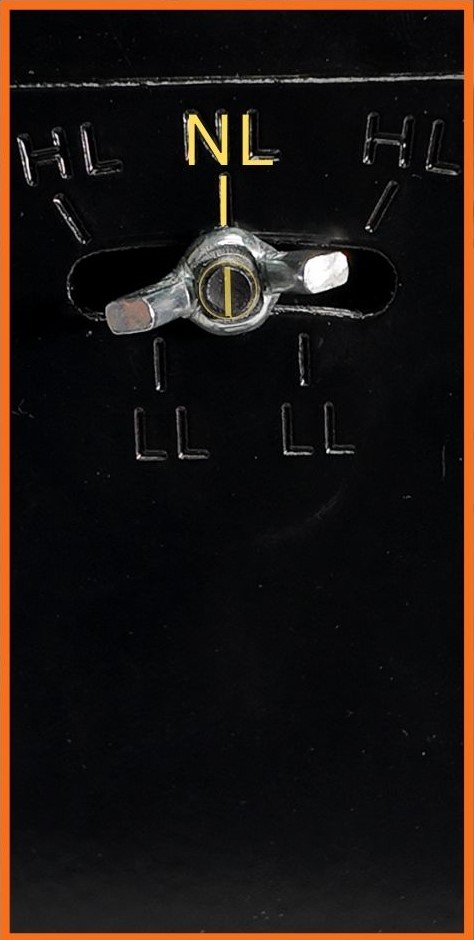
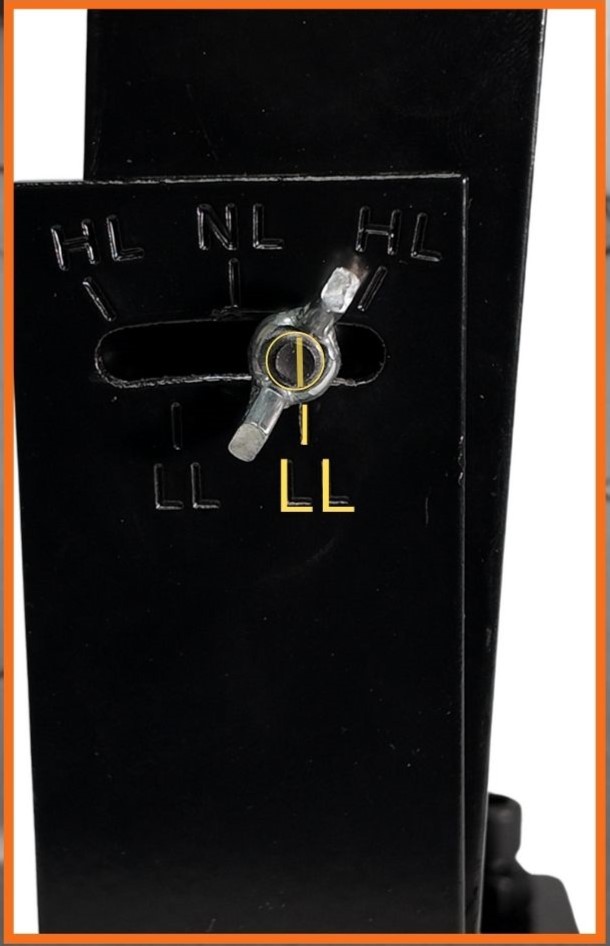
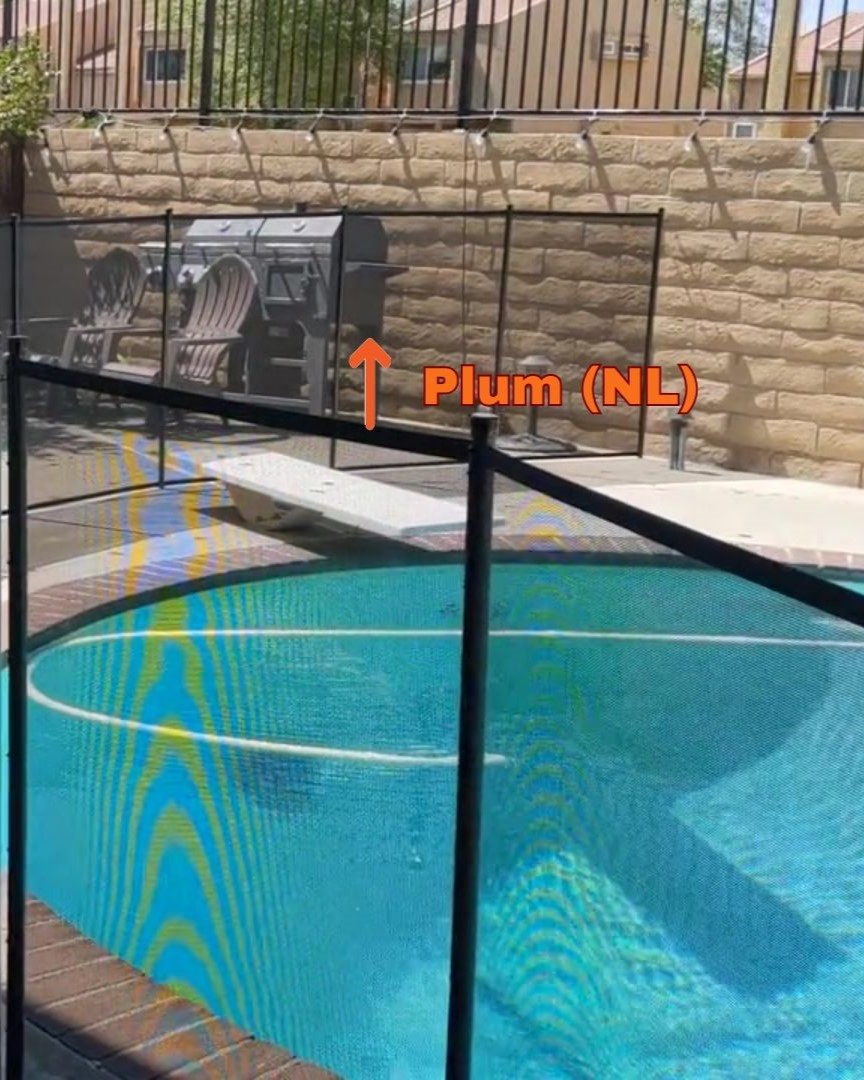
No Lean Setting
Starting with the guide’s first setting, we aim for drilling straight, or plumb, holes, referred to as NL (No Lean). This is essential when your fence is designed to follow a straight path, ensuring all holes are plumb, except for those designated for the gate, which we will discuss in more detail shortly.
Installing
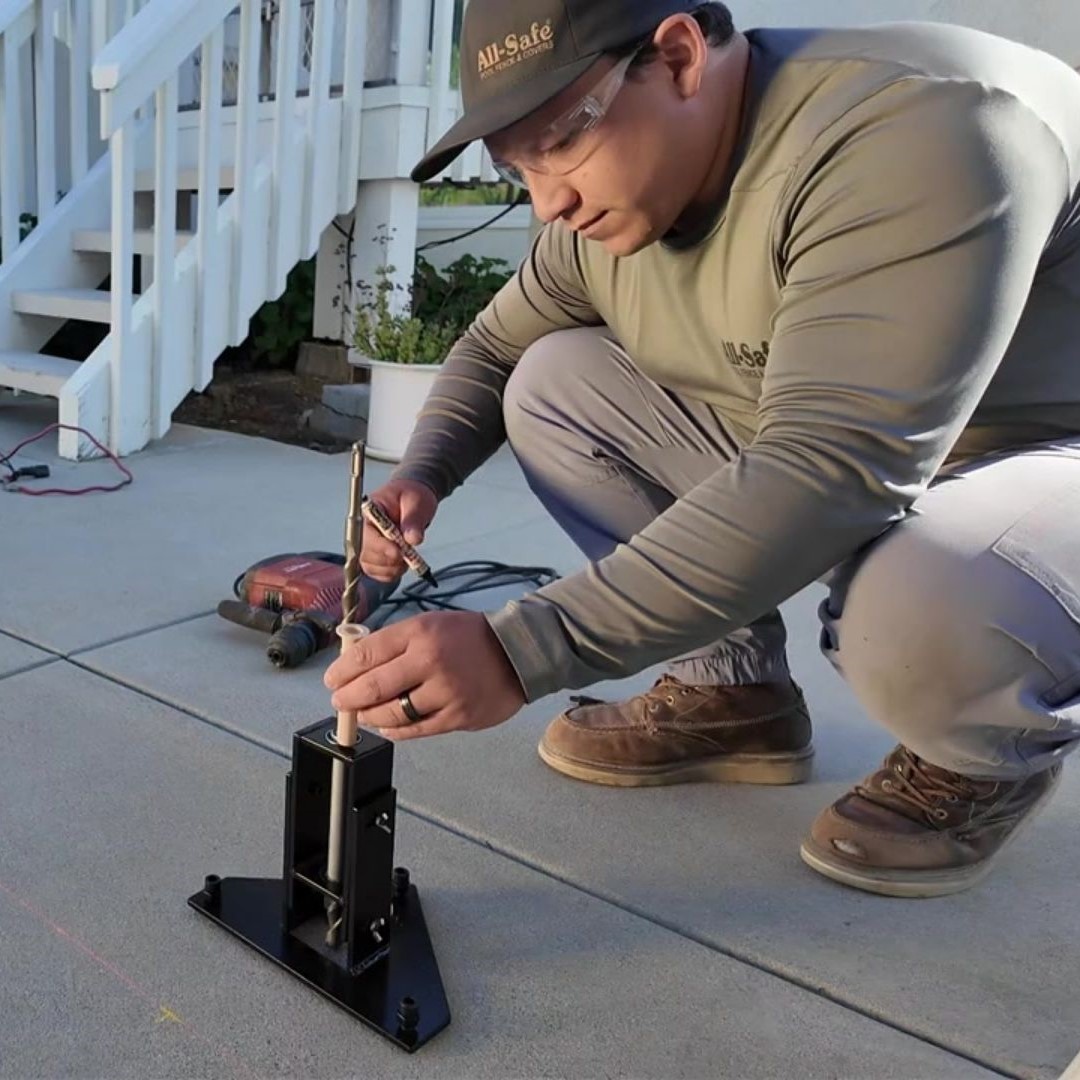
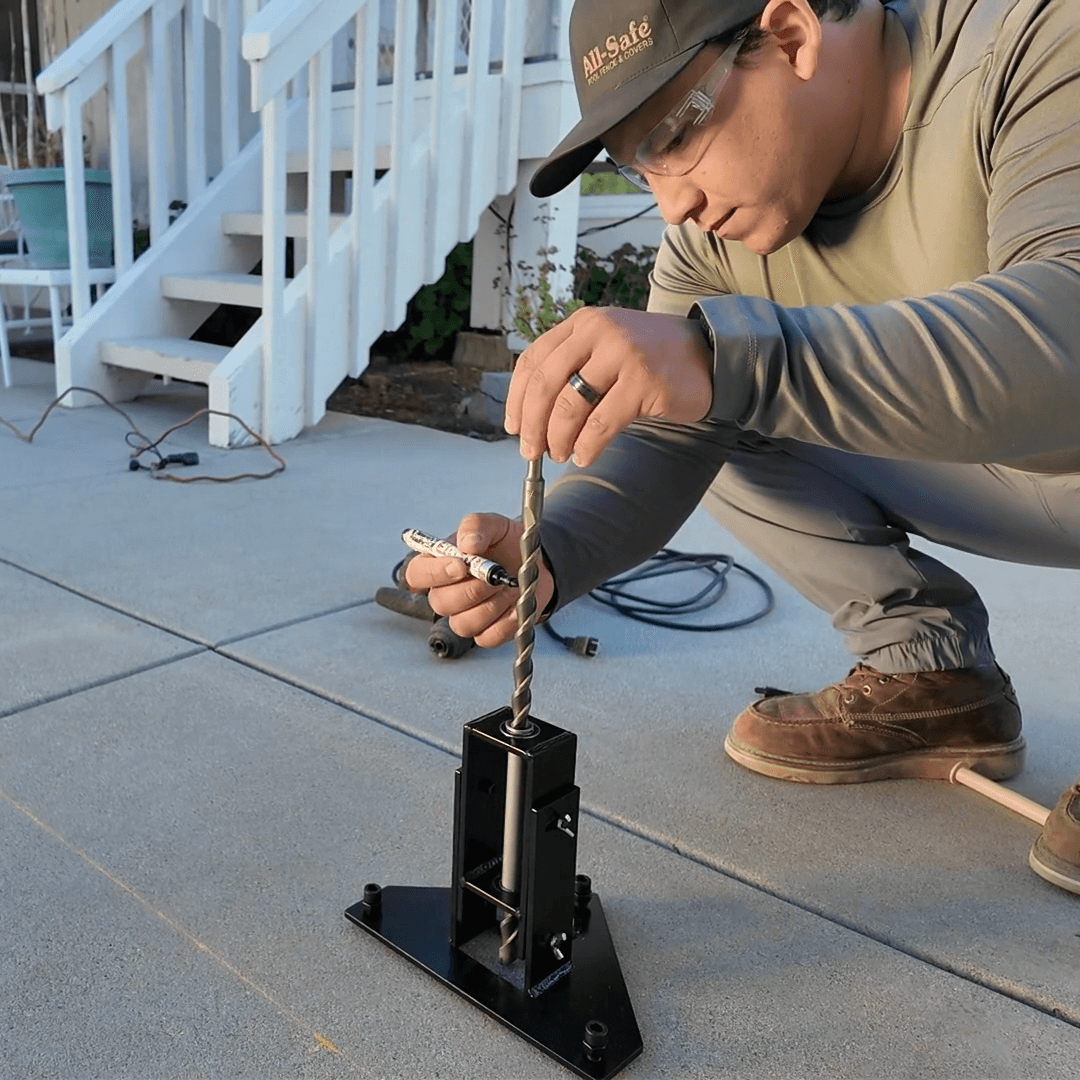
Begin by inserting the ⅝ inch hammer drill bit through the bottom of the drill guide.
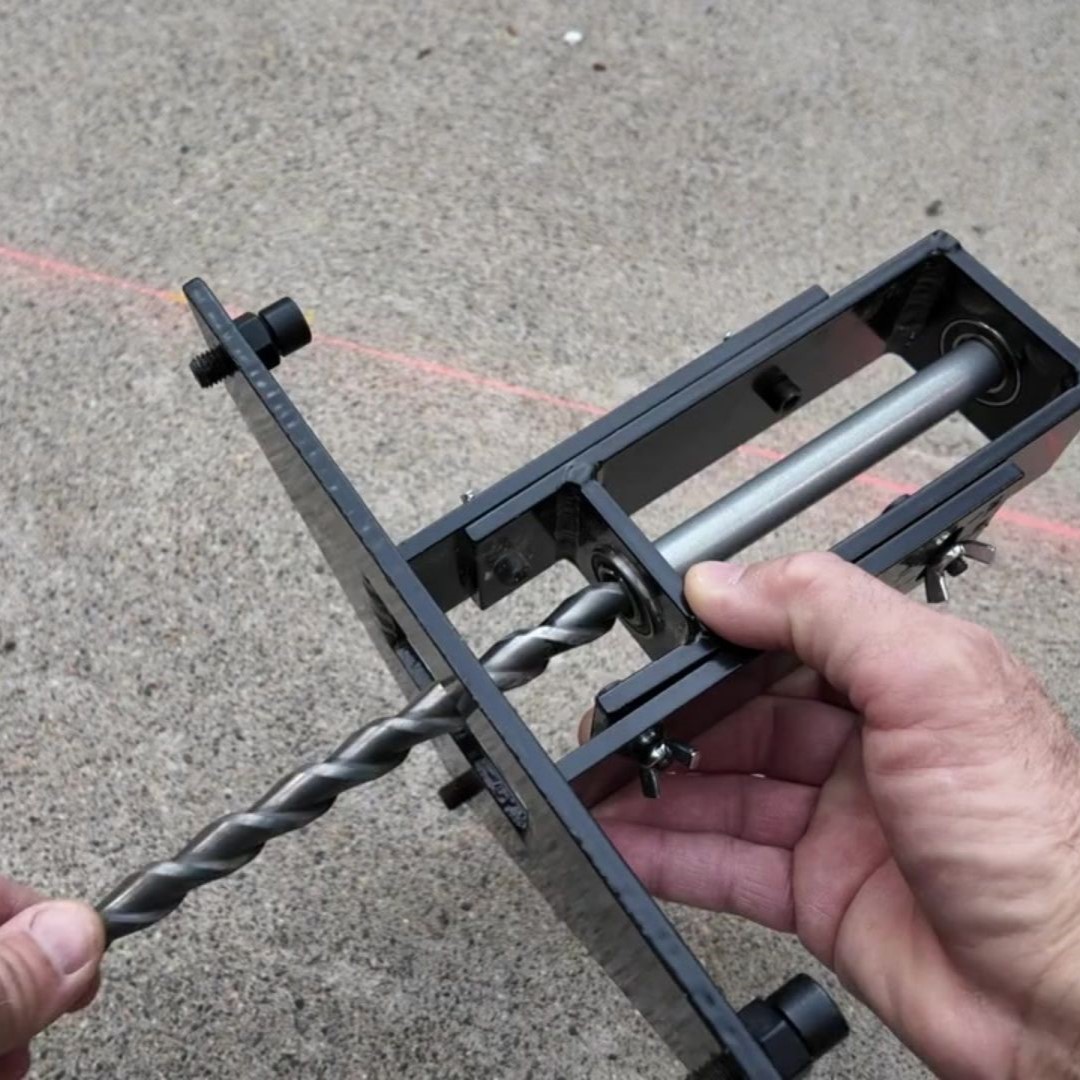
Next, using a deck sleeve and a sharpie, mark the drill bit to indicate the required drilling depth, approximately 4 ½ inches.
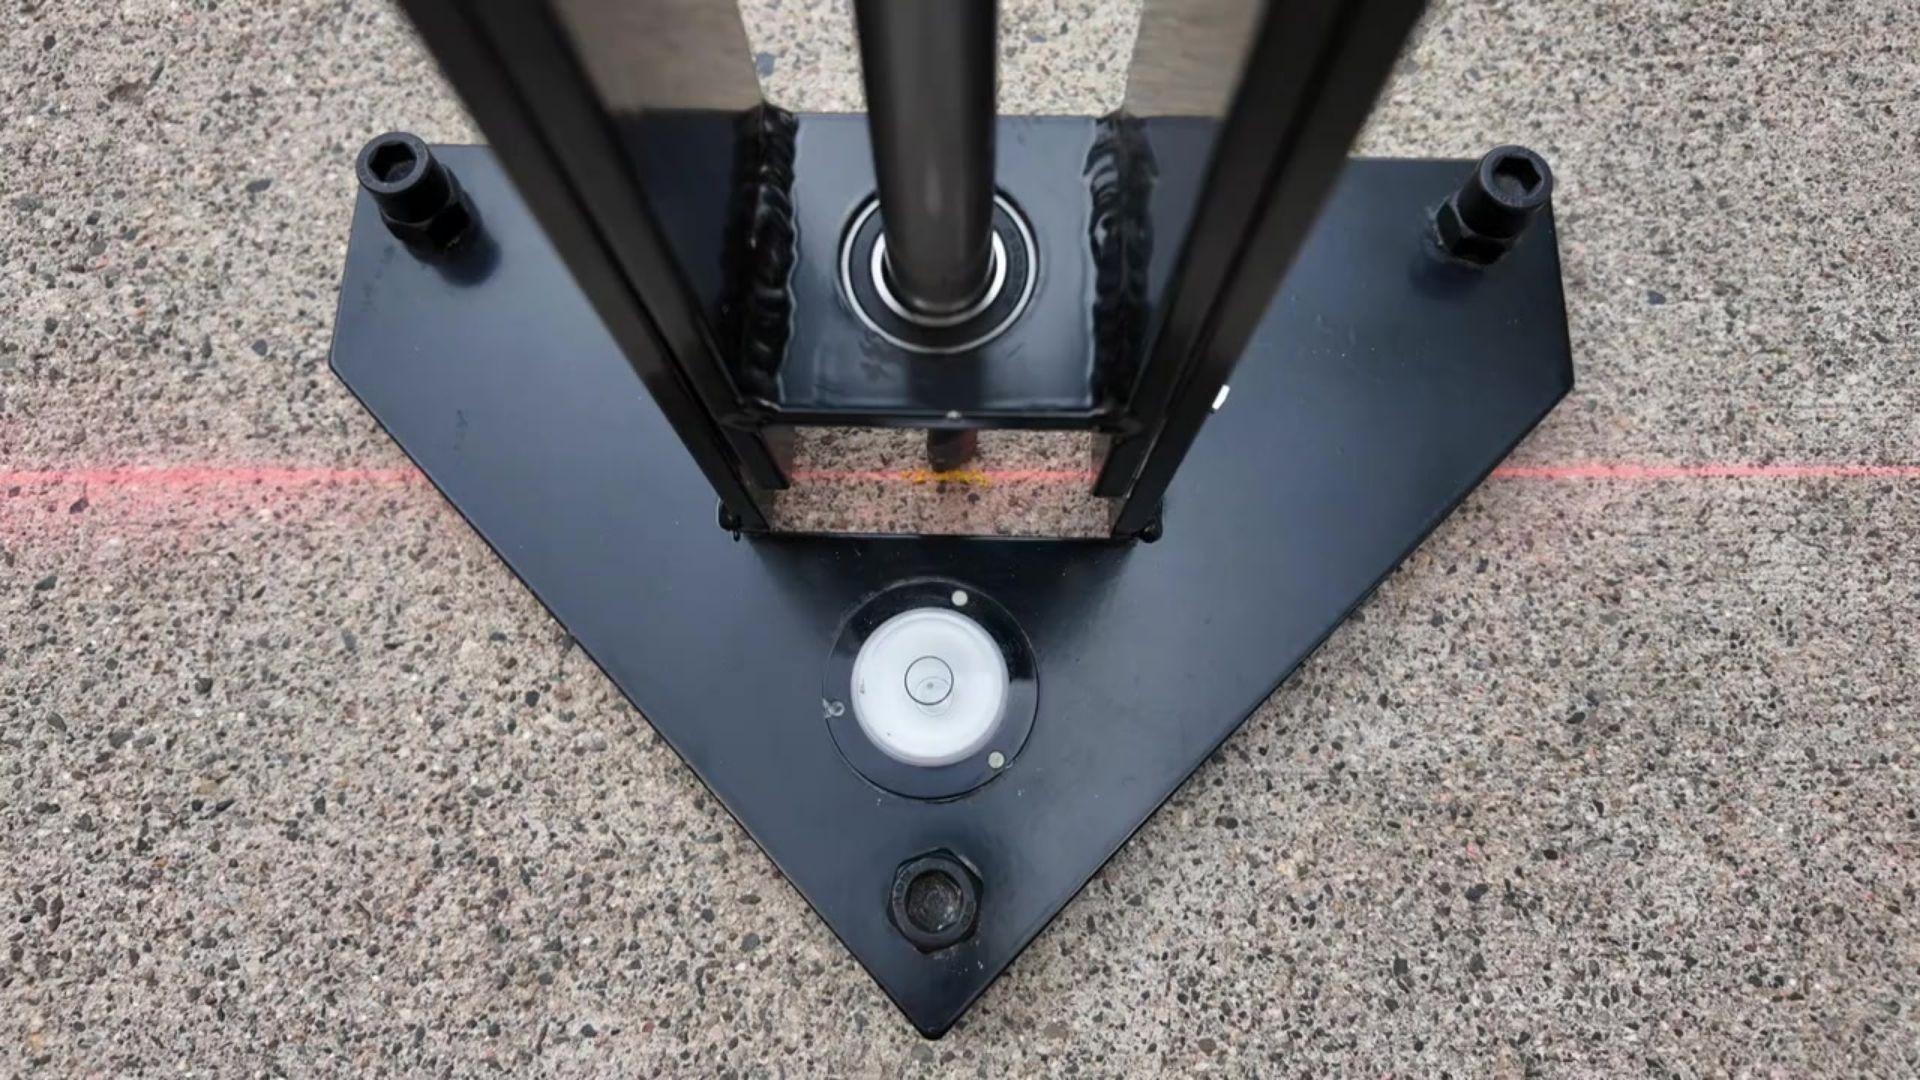
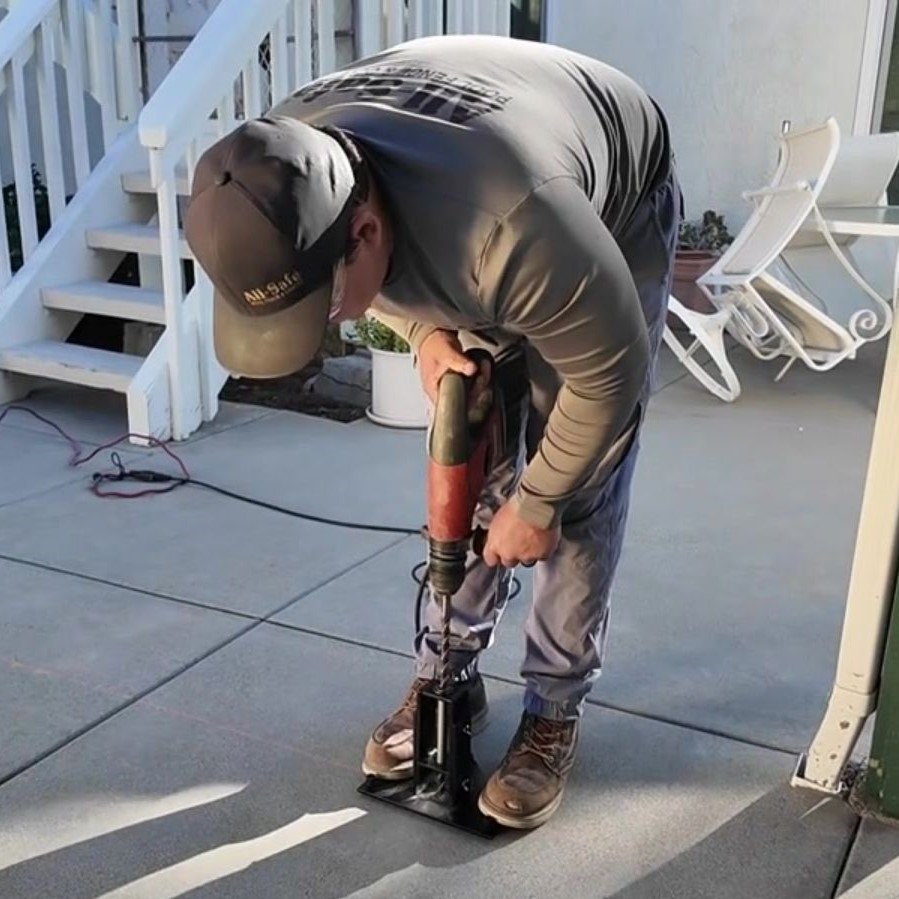
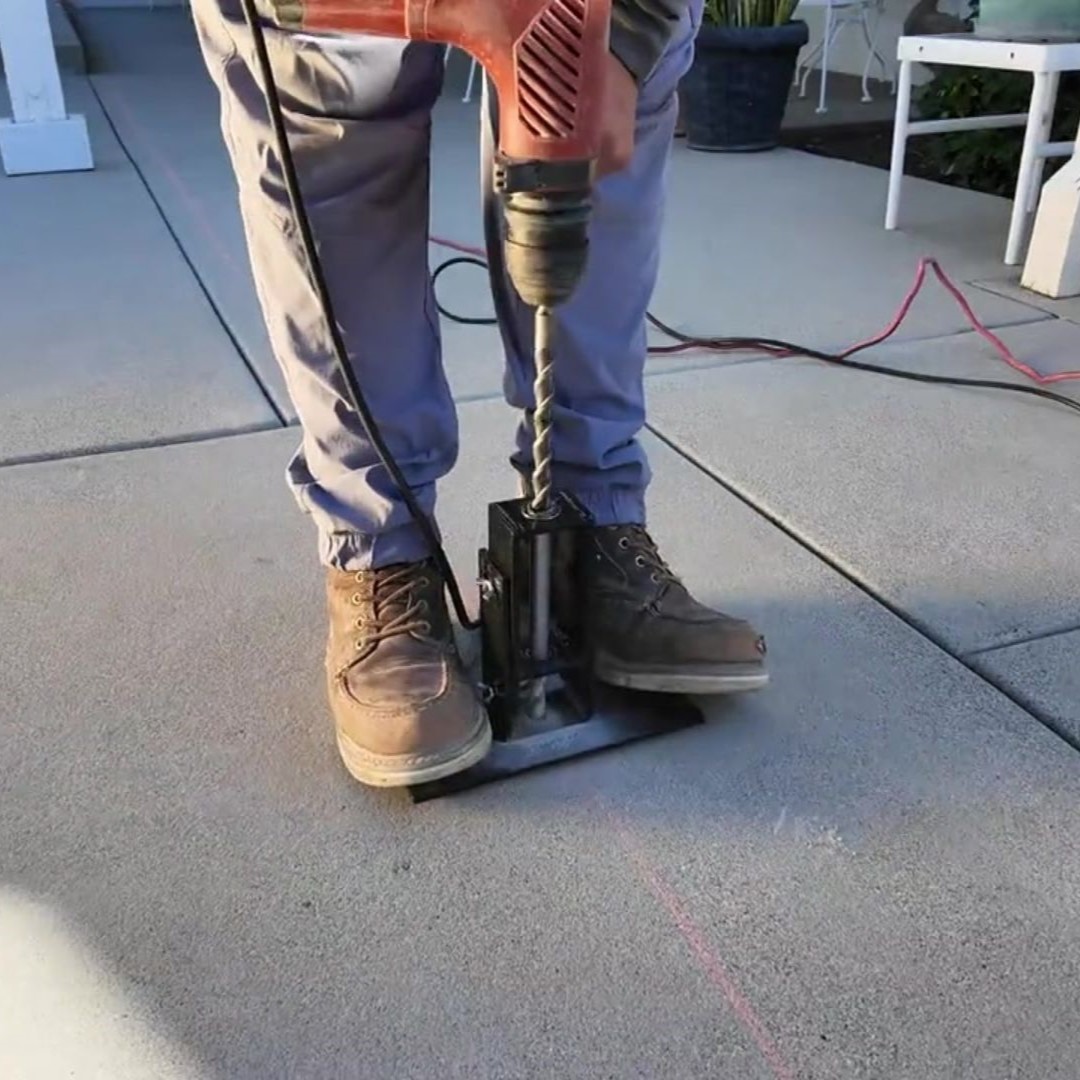
Before attaching the drill, place the guide over your mark. Use the three Allen bolts to adjust the guide, ensuring the bubble is centered for level drilling. This step should be repeated for each hole to ensure consistency.
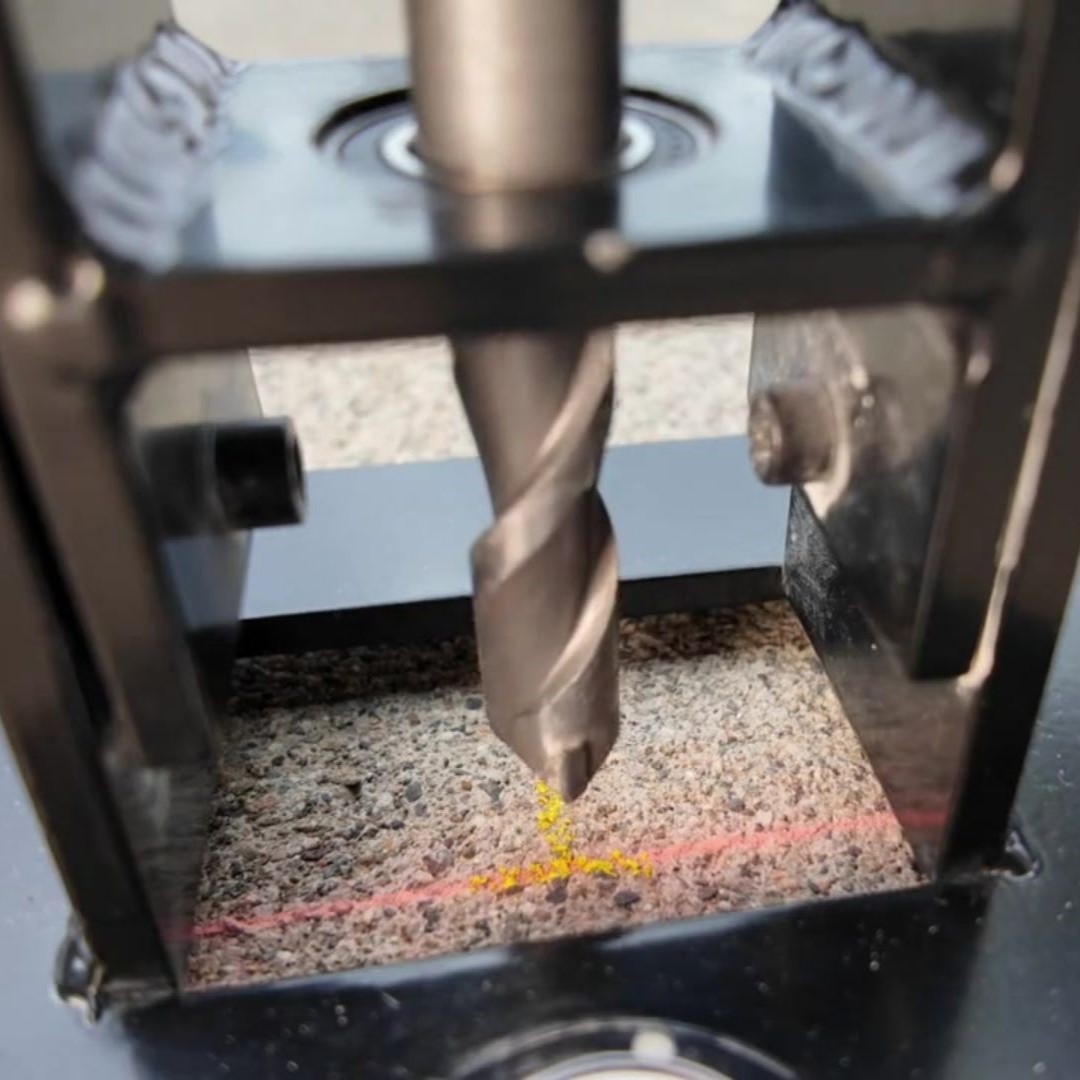
After attaching the drill, align the tip of the drill bit with your mark, ensuring the side of the bit is along the chalk line. To stabilize the guide during drilling, position both feet on it. Begin drilling at a slow pace, then gradually increase speed.
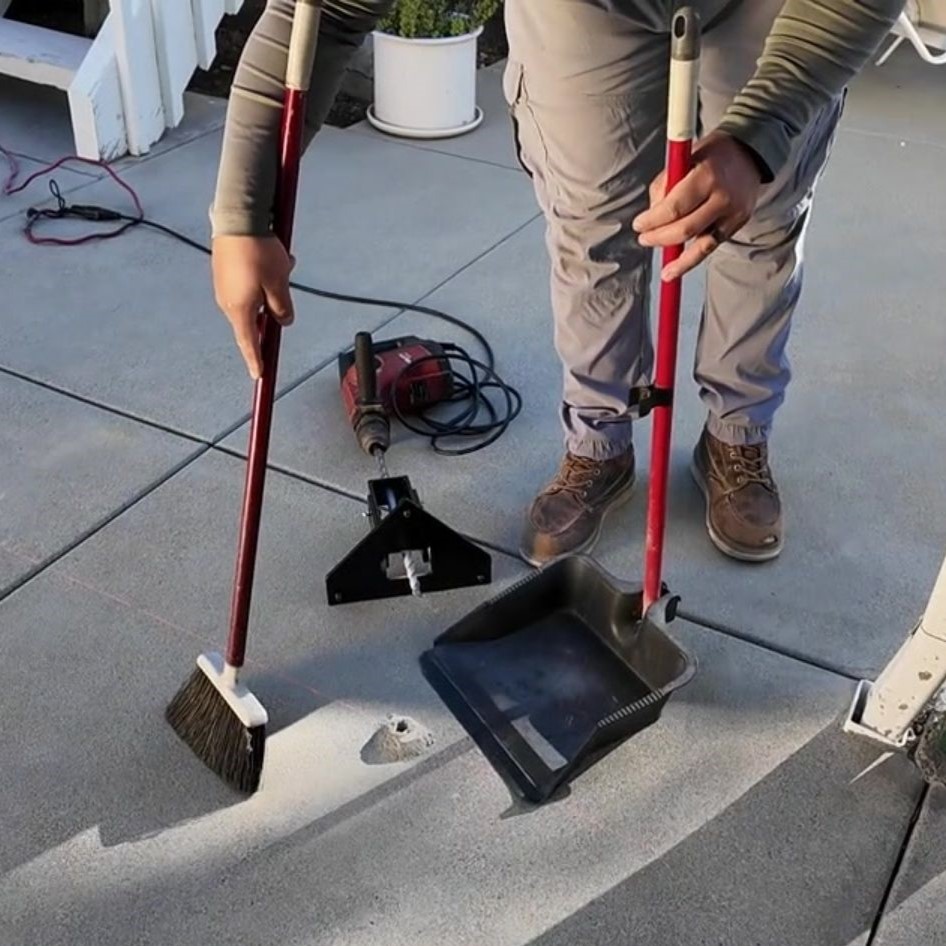
Once you break through to the other side, stop drilling, remove the drill and guide, and promptly clean up any resulting dust to prevent it from entering the holes.
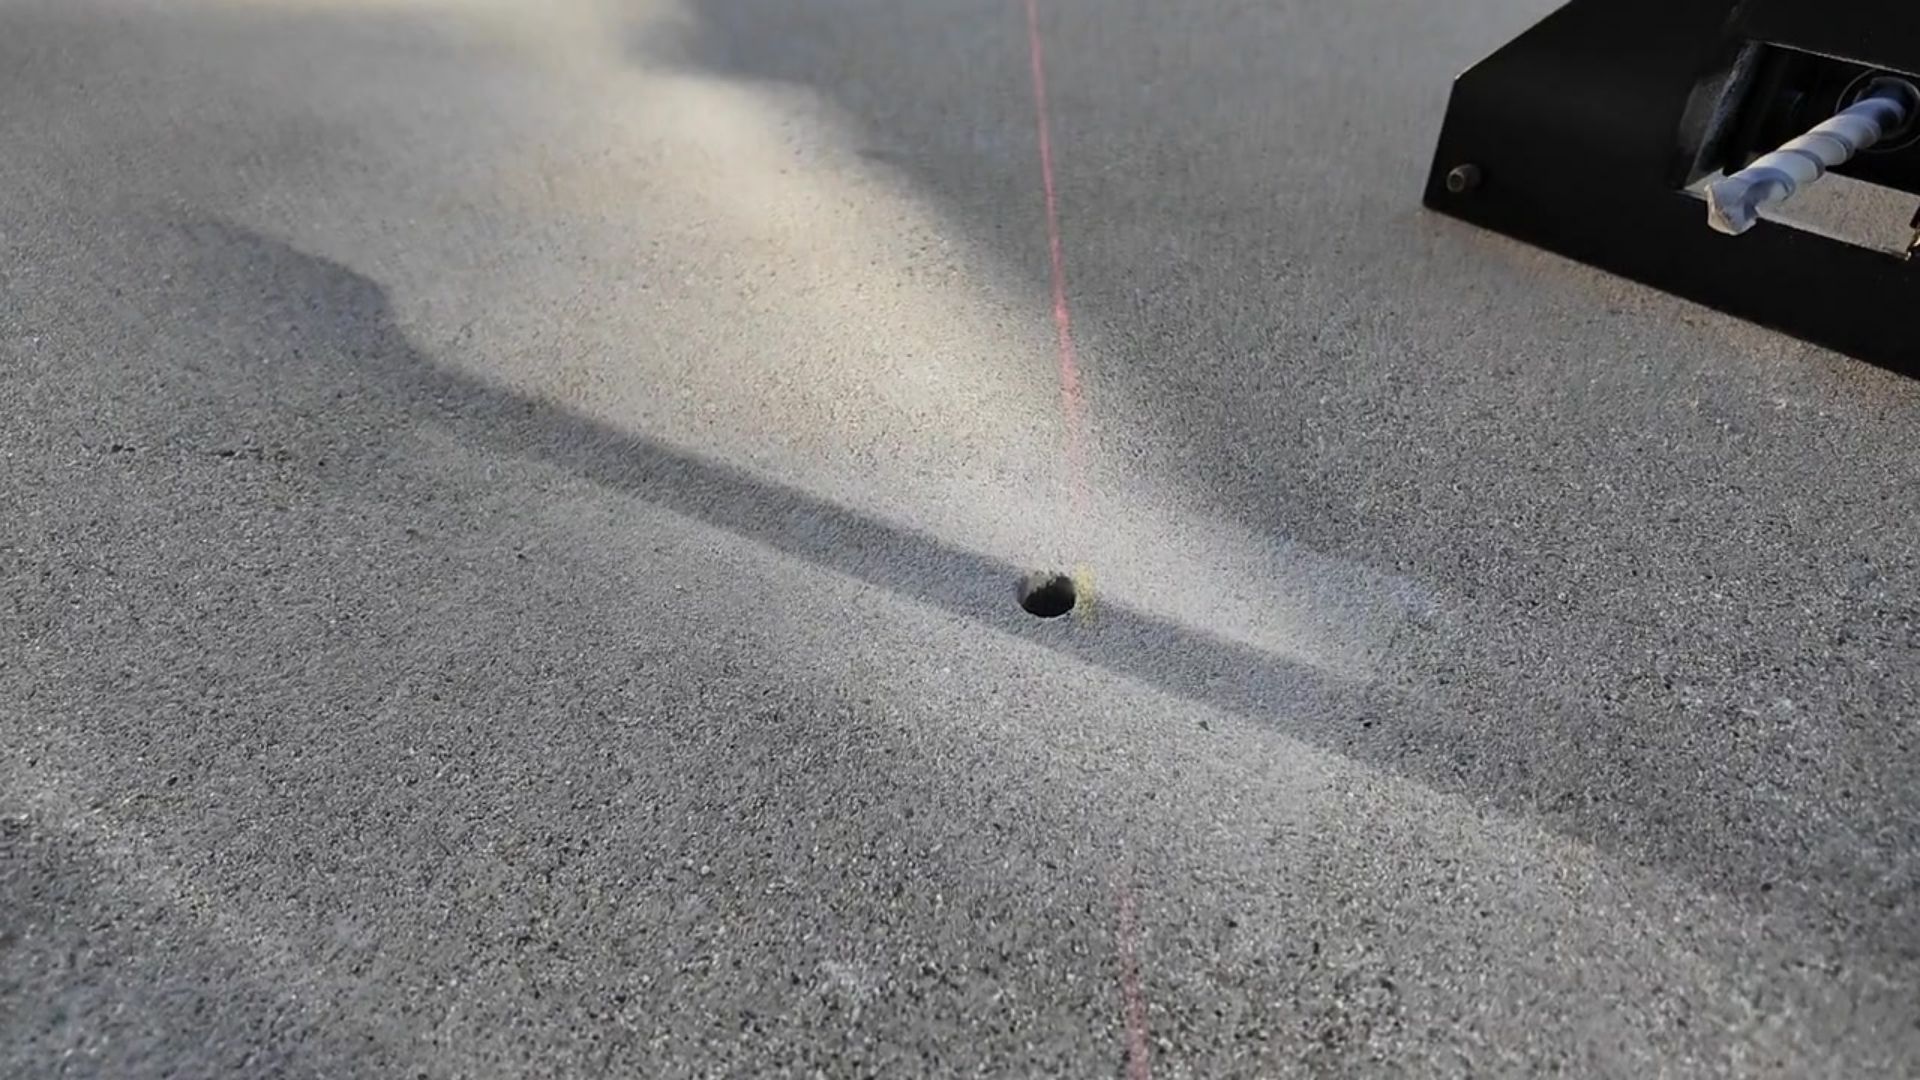
This is a properly drilled hole, perfectly aligned with your chalk line.
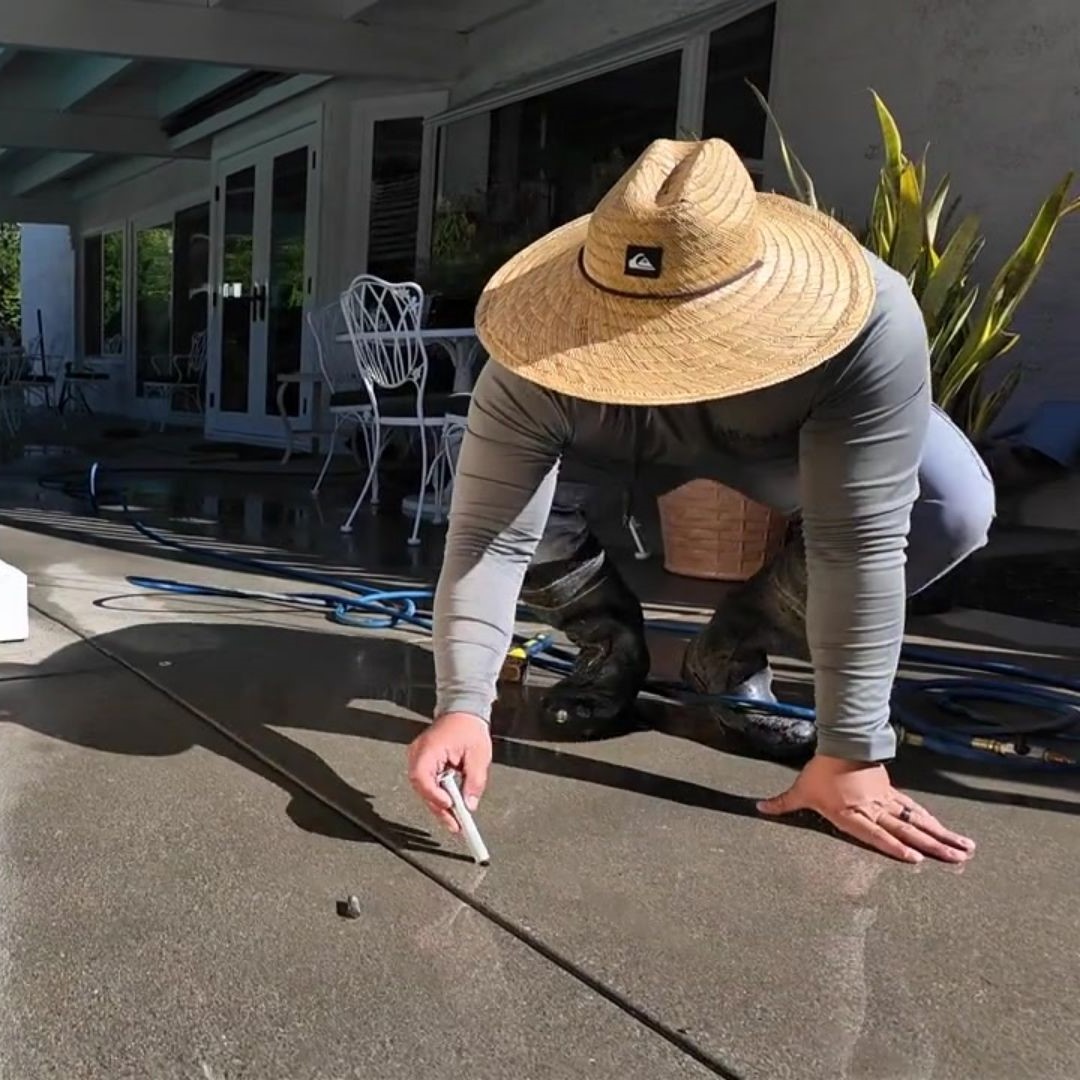
Rinse each hole with water
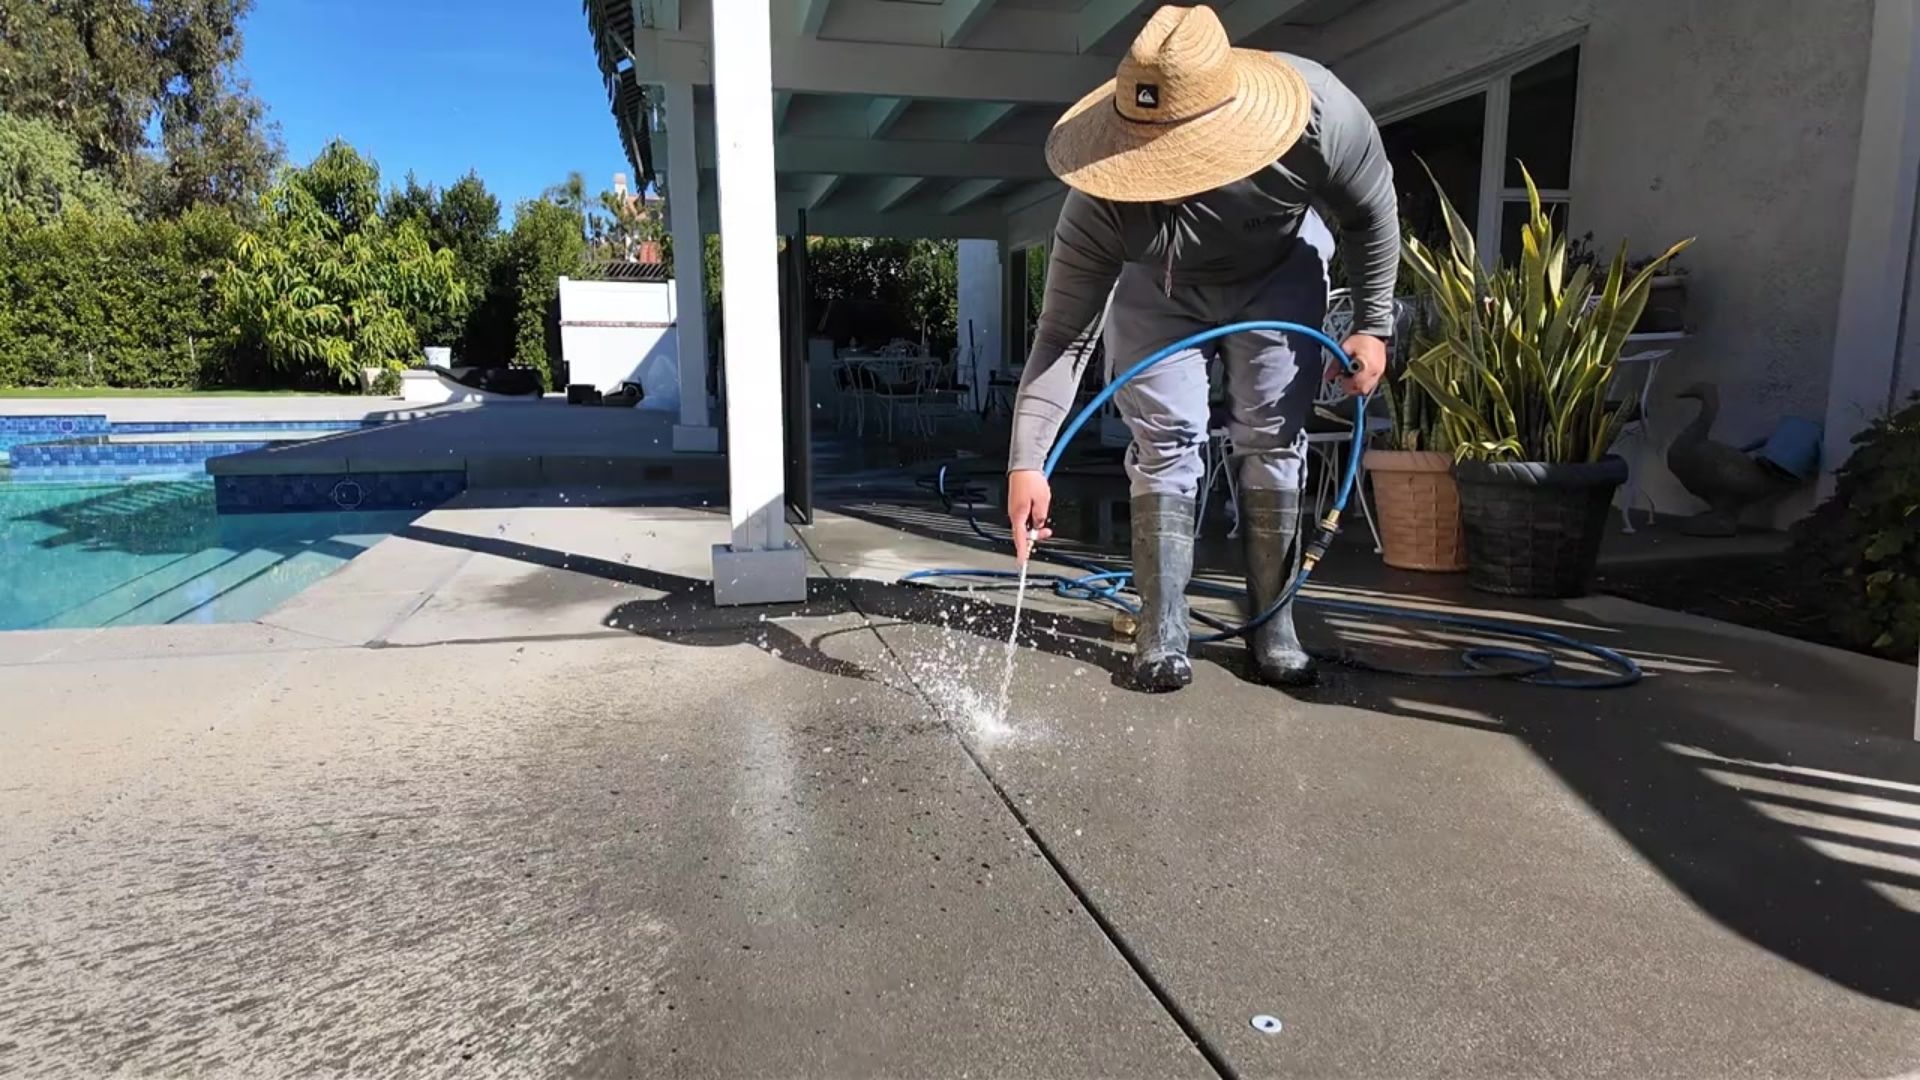
Insert the deck sleeve.
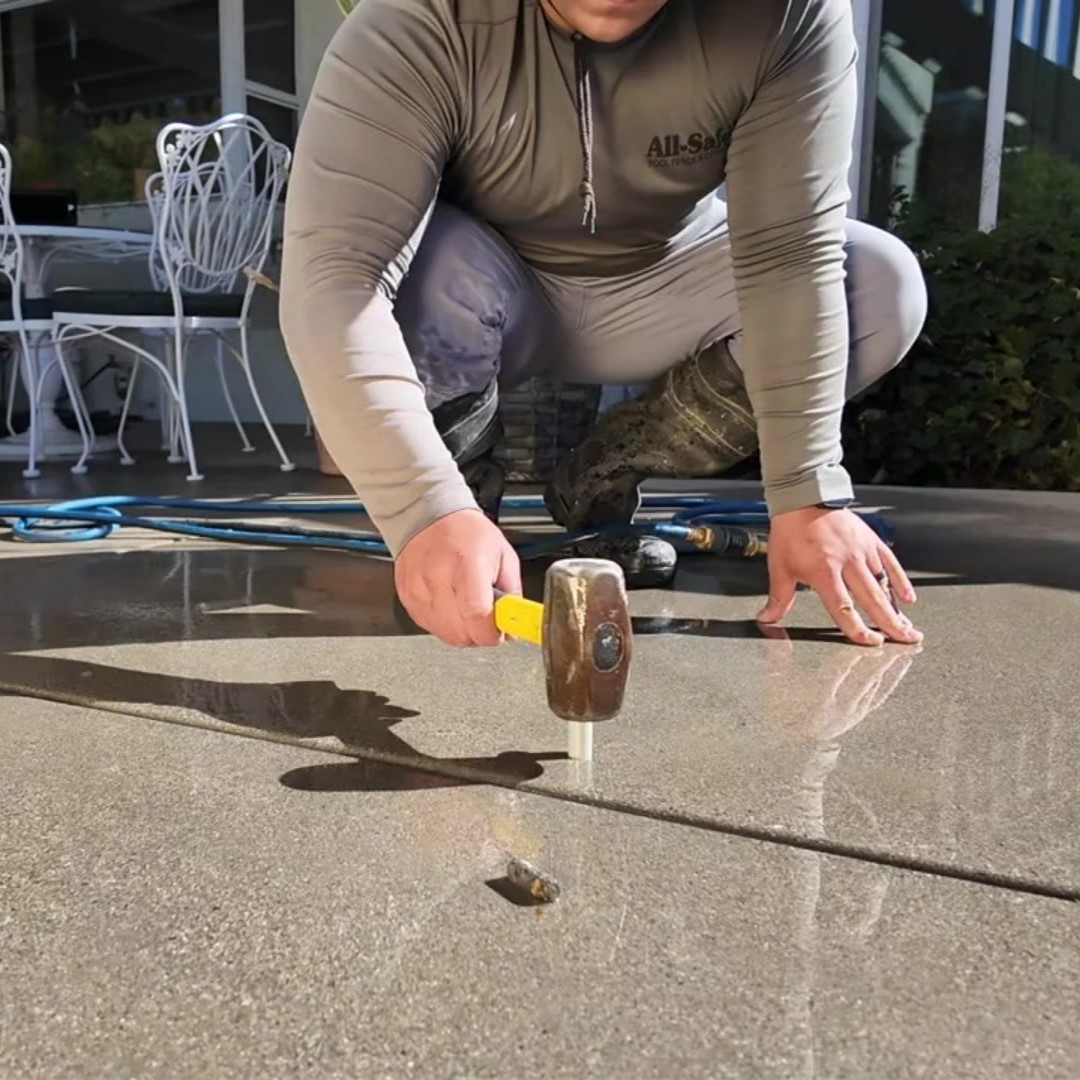
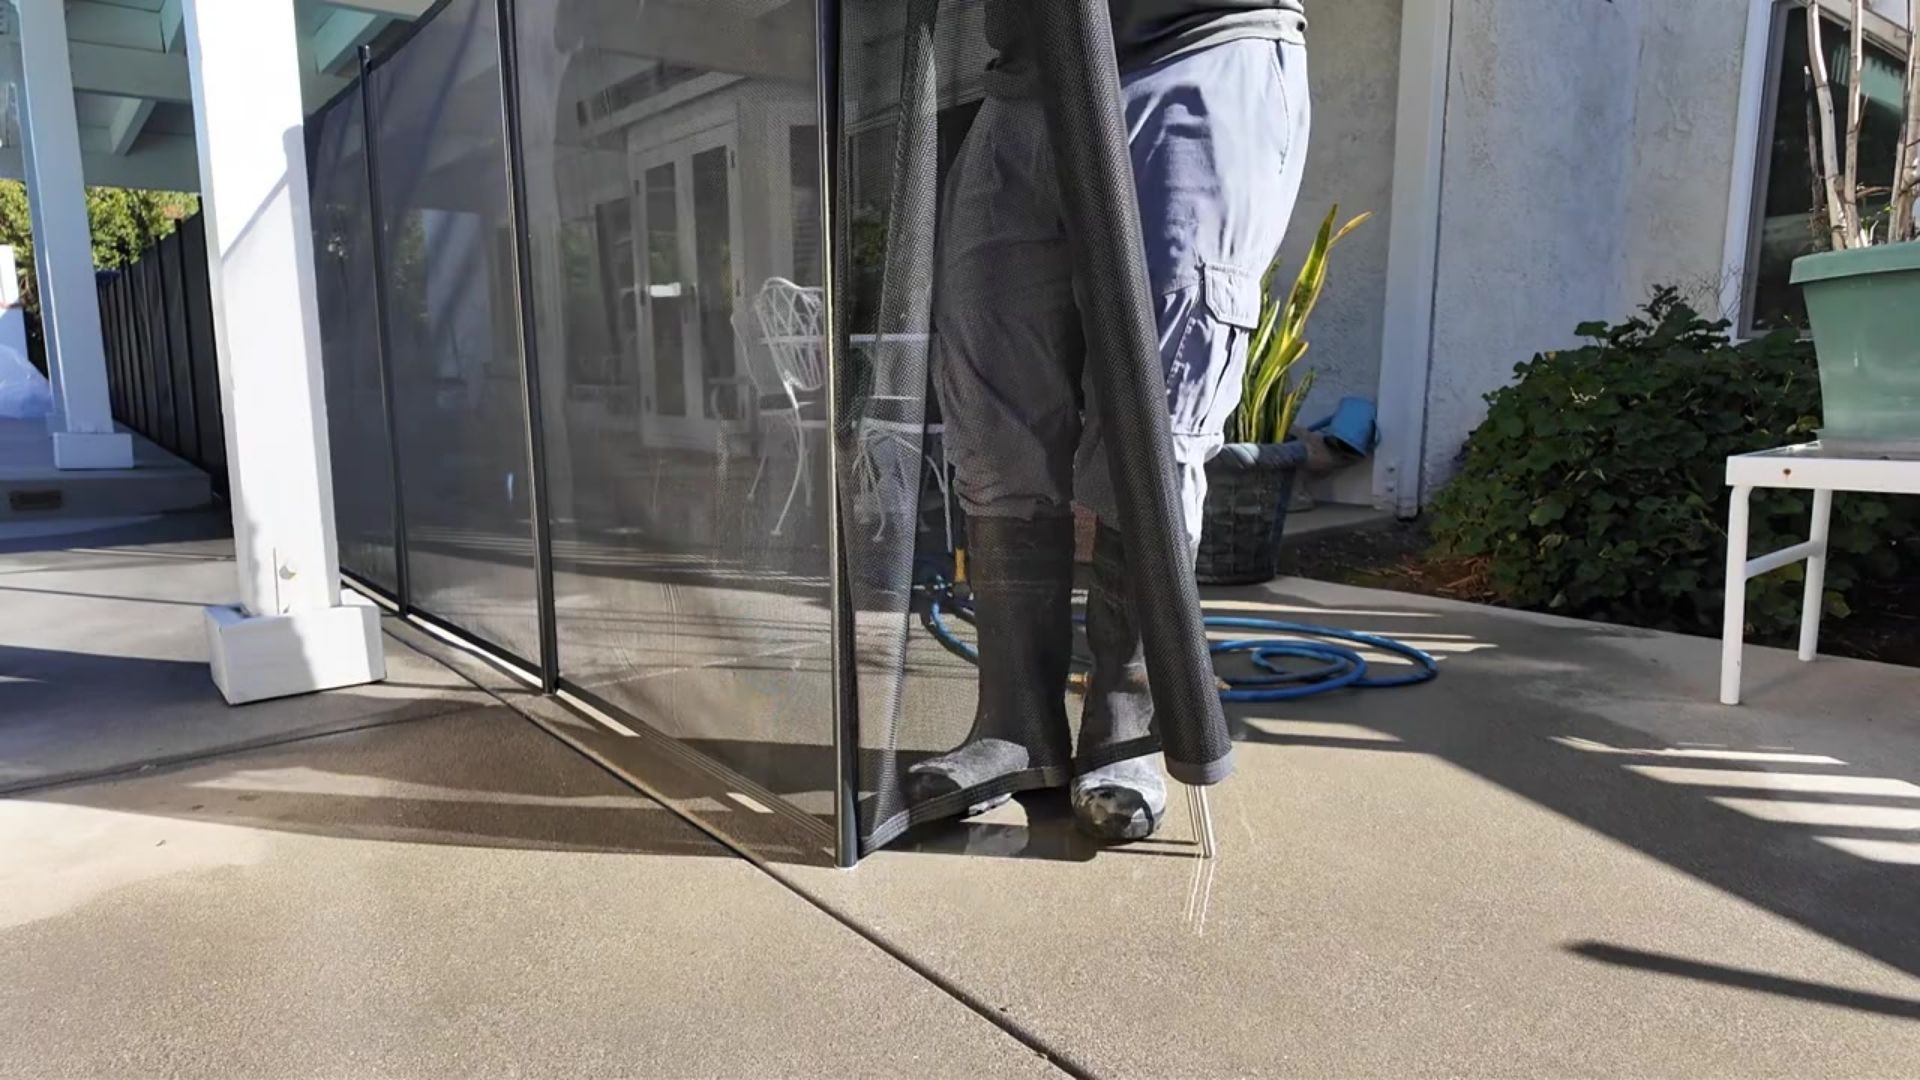
After all holes are drilled and sleeves inserted, you’re ready to install the fence and gate.
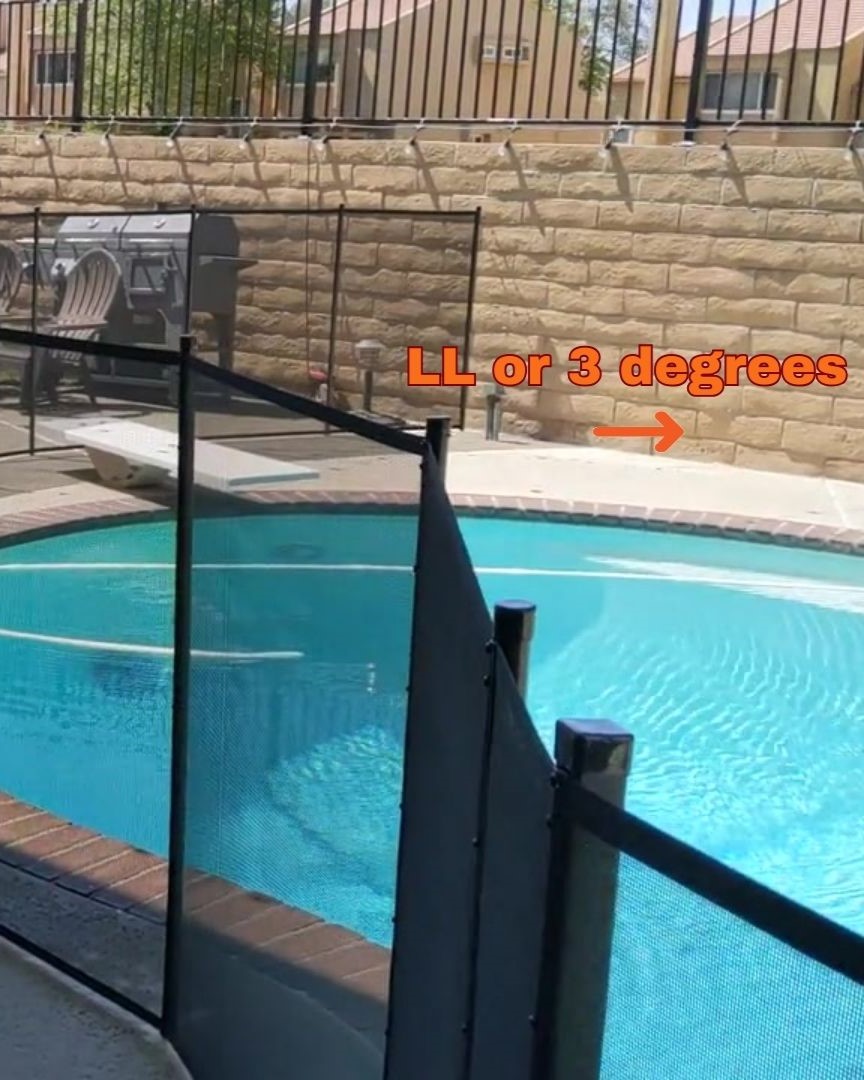
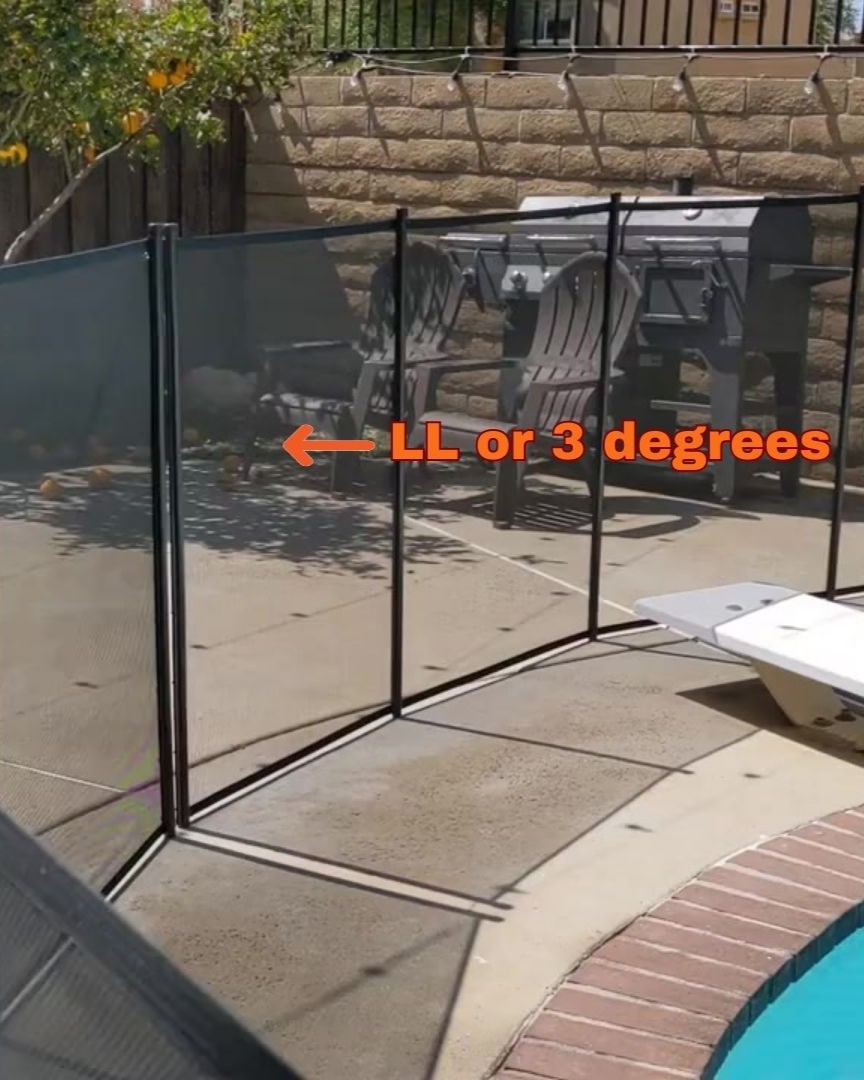
Light Lean Setting
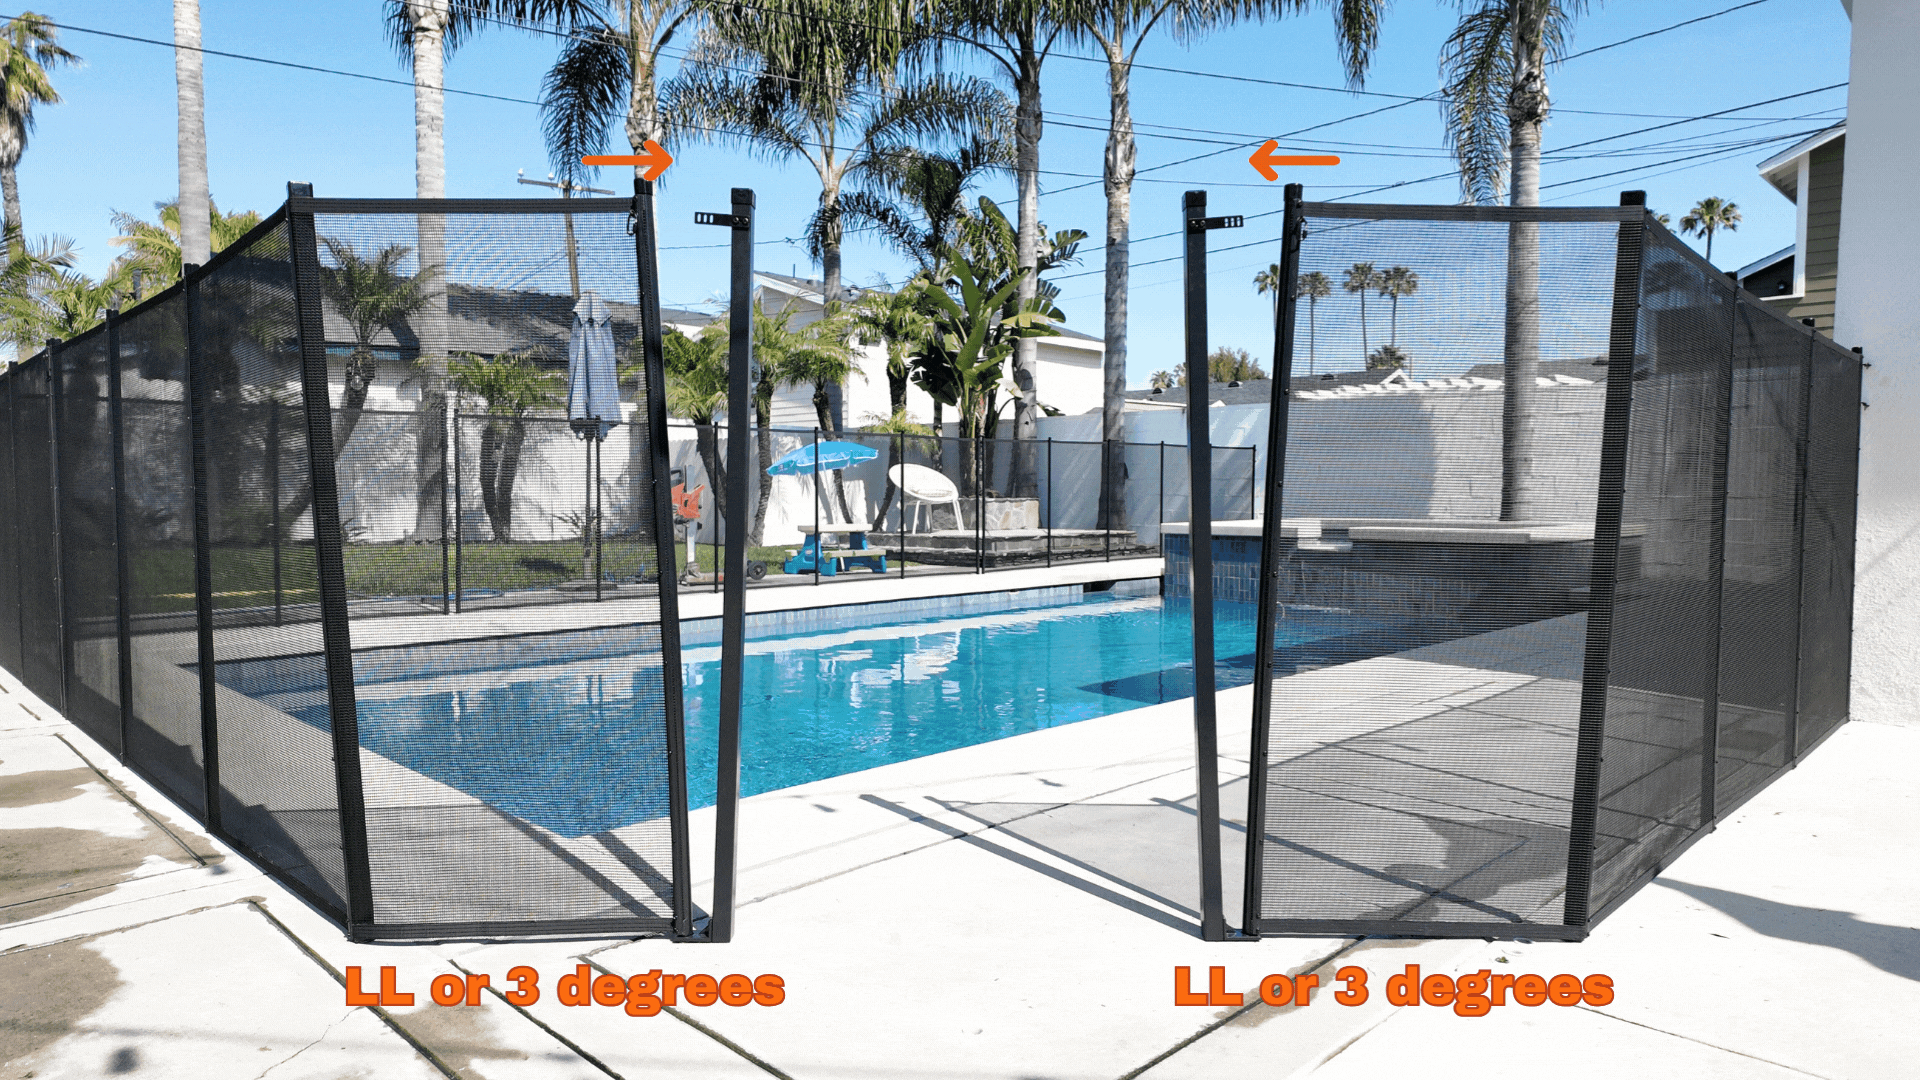
For installations requiring curves, the LL (Light Lean) setting allows for a slight, 3-degree inward or outward lean, depending on the direction of the curve. Straight sections will use the NL setting for no lean.
Setting Examples
When installing a Rectangular post or a Double Pole truss for your gate, apply the LL setting for a slight 3-degree lean.
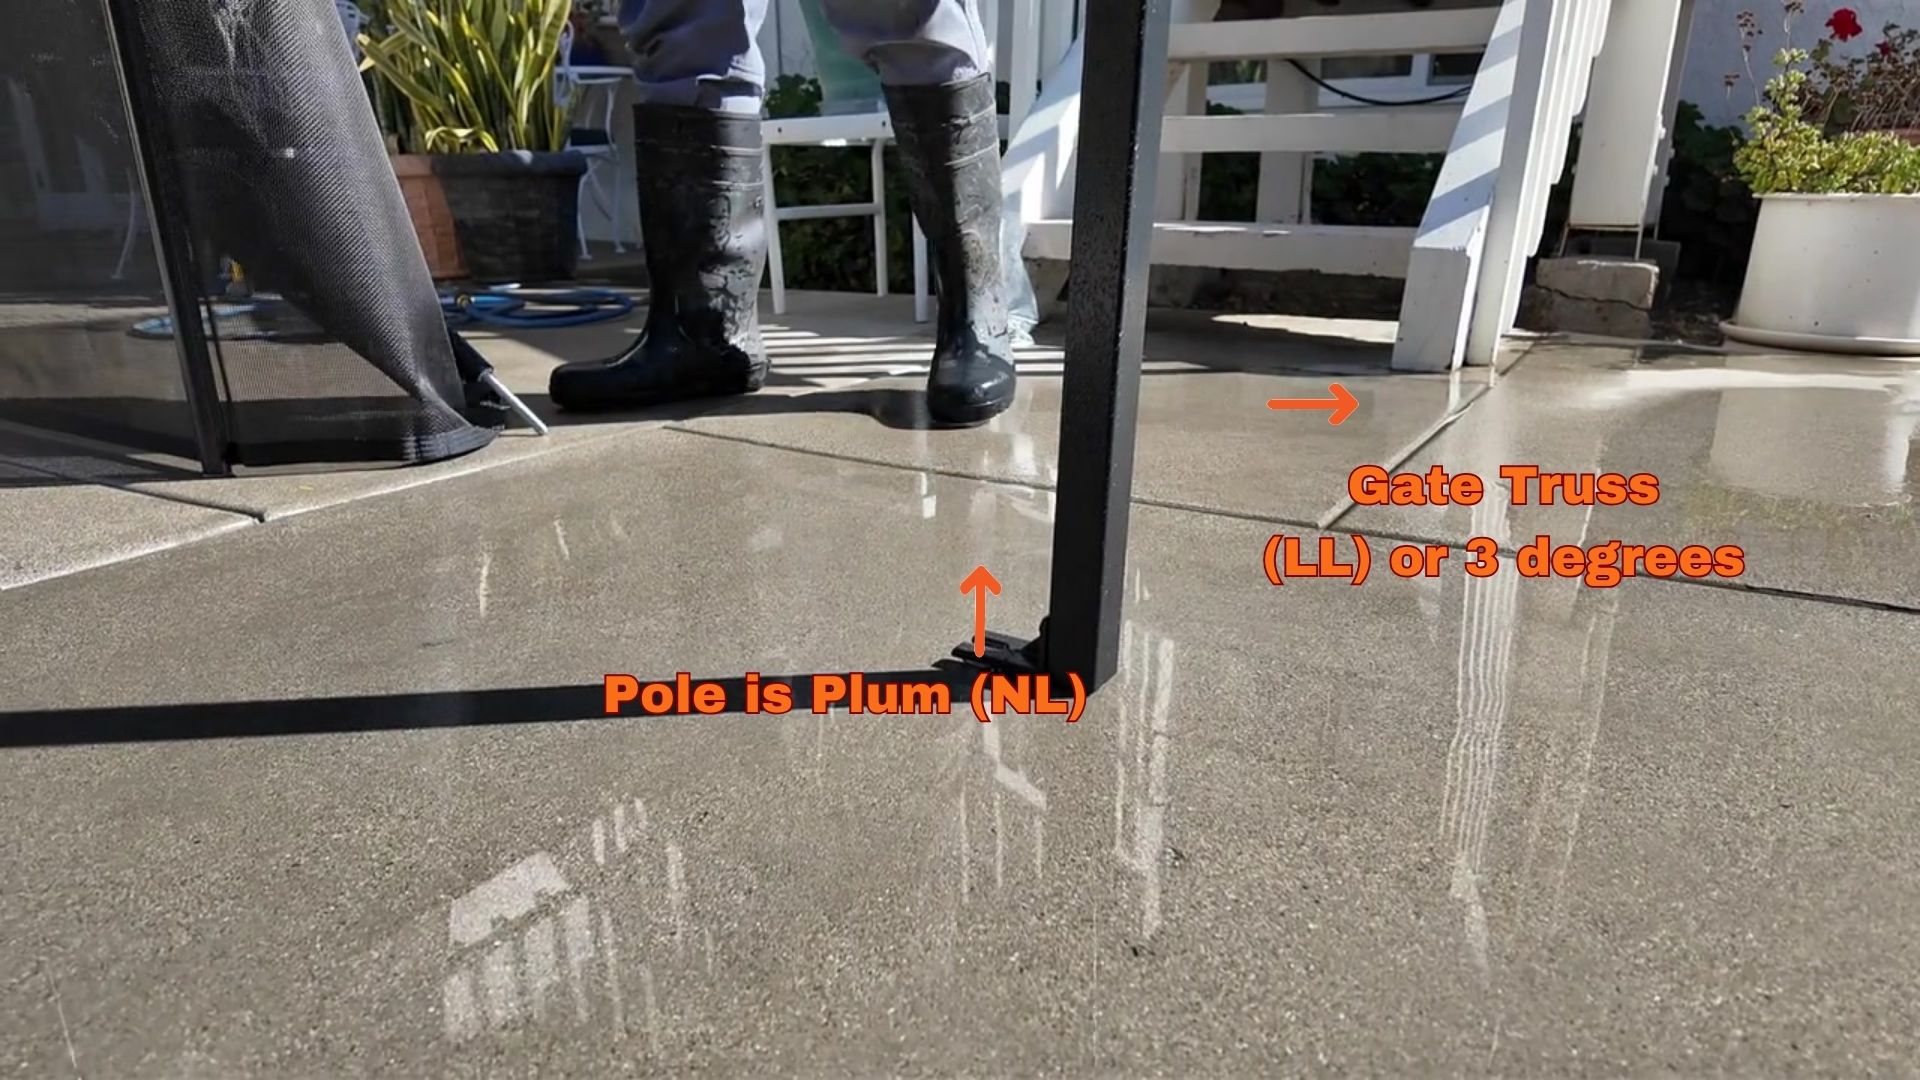
Position the guide sideways, drilling holes so the gate trusses lean slightly towards each other

This is an example of how it will look before you attach the trusses to the fence
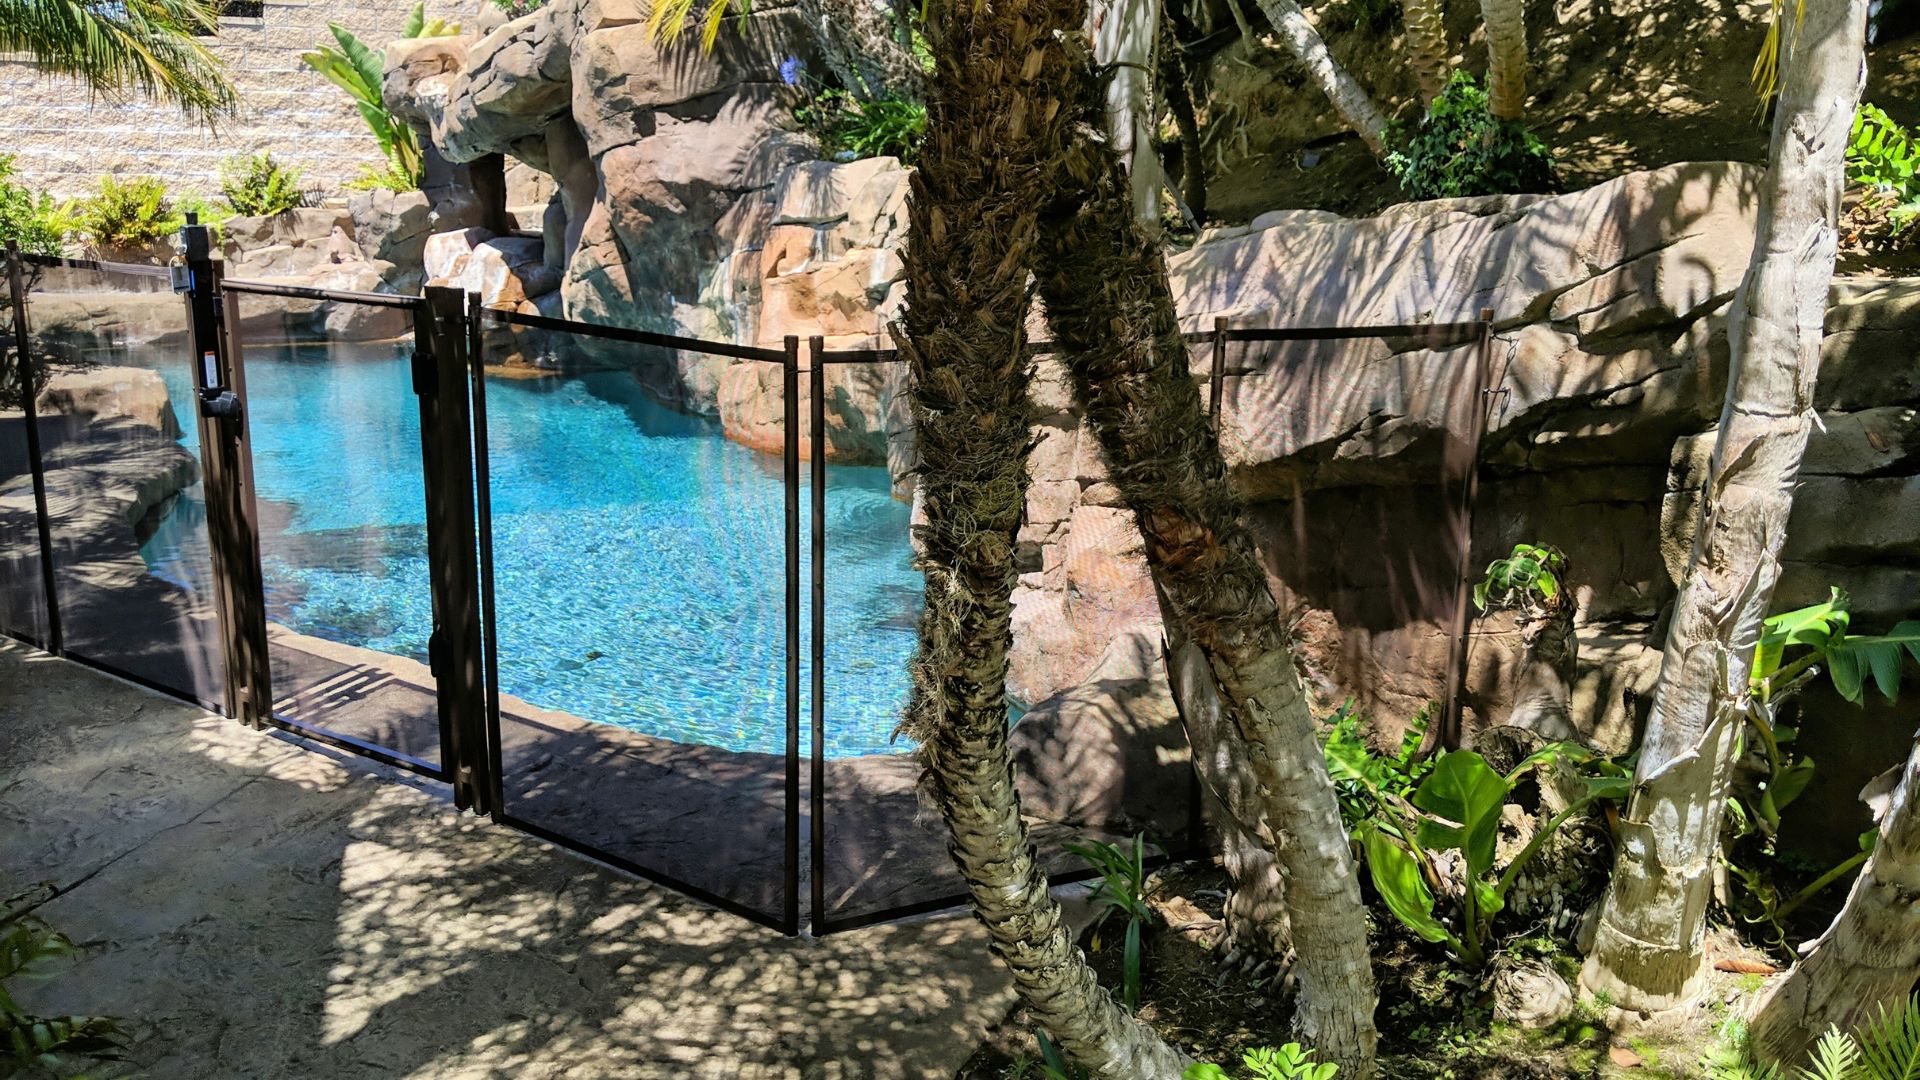
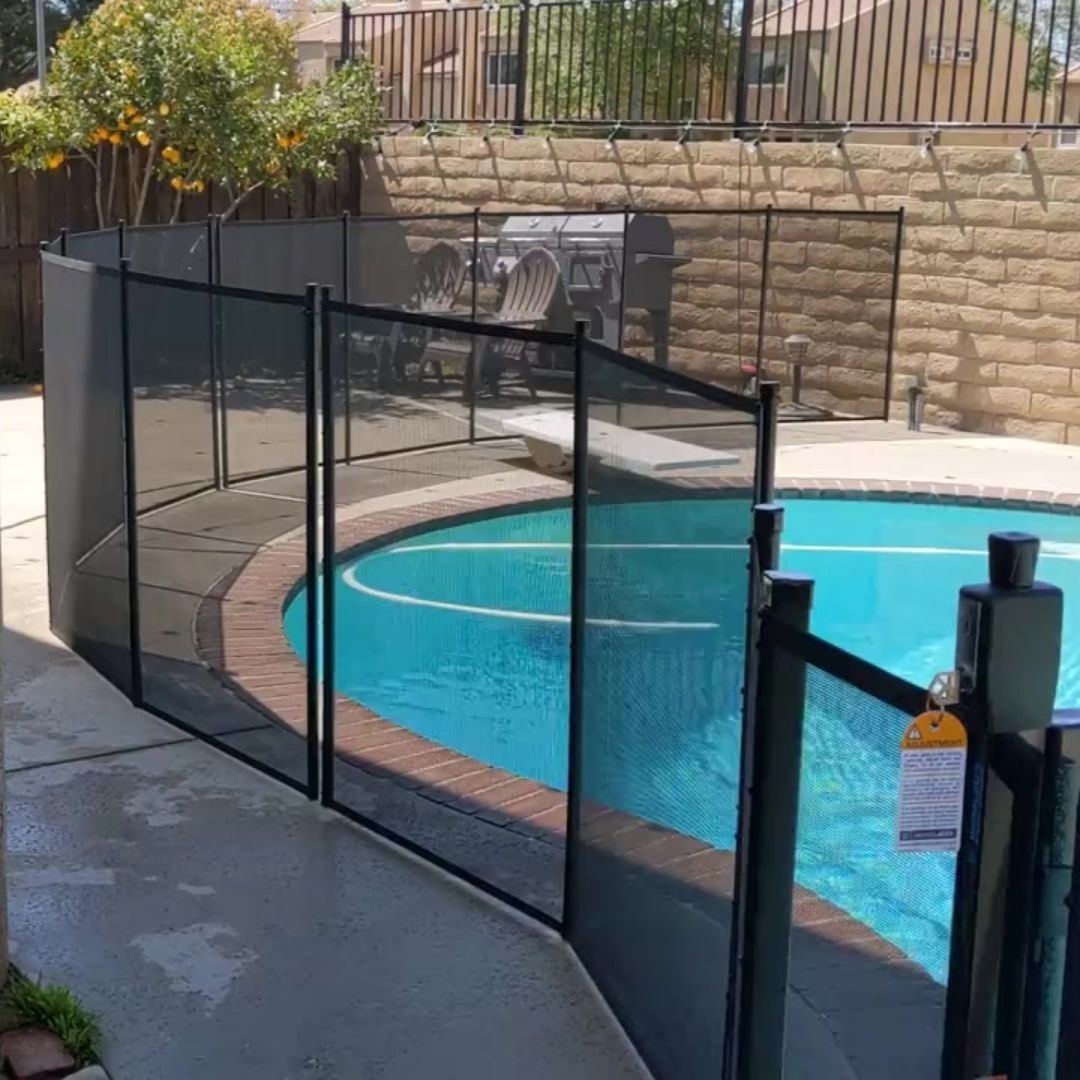
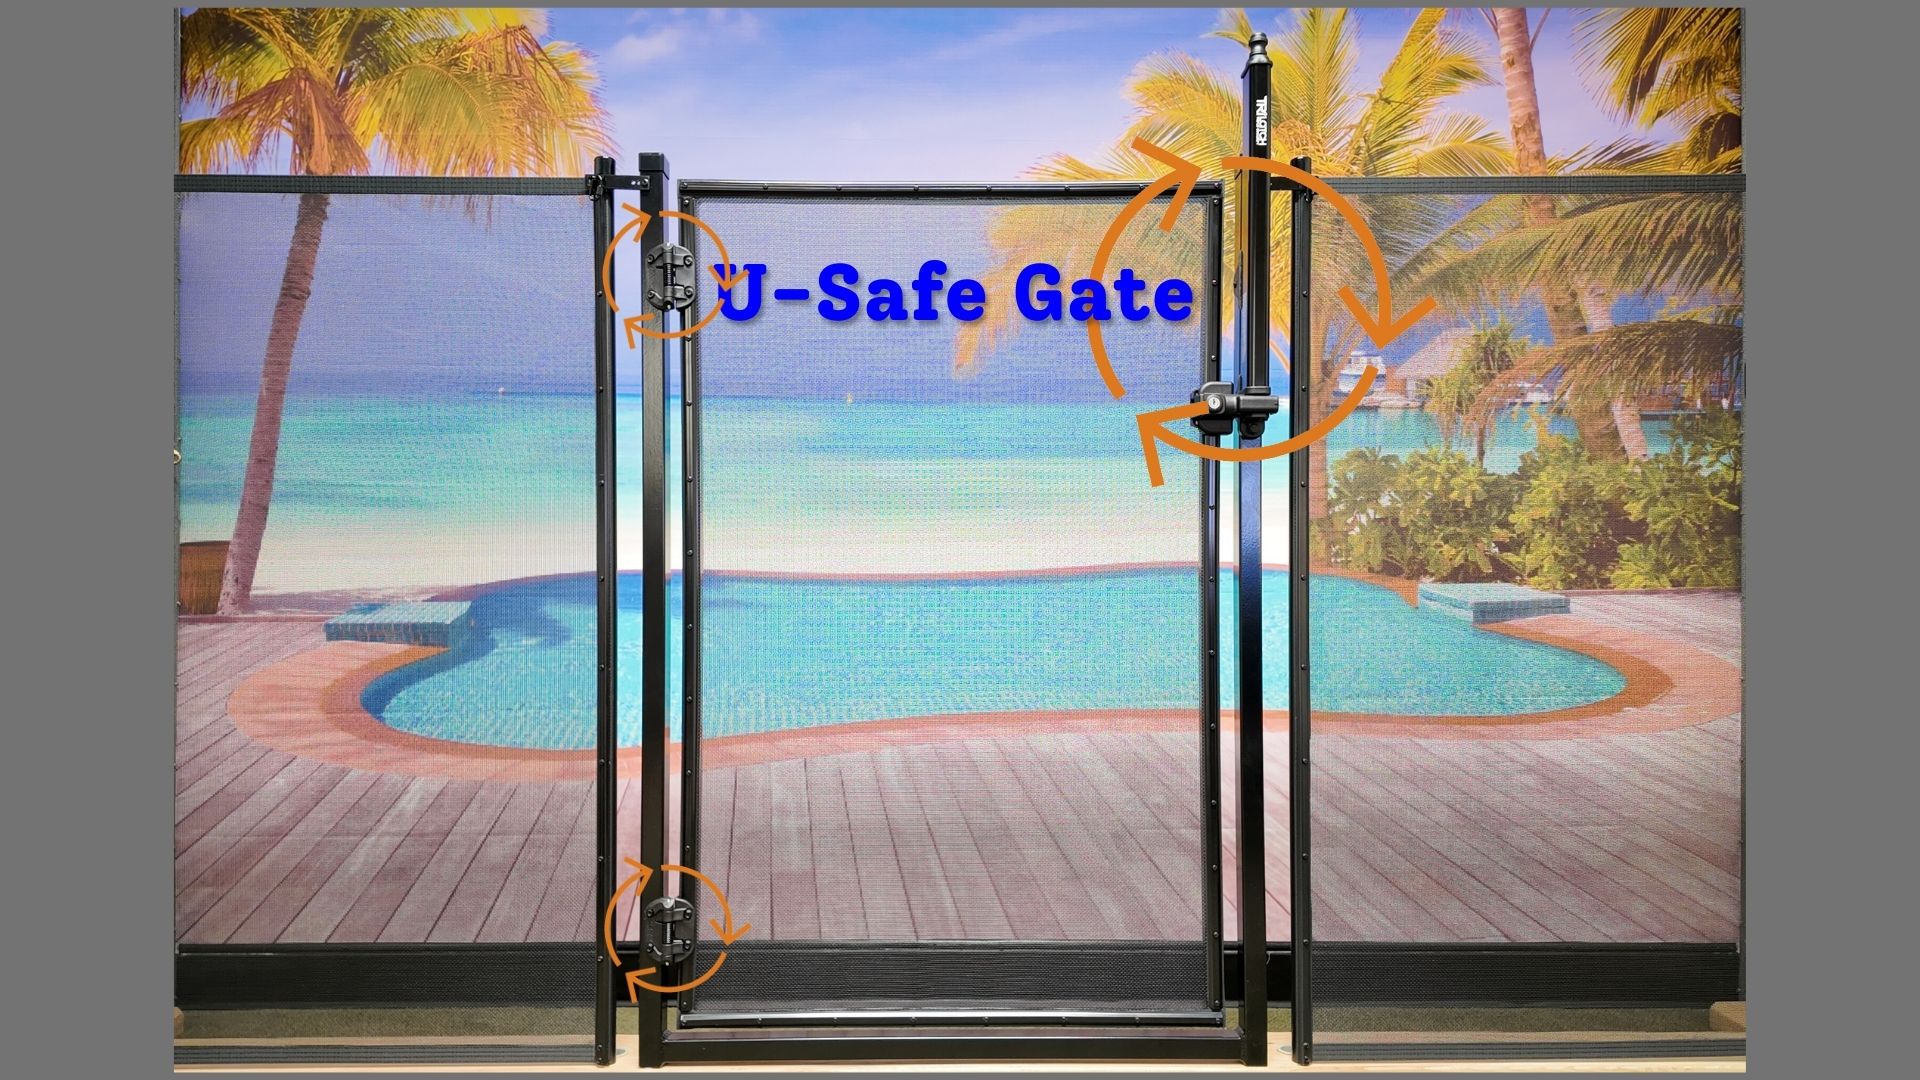
The simplest gate option is the U-Safe gate, requiring plumb (No Lean) holes.
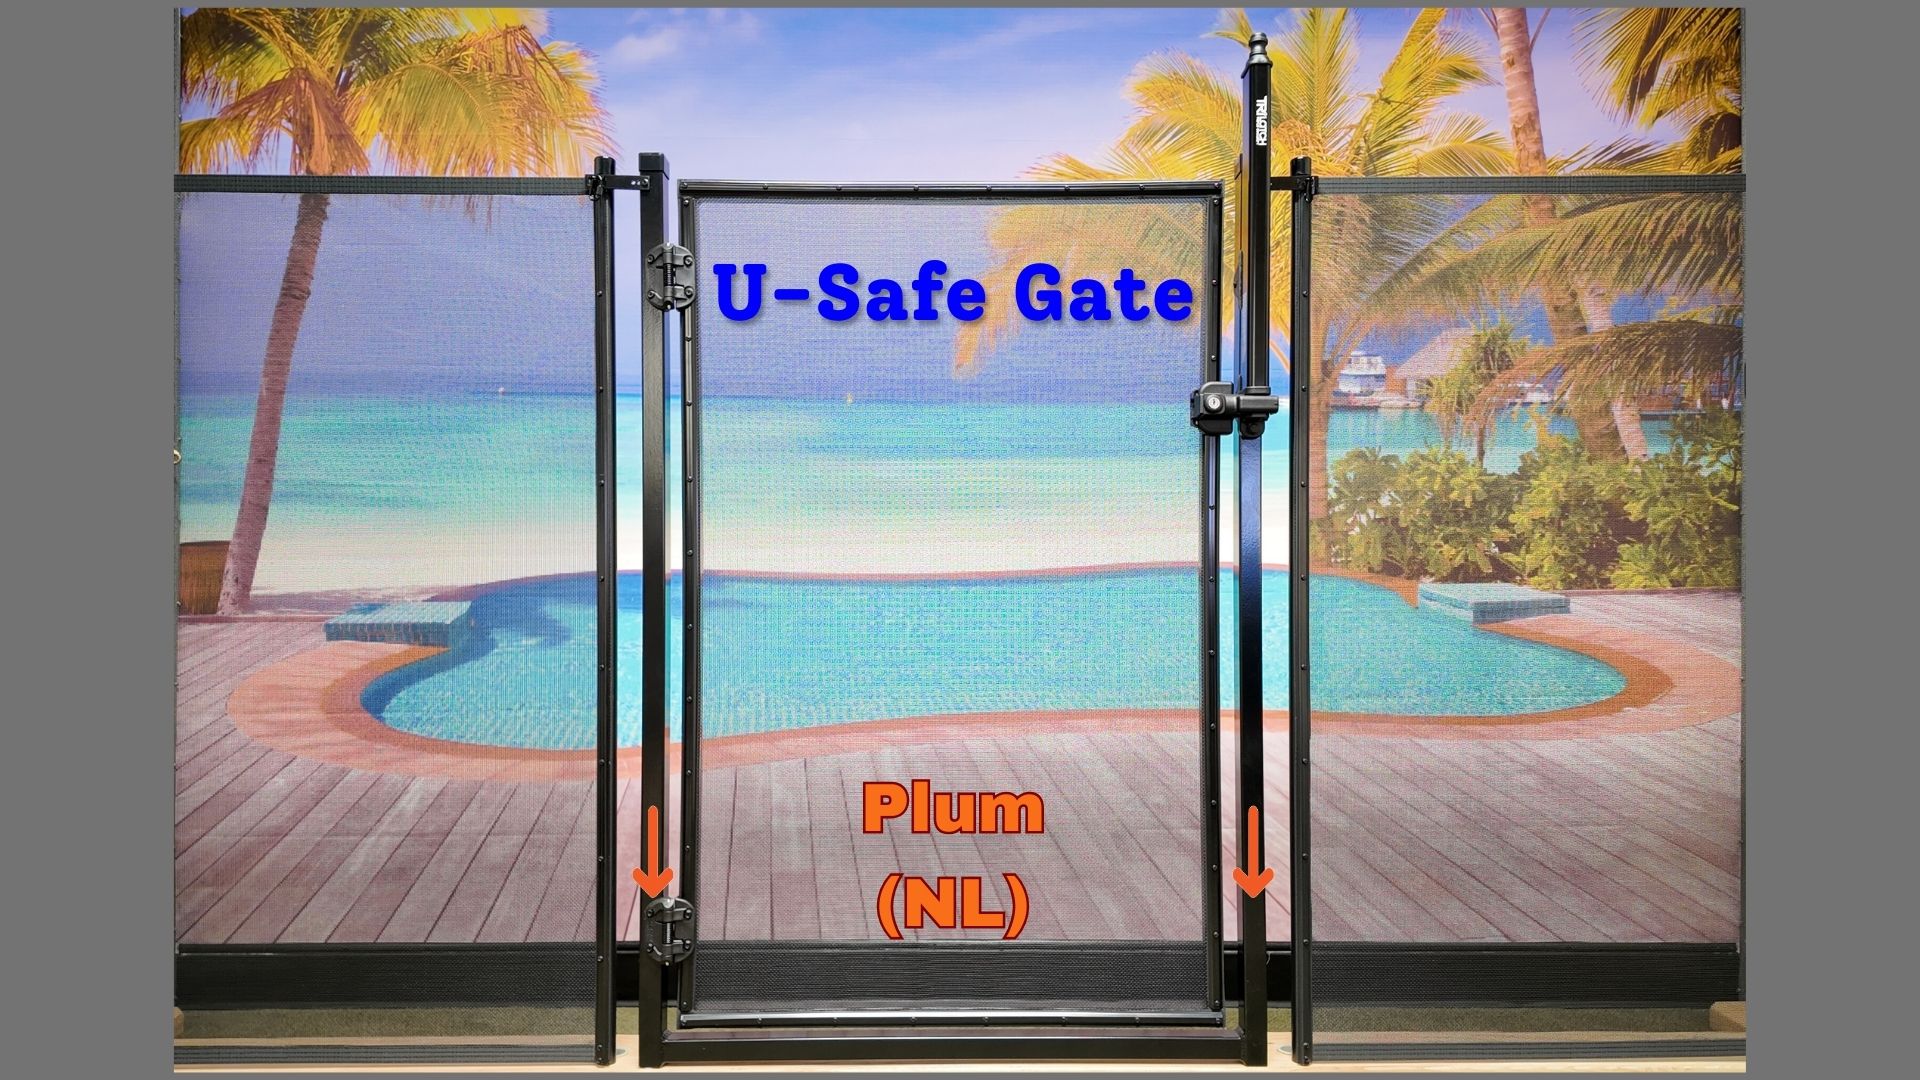
The U-Safe gate arrives with all necessary hardware pre-installed, allowing for straightforward, hassle-free installation directly from the box.
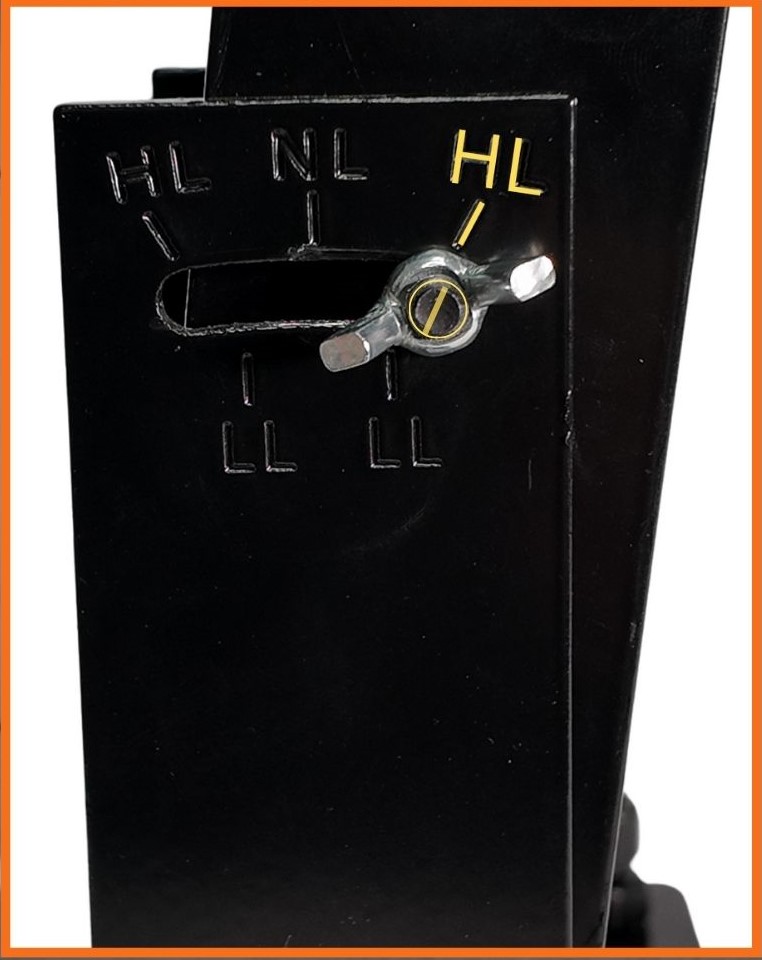
Heavy Lean Setting
And Lastly, HL or Heavy Lean is between to 6 to 7 degrees is designated for more extreme angles like the double pole corner