
How to Put on a Safety Net
A pool safety net is secured into place in a matter of minutes. Our video will walk you through the steps to secure your cover and safely secure your pool
Time to apply the Net to the Pool
Application time for your net will vary based on the size of your pool, the shape of your pool, anchor location and anchor accessibility and overall user experience.
1. Bring your net out of storage
Ideally your net was stored in a safe place that is free from rodent and pet damage.
2. Place your roller at the start location
Make sure you place the net roller at the same location from where you removed the net previously. It’s critical you start at the same point so your net will go on quick and easy. Hook your roller clip into the anchor in your deck so your roller is held in place while you remove the net.

3. Pull the Net off of the roller
Pull the net material through the square on the front of the roller. Your material starting point will t typically have a colored piece of twine to mark it as the material starting point.
Continue to hold onto the net material as you walk to the other side of your pool, pulling the material with you. Walk until you find the starting anchor (the starting anchor on your deck is typically marked with a black dot and/or divots drilled into the anchor). This anchor is typically across from the roller on the other side of your pool.
Walk until you find this anchor location and hook your clip into the starting point.
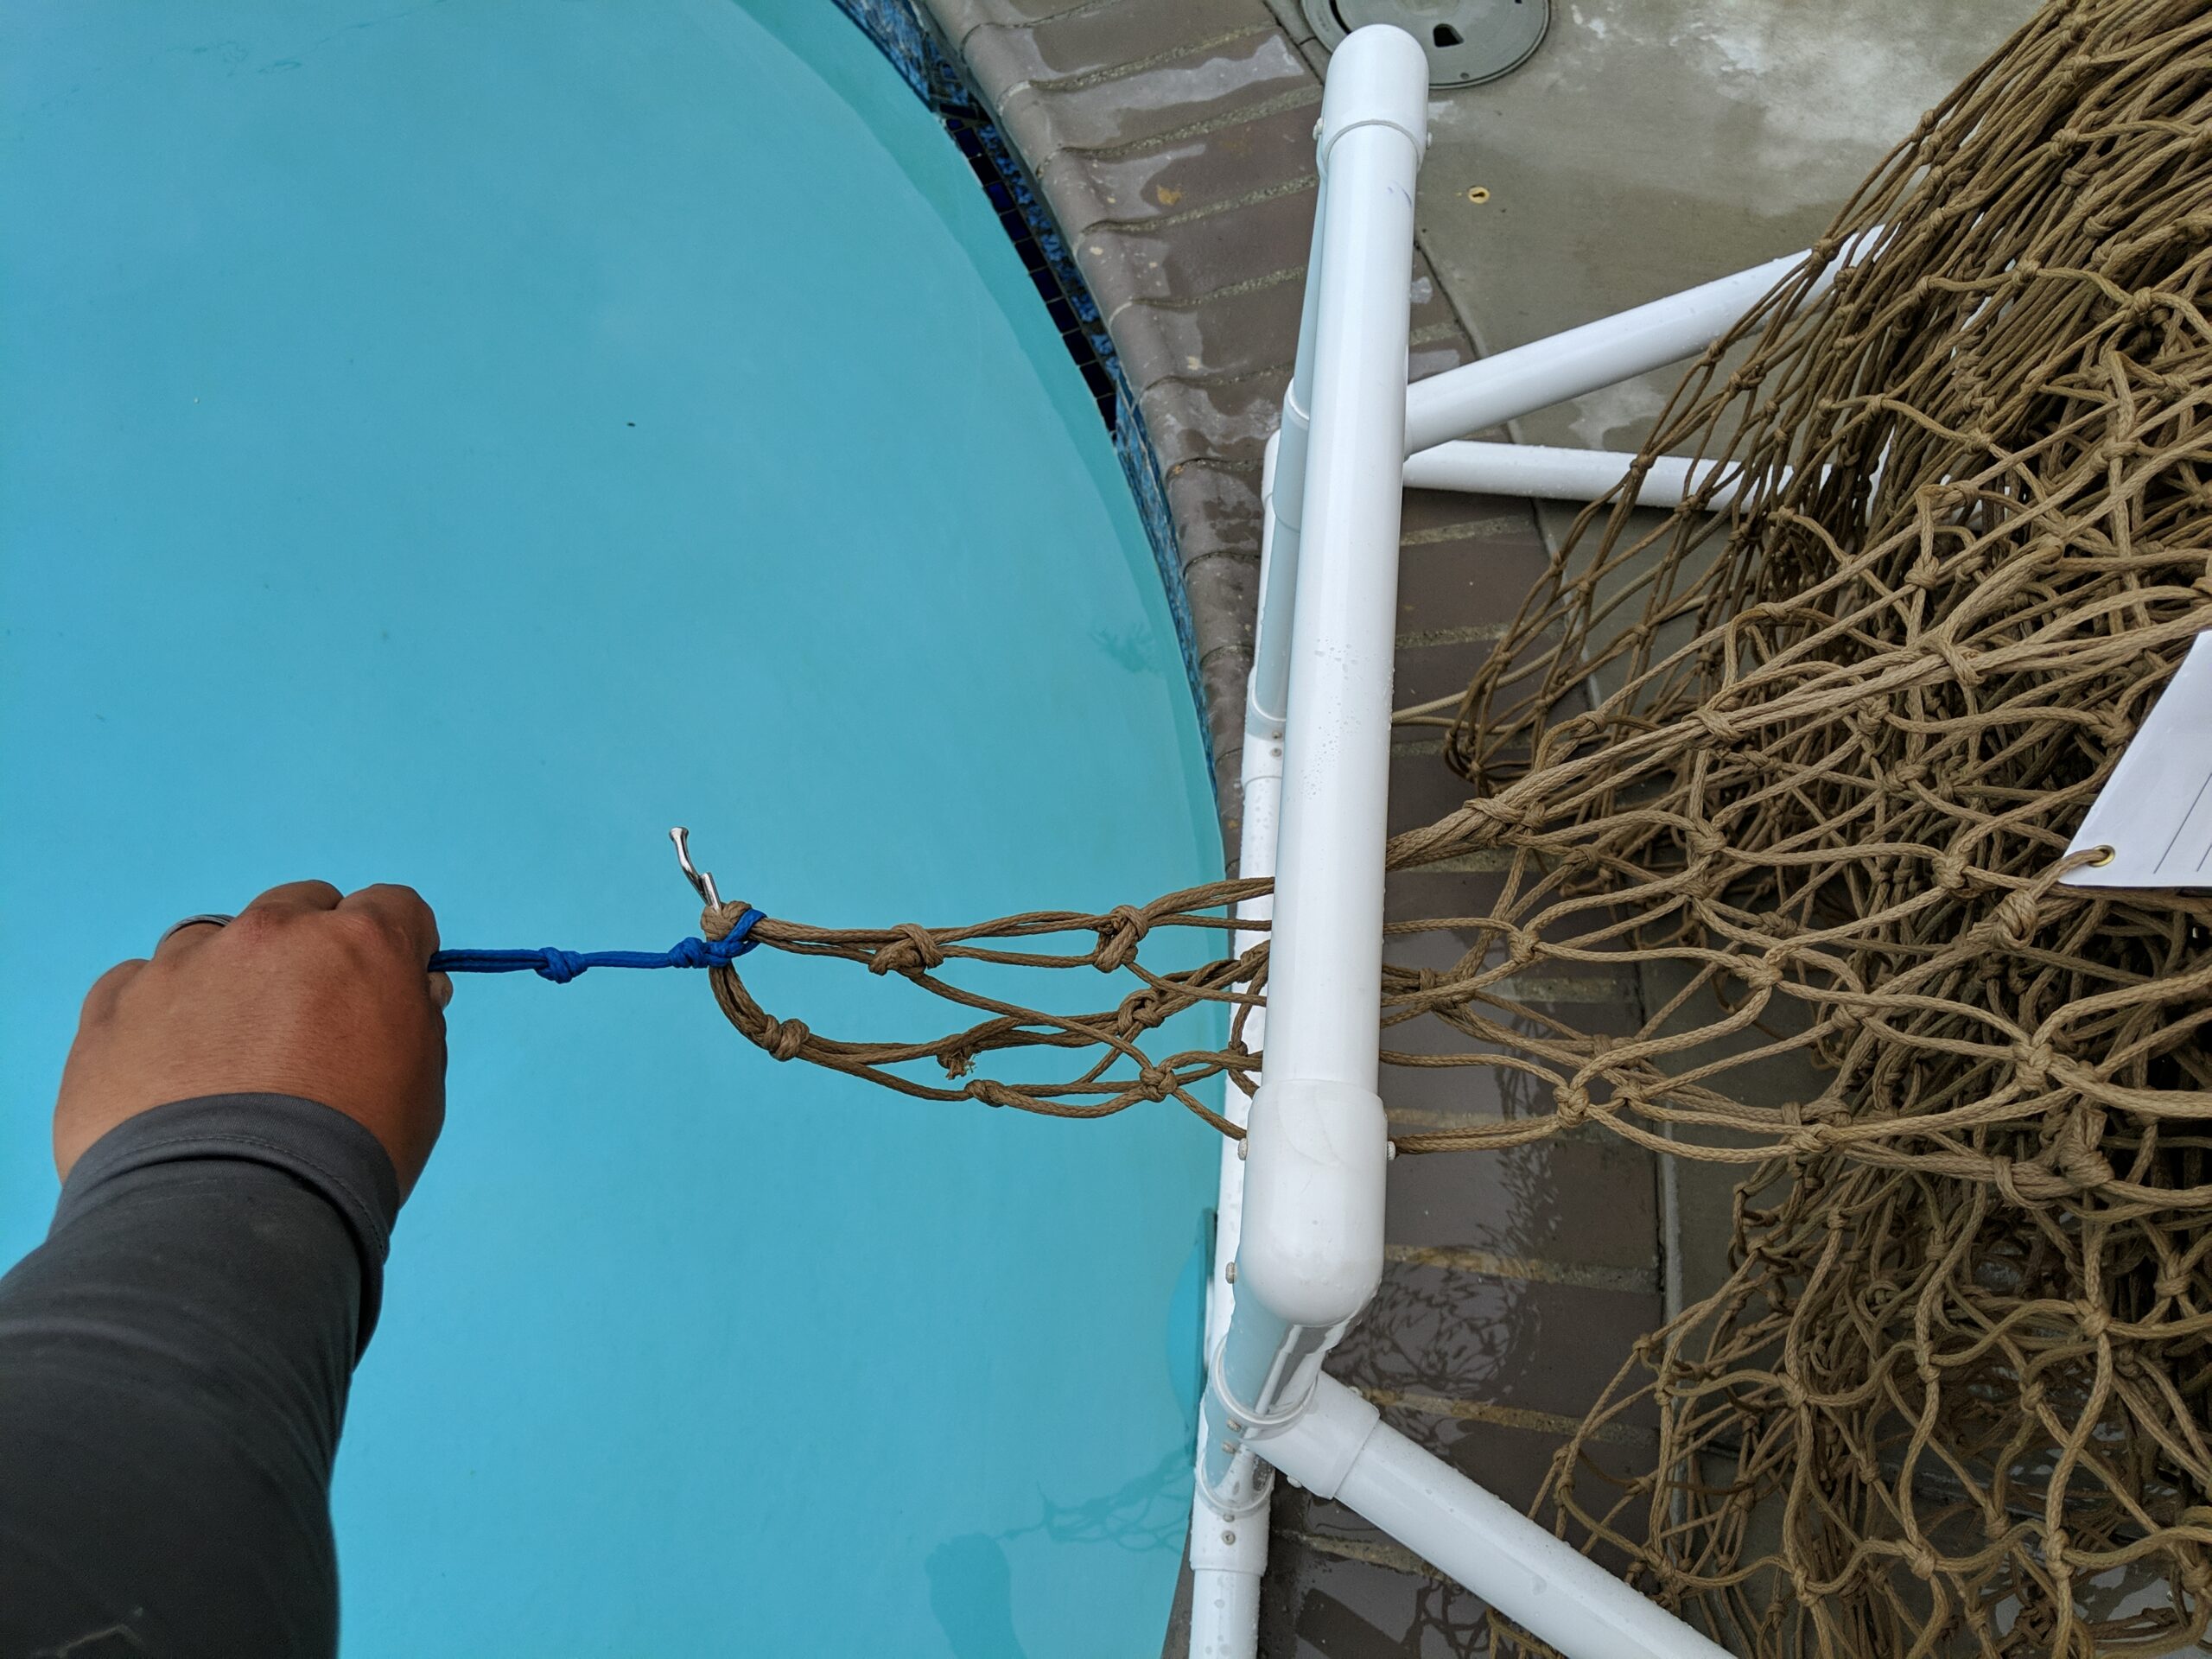

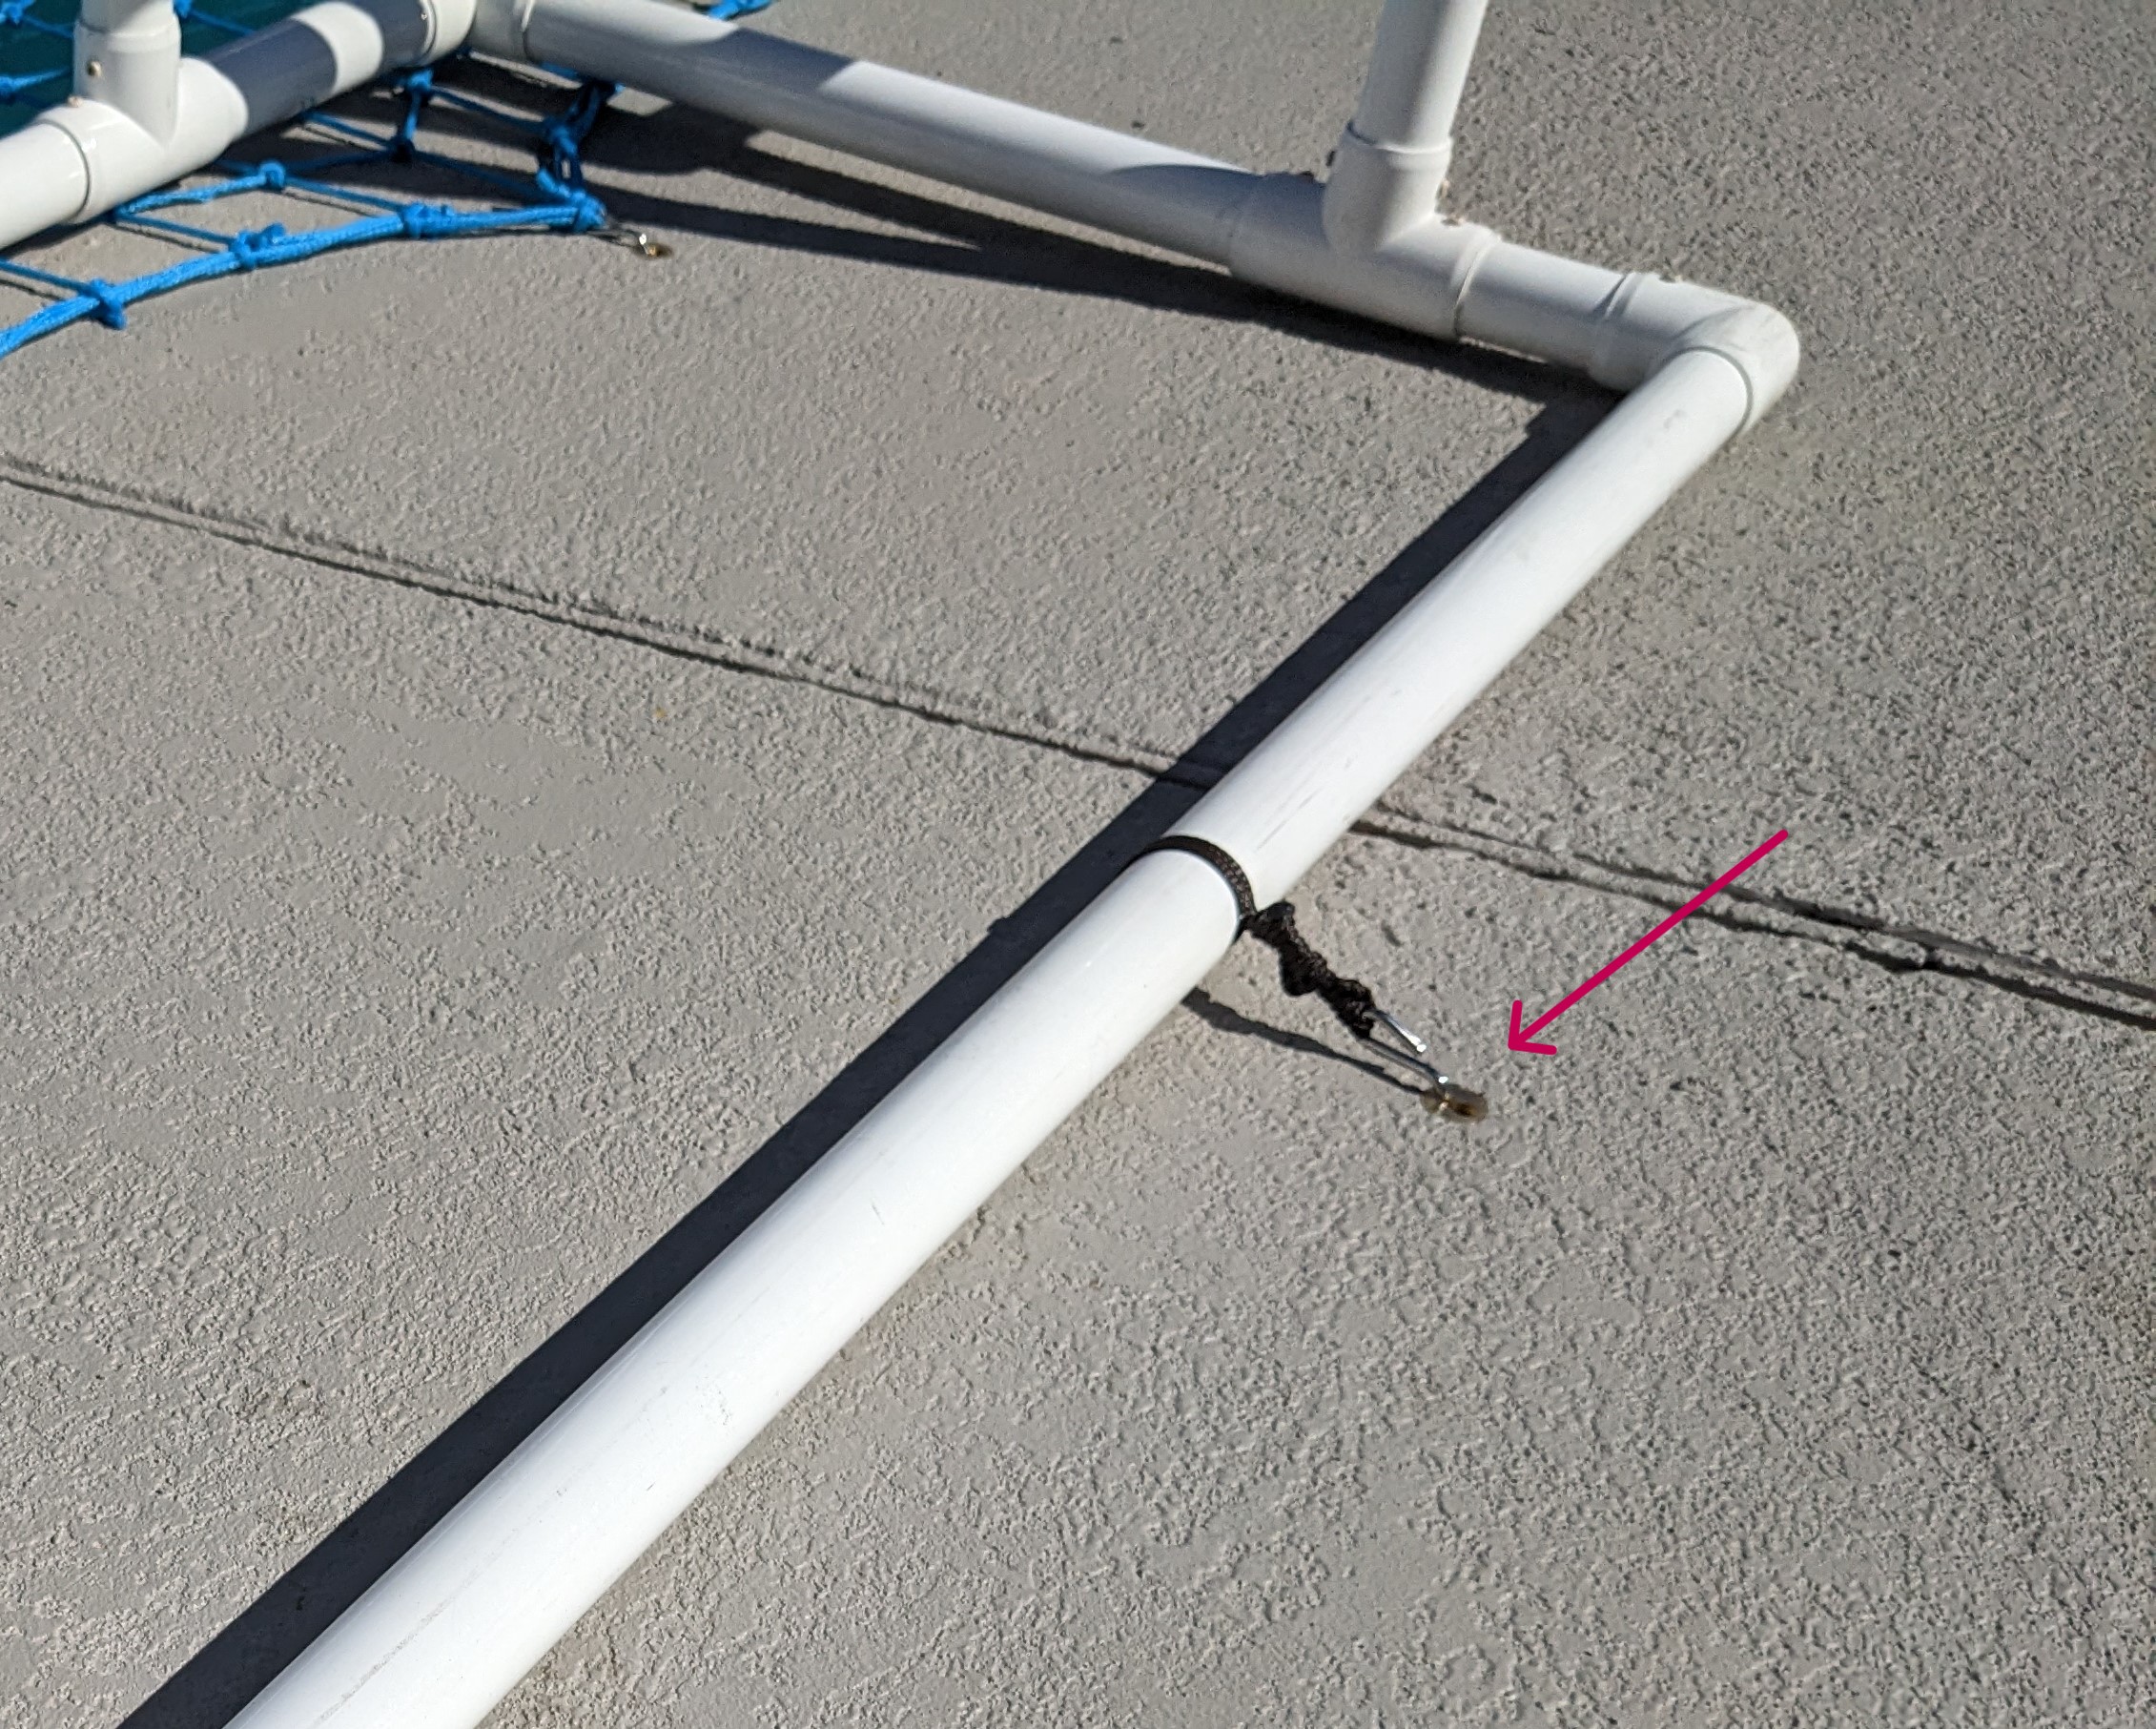
4. Attach the clips to the anchors
Start with attaching the 4 corners of your net. Spread the net out as you go and find what is close to a corner and attach the clip to the anchor. This will assist with making the net easier to work with. Once you have done this, go back to your starting anchor and attach each clip to its anchor working around the pool. This will ensure that each clip is in the proper location.
5. Apply tension to the “CTS”
If your net installation has a “CTS” (Central Tensioning System), you will need to apply the tension to the net. Locate your tensioning tool (tension tool varies based on what was selected at time of quote) and attach the tension tool line to a CTS line, clip the second CTS line into the anchor and begin to apply the tension. As you apply tension, the center tension system (pulleys) will tighten up. Continue until full tension is applied. Secure your tension line into the deck and remove your tensioning tool.
Helpful Tips
-If your net anchor is not marked with a divot, you can mark your anchor with a permanent marker. If your net material starting point is not marked or has lots its twine marker, grab another piece of twine/rope and tie it at your net material starting point.
-If you are ever missing clips, need a new tension tool or roller, replacements are always available for quick shipping.
-If your net was left off of your pool for an extended amount of time and will no longer fit, its possible that your net material has shrunk. In most cases, you can easily remedy this situation by swapping out some of your standard cone head clips for extended cone head clips. Extended clips are available in 2 Inch, 4 Inch & 6 Inch options.