How to Pick the Right Layout for Your Pool Fence
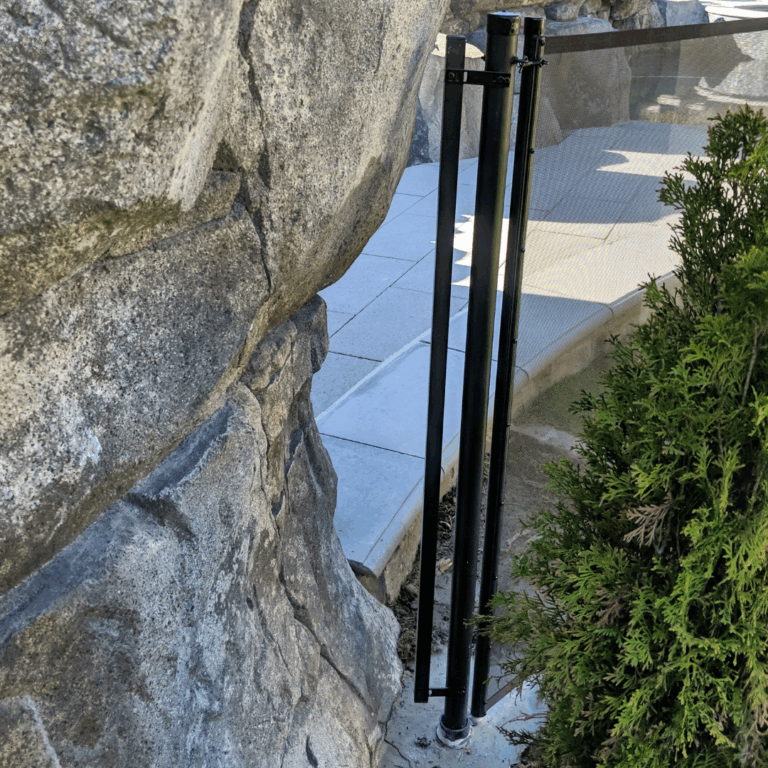
Whether you plan to install the fence yourself or are hiring a local All-Safe reseller, choosing the right layout is essential. The layout impacts everything—from how safe your pool area is, to how easy the fence is to install and use, to how it looks in your backyard.
A good place to start is by comparing two common layout options:
- Going around the pool
- Going straight across the yard
Each approach has pros and cons depending on your priorities—whether it’s maximizing play space, minimizing fence length, or keeping installation simple.
This article walks you through what to consider when planning your layout, including:
- Safety best practices
- Common mistakes to avoid
- Functional tips for long-term performance
- How to make your fence look clean and professional
Even if you’re not doing the installation yourself, understanding these key points will help you make informed decisions and clearly communicate your goals with your installer.
✅Safety First: Design with Protection in Mind
Safety is the #1 priority when planning a pool fence layout. Here are the critical safety factors to consider:
Access Points
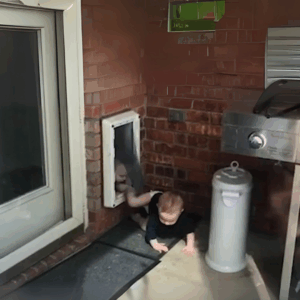
Start with a full inspection of your yard. Identify any areas that could allow access to the pool, such as:
- Doors leading from the house
- Low windows
- Doggy doors
- Side gates or garage entries
These access points may require special coverage or gate placement in your layout.
Climbable Structures
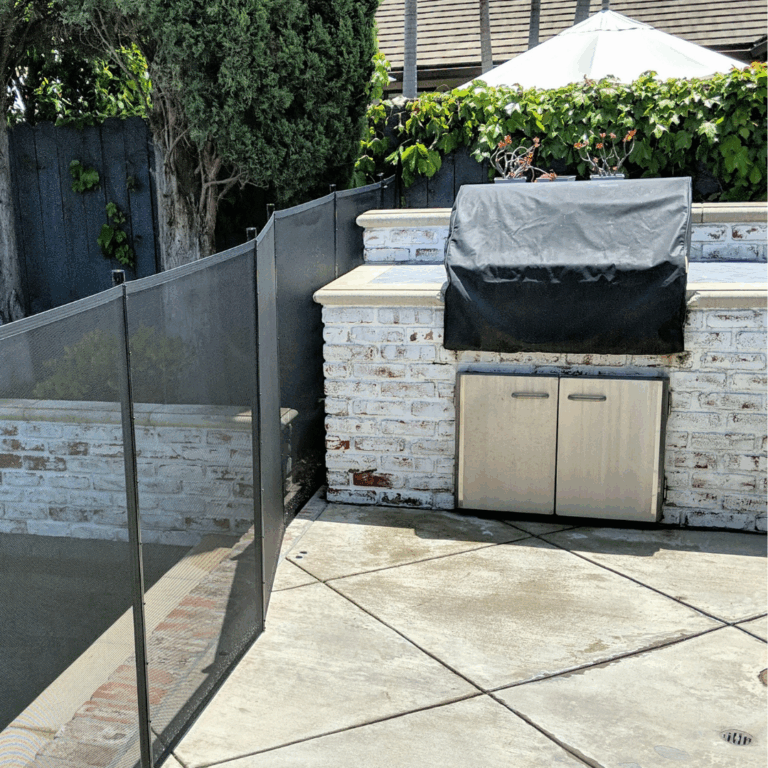
Keep the fence at least 18–24 inches away from anything a child could climb, such as:
- Planter boxes
- Benches
- Low walls
- Raised landscaping
Even small ledges can become a risk when placed too close to the fence.
Dangerous Gaps
Your layout should follow basic safety clearance rules:
- Horizontal gaps between vertical fence elements should be less than 4 inches
- The gap under the fence should not exceed 1 inch, to prevent crawling underneath
✅Keep the Layout Clean and Simple
The best layouts are easy to install, cost-effective, and look great.
Use Straight Lines and Soft Turns
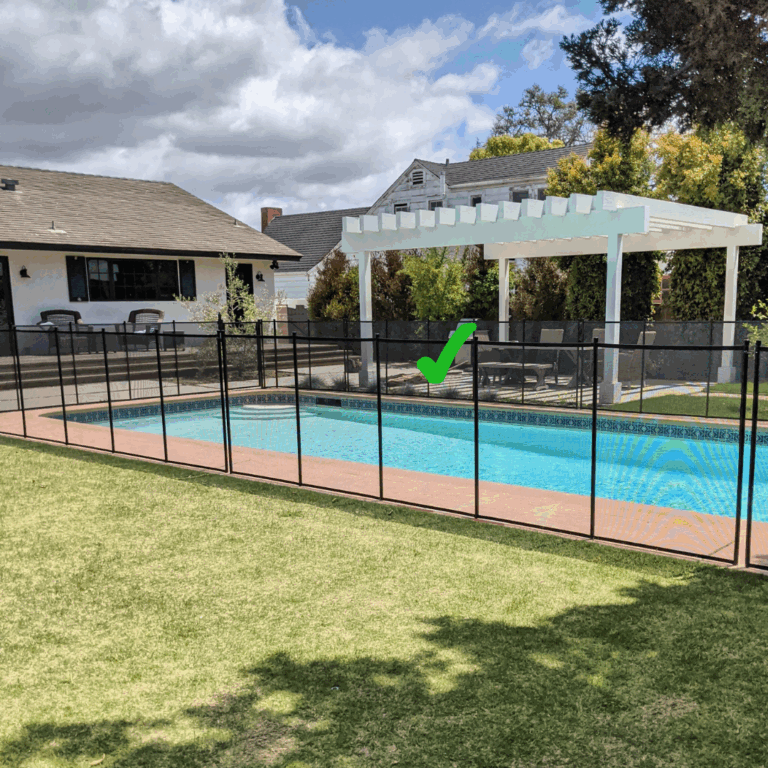
Pool fences use poles spaced every 3 feet. Straight lines and smooth, rounded turns help you:
- Use standard section lengths
- Minimize waste
- Maintain clean, professional lines
Avoid “Snake-Curvy” Designs
Wavy or zig-zag layouts can cause opposite pole angles, which:
- Look uneven
- Are harder to install
- Weaken overall tension
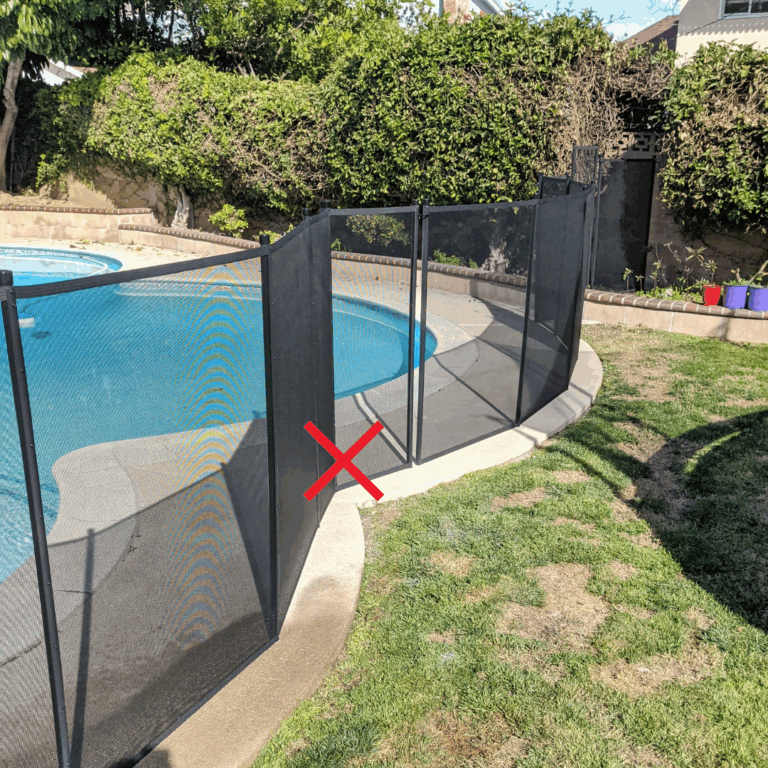
Minimize Elevation Changes and Sharp Turns
Avoid unnecessary steps, curves, or direction changes unless your space absolutely requires them. Simpler is always better.
Follow the Pool’s Shape (With Caution)
You can often follow the general line of the pool—but only if you maintain safe distances and avoid tight curves or obstacles.
✅Think Functionality First
The layout should support how your fence functions over time.
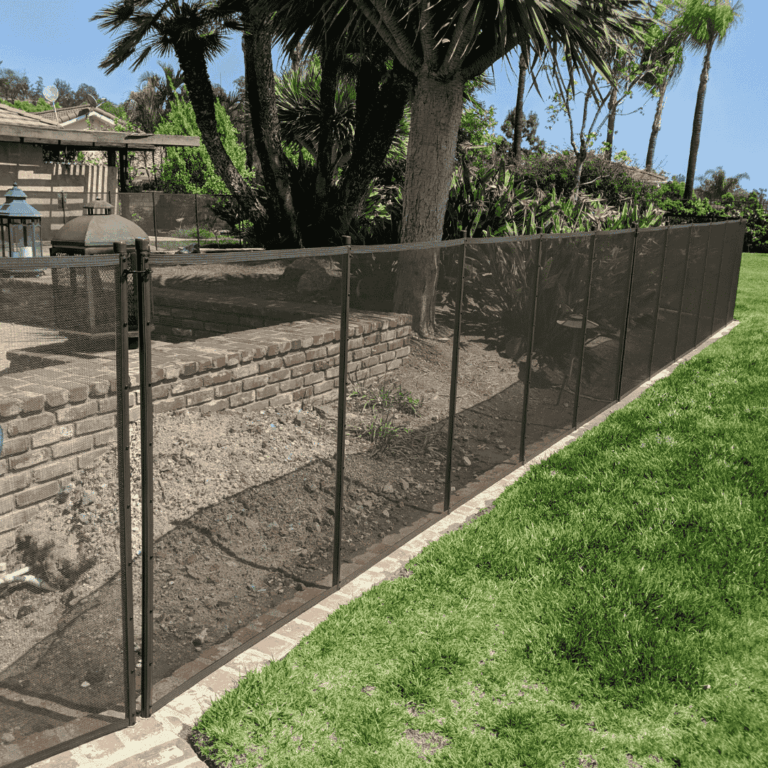
Install in Solid Surfaces When Possible
Concrete is best for tensioned mesh fencing. While it’s tempting to avoid drilling into your deck, dirt or grass installations are:
- Less secure
- More likely to shift
- Harder to maintain
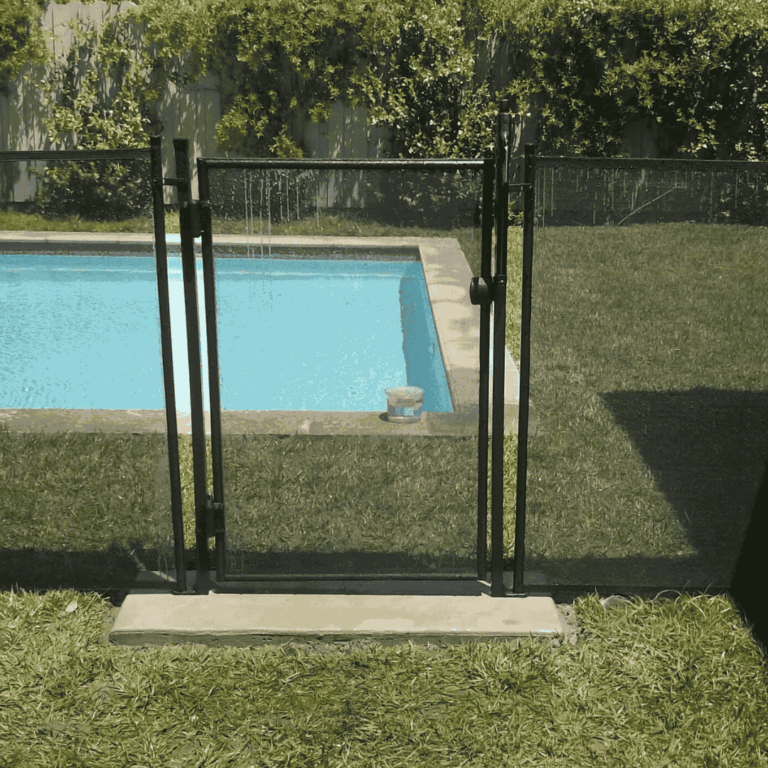
Place Gates on Flat, Solid Surfaces
Your gate is the most used part of the fence. To function properly, it should:
- Be installed in a straight line
- Be drilled in concrete or other hardscape
If you must install in grass or dirt, use a gate pad for added support.
✅Plan Your Space Inside and Out
Layout choices affect how the pool area functions and feels.
Leave Room to Move
The safety standard recommends a minimum of 20 inches between the fence and the pool’s edge. This allows you to:
- Walk comfortably inside the fenced area
- Access someone in the pool if needed
- Clean the pool and use furniture inside the fence
Tight yards may require a closer layout, but always leave as much clearance as possible.
✅Make It Look Good, Too
Your fence can still look great while doing its job.
- Choose dark mesh for maximum transparency—it reflects less light and gives you a clearer view of your pool.
- Keep your layout clean with as few turns or sections as possible
- Avoid dividing the yard unnecessarily
Final Tip
Measure carefully, sketch out your layout before drilling, and use a tape or chalk line to visualize the placement. Whether you’re doing it yourself or working with a pro, the better the plan, the better the result.
Still Have Questions?
We’re here to help!
If you need help finalizing your layout or aren’t sure where to start:
✅ Use our chat feature to talk to our team for expert guidance
✅ Or contact your local All-Safe reseller for personalized support and professional installation options
Your pool fence layout is an important decision—don’t hesitate to ask for help.

