
How To Install a Pool Fence on a Wood Deck
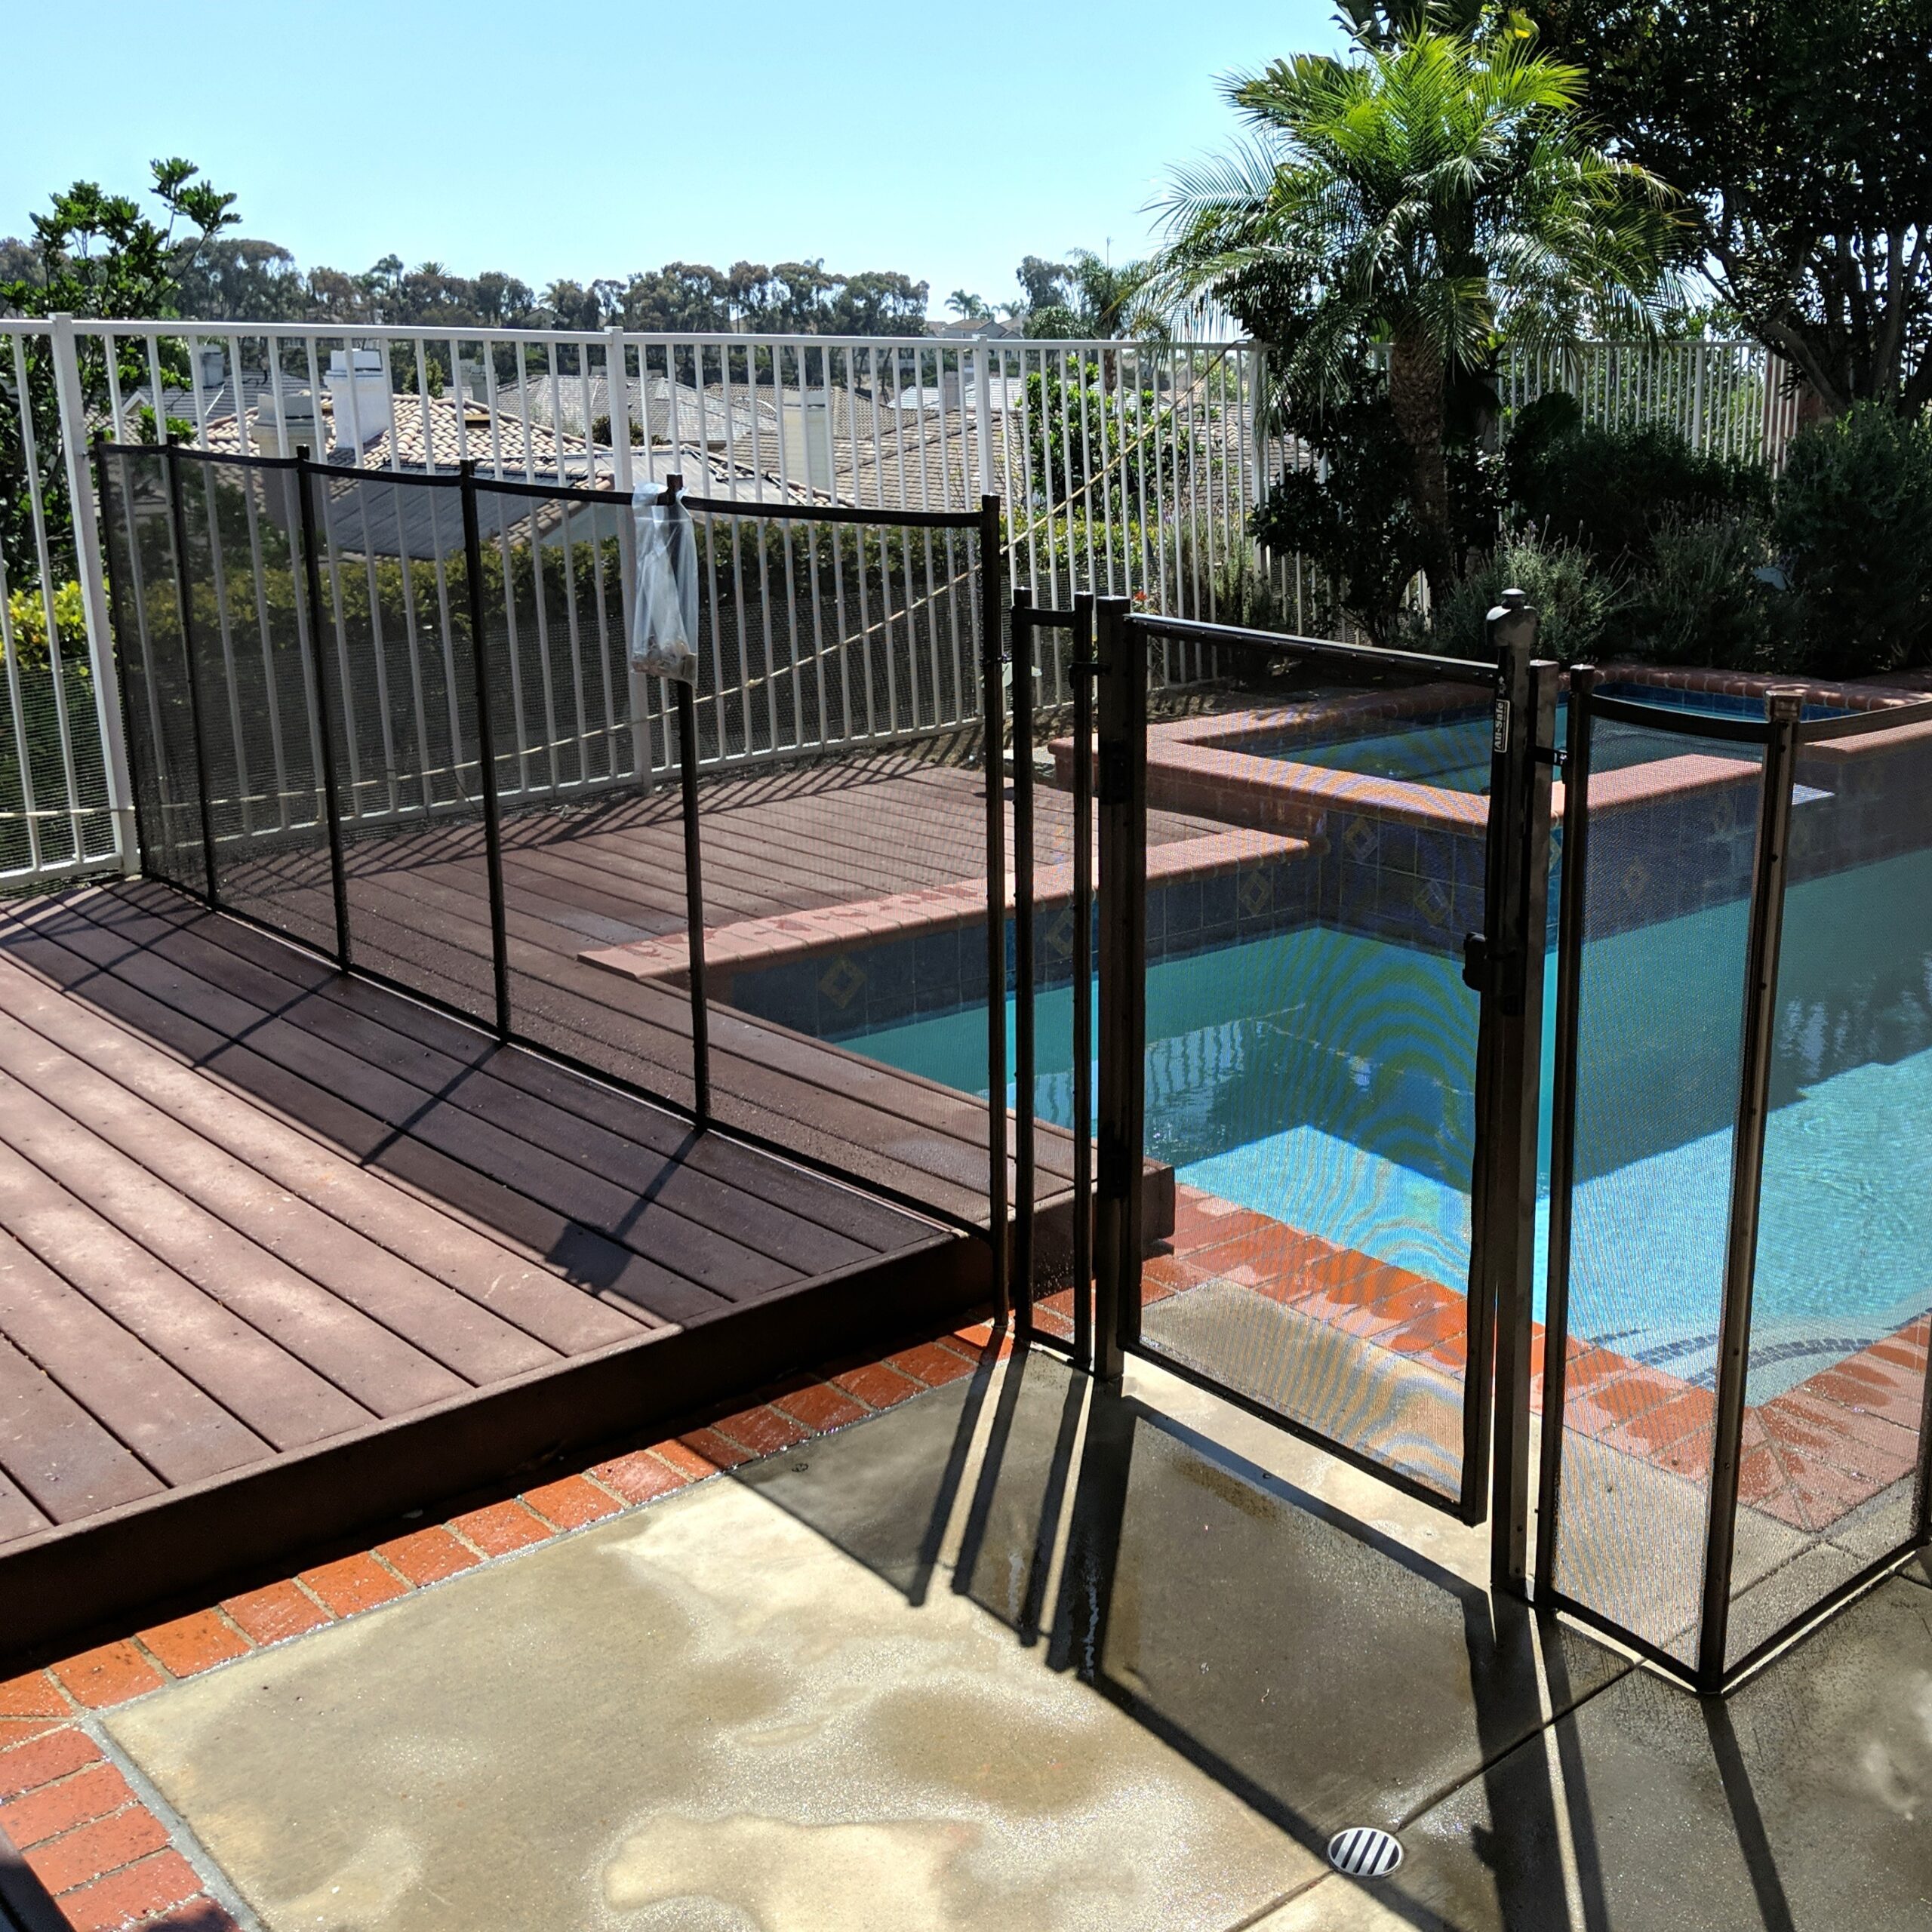
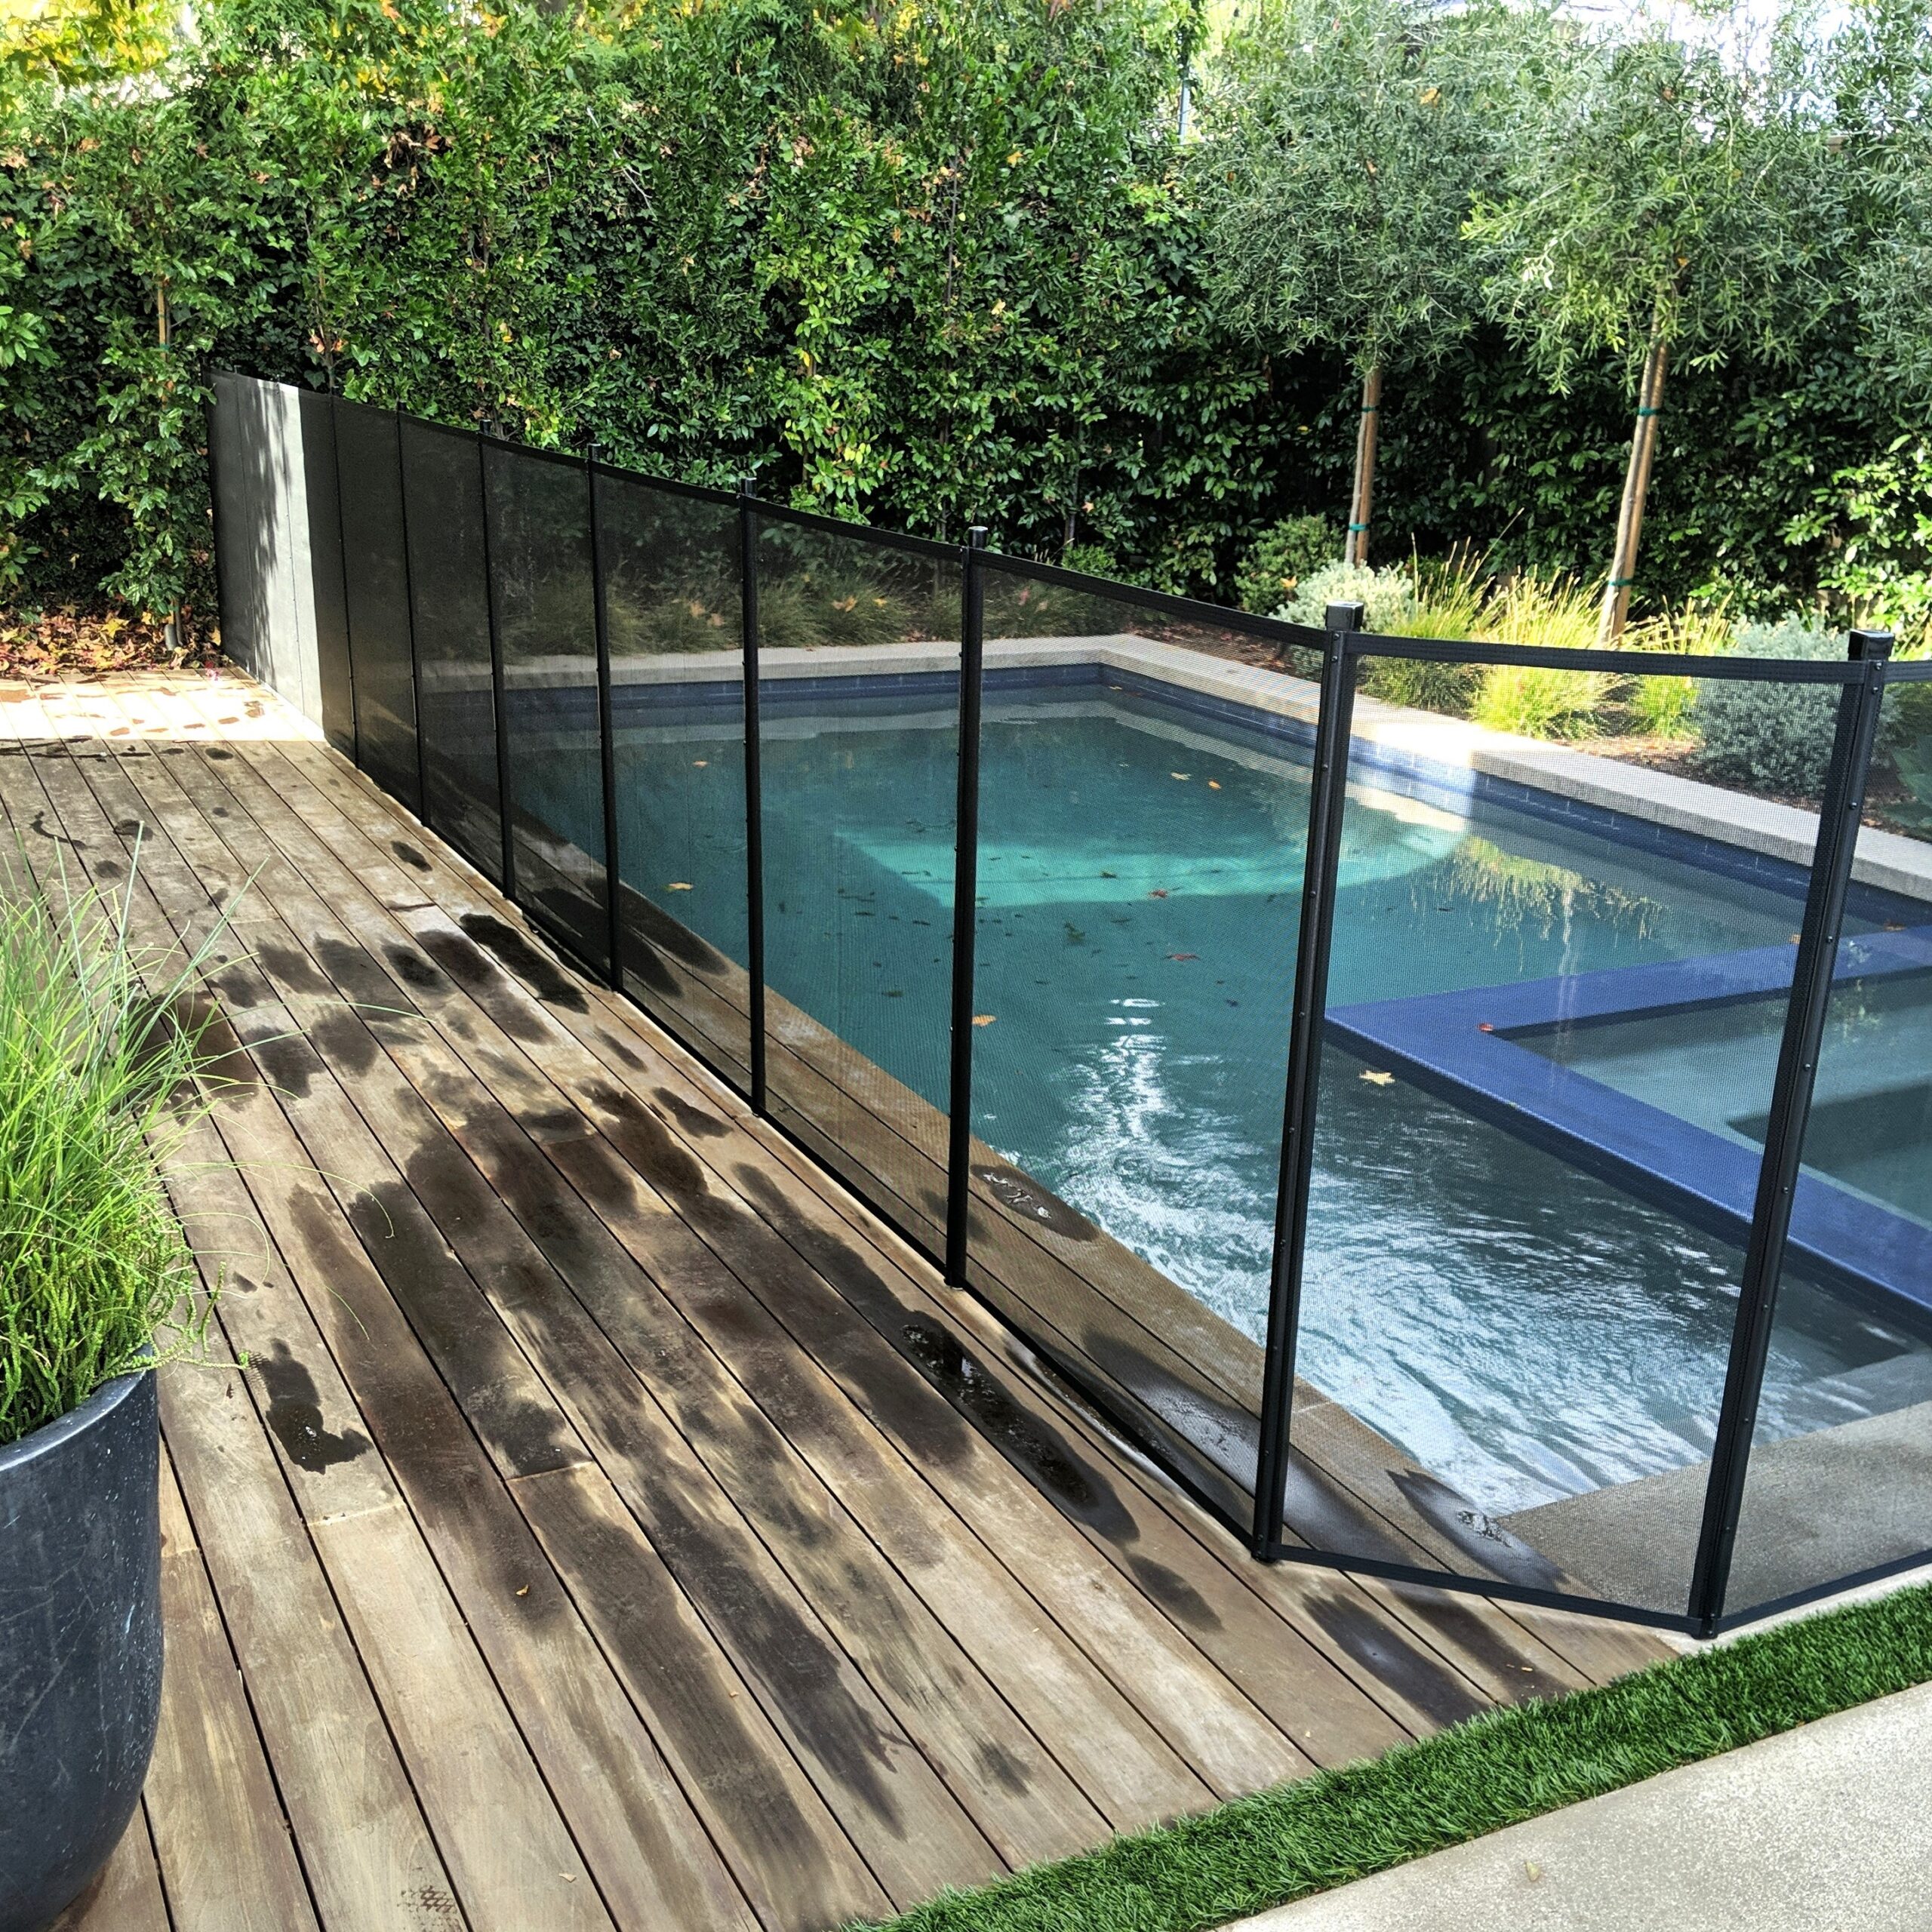
Wood or composite decks have challenges that are very different from other surfaces you will encounter on a typical pool fence installation. If you have a Wood Deck and are considering installing a Pool Fence, it may be possible. If you can access the joists under your deck, this is the best case scenario because you will need to install along the joists.
We would recommend hiring a professional reseller/installer to do any pool fence installation in wood or composite decking.
Tools Needed
A typical core drill on a stand will be needed to drill plumb holes in the wood or composite deck. The drill should have the ability to accept:
- Core Drill on a stand
- Wood Chuck Adapter
- ⅝” Spade Wood Bit
- ⅝” Diamond Tip Core Bit (occasionally)
You should also use something like a piece of vinyl flooring or thick cardboard between your drill stand and the deck to keep from scratching or marring the customers deck.
Pool Fence Material Needed
If you can locate a joist that will span your layout, then you can use All-Safe’s pre-assembled, 36 inch spaced, 15 foot long, peg pole section of fence. If the structure of the deck is staggered and not hitting 36 inches on center, then you should assume that the fence will need to be built poolside or “build on site”. Build on Site is a term we use when a fence needs to be built poolside using all of the raw materials like single poles, moldings and mesh with border.
We recommend only using the Peg style fence for wood or composite decks because of the size of the joists you will be drilling into.
*Keep in mind: current ASTM standard is no more than 40” on center between poles
Installation Video
Installing a pool fence into a wood or composite deck can be challenging. Knowledge of the substructure and condition of the substructure is imperative to a successful install. Because the joists in the substructure are 2” X 6” or 2” X 8” you should only use a Peg style fence. The hole you will drill into the deck will be ⅝” to accept the sleeve for a Peg style fence. The actual size of a 2” X 6” or 2” X 8” is only 1 ½” wide, so you will need to make sure you can hit the joist dead center.
What to watch out for / Helpful Tips & Tricks
- To mark the layout of your fence you will need to know the direction and condition of the joists you will be drilling into. If you cannot see the underside of the deck then use a hacksaw blade to slide between the deck boards to locate and mark the deck. Be sure you are drilling the center of the joist. You can also use the hacksaw blade to check for wood rot.
- You should layout your fence in a straight line following the joists. If the joists run perpendicular to your layout then you will need to construct the fence on site, aka “Build on Site”. If in a Build on Site scenario your layout spans more than 15’ then you will have to splice the fence. A splice would be necessary if you can not drill two holes 2 ½” apart to start another section. A splice is when you add mesh to a full section of fence to make it long enough for your layout. To make a splice you would remove the molding on your last pole. You would then stack the border of your new section on top of the existing border, and then re-attach the molding.
- Making slight turns or 90 degree turns (90 degree turns should only be completed if you have Corner Posts, which are available only with an installation from a local reseller) on a wood or composite deck are possible but be careful about where you are drilling. To make a turn on a deck you will need to drill the proper angle to hold the turn. When you drill a ⅝” hole into a joist, you will have about ⅜” of wood on either side to hold the pole straight. If you now drill on an angle, you will have less wood to support the pole.
- The ⅝” spade wood bit will drill through wood or composite with no problem. The spade bit will not drill through a nail or screw. As you are drilling, be cautious and drill slow. If you hit a nail or screw, you can switch your spade bit to a normal ⅝” core bit and drill (without water) through the nail, and then switch back to the spade bit to finish off the hole.
- Prior to installing the sleeves into the deck, you should use a hand drill and a ⅝” spade bit to clear out any wood shavings and check the depth. Use a sleeve driver to insert the sleeves into the deck.
- Your drill base may scratch the deck or cause damage that you can not repair. A thick piece of cardboard or vinyl flooring between the base and the deck is highly recommended.
- If your core drill has a speed control, you will want to set it to the slowest setting. Drilling at a high speed will quickly dull your spade bit.