How Can We Help?

Search for answers or browse our knowledge base.

Print

How to Cut Pool Fence Mesh – DIY Method 3: Double Molding Cut

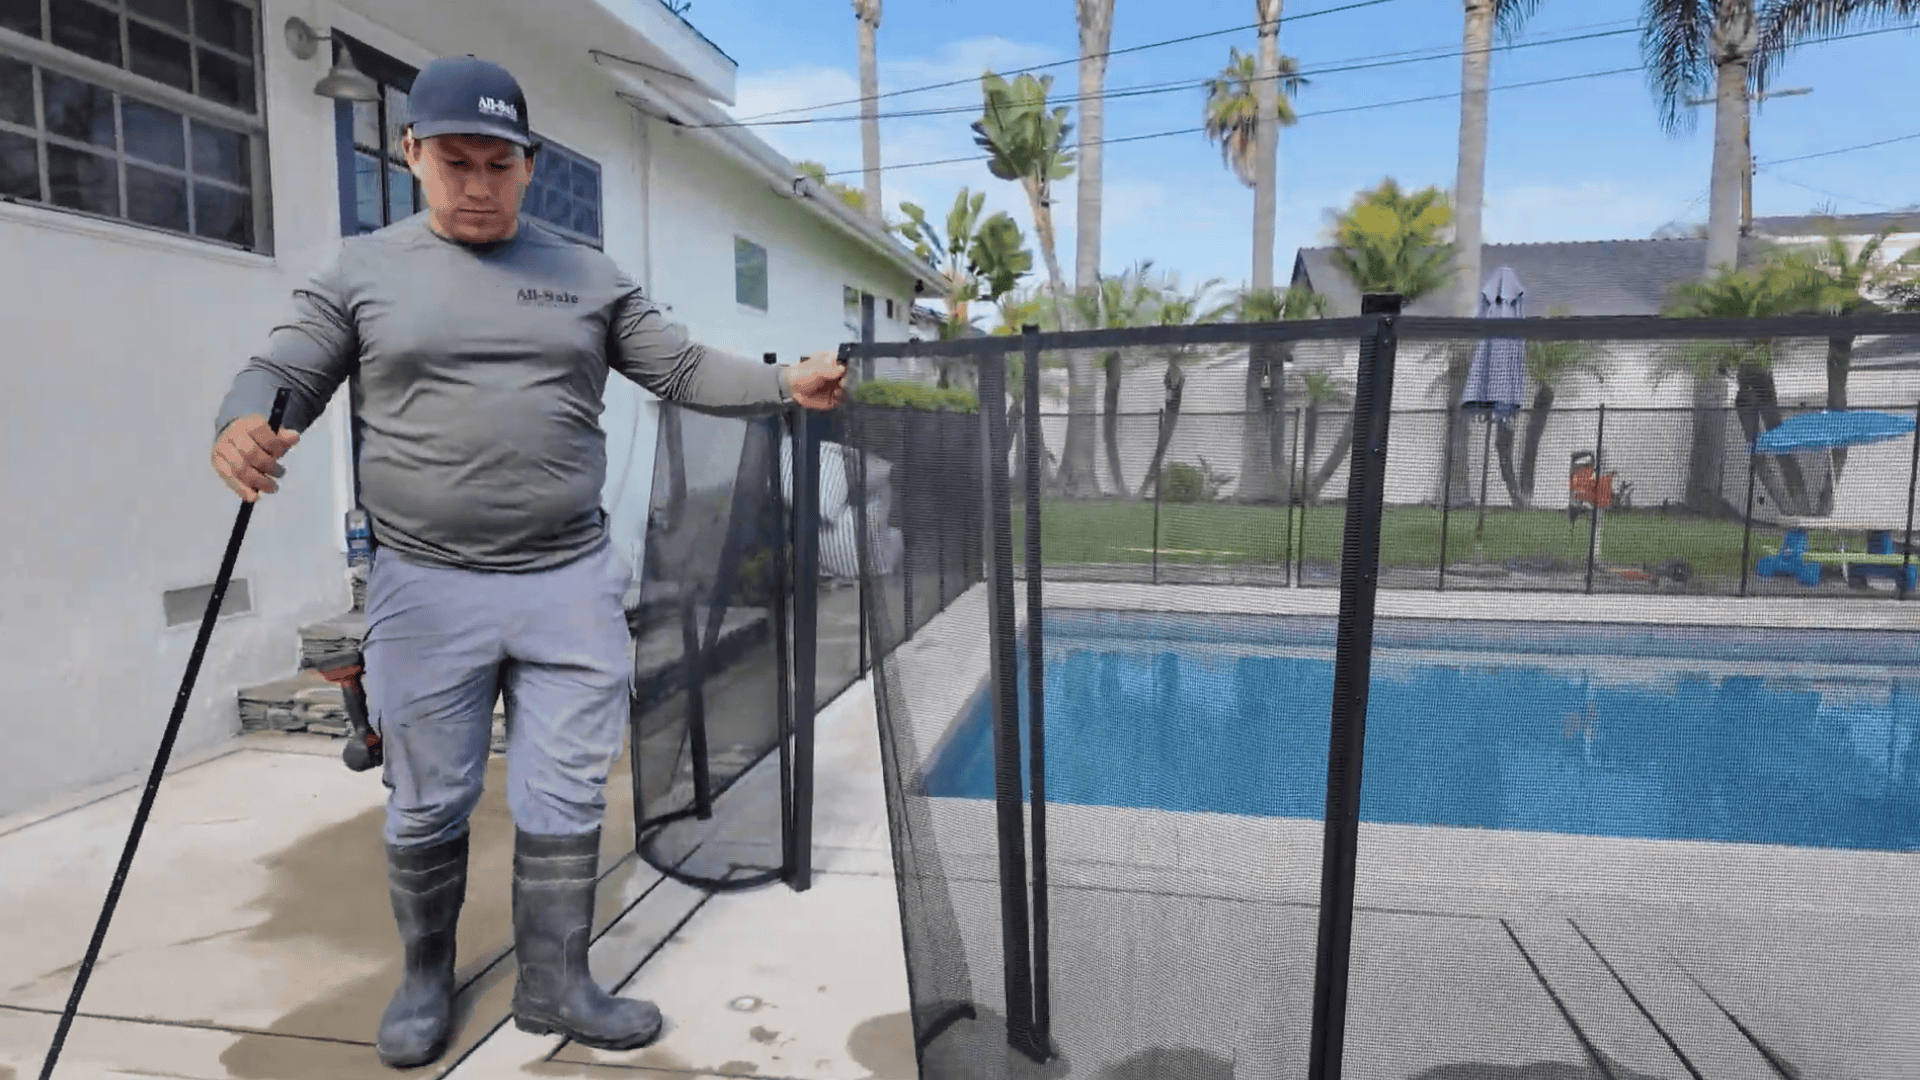
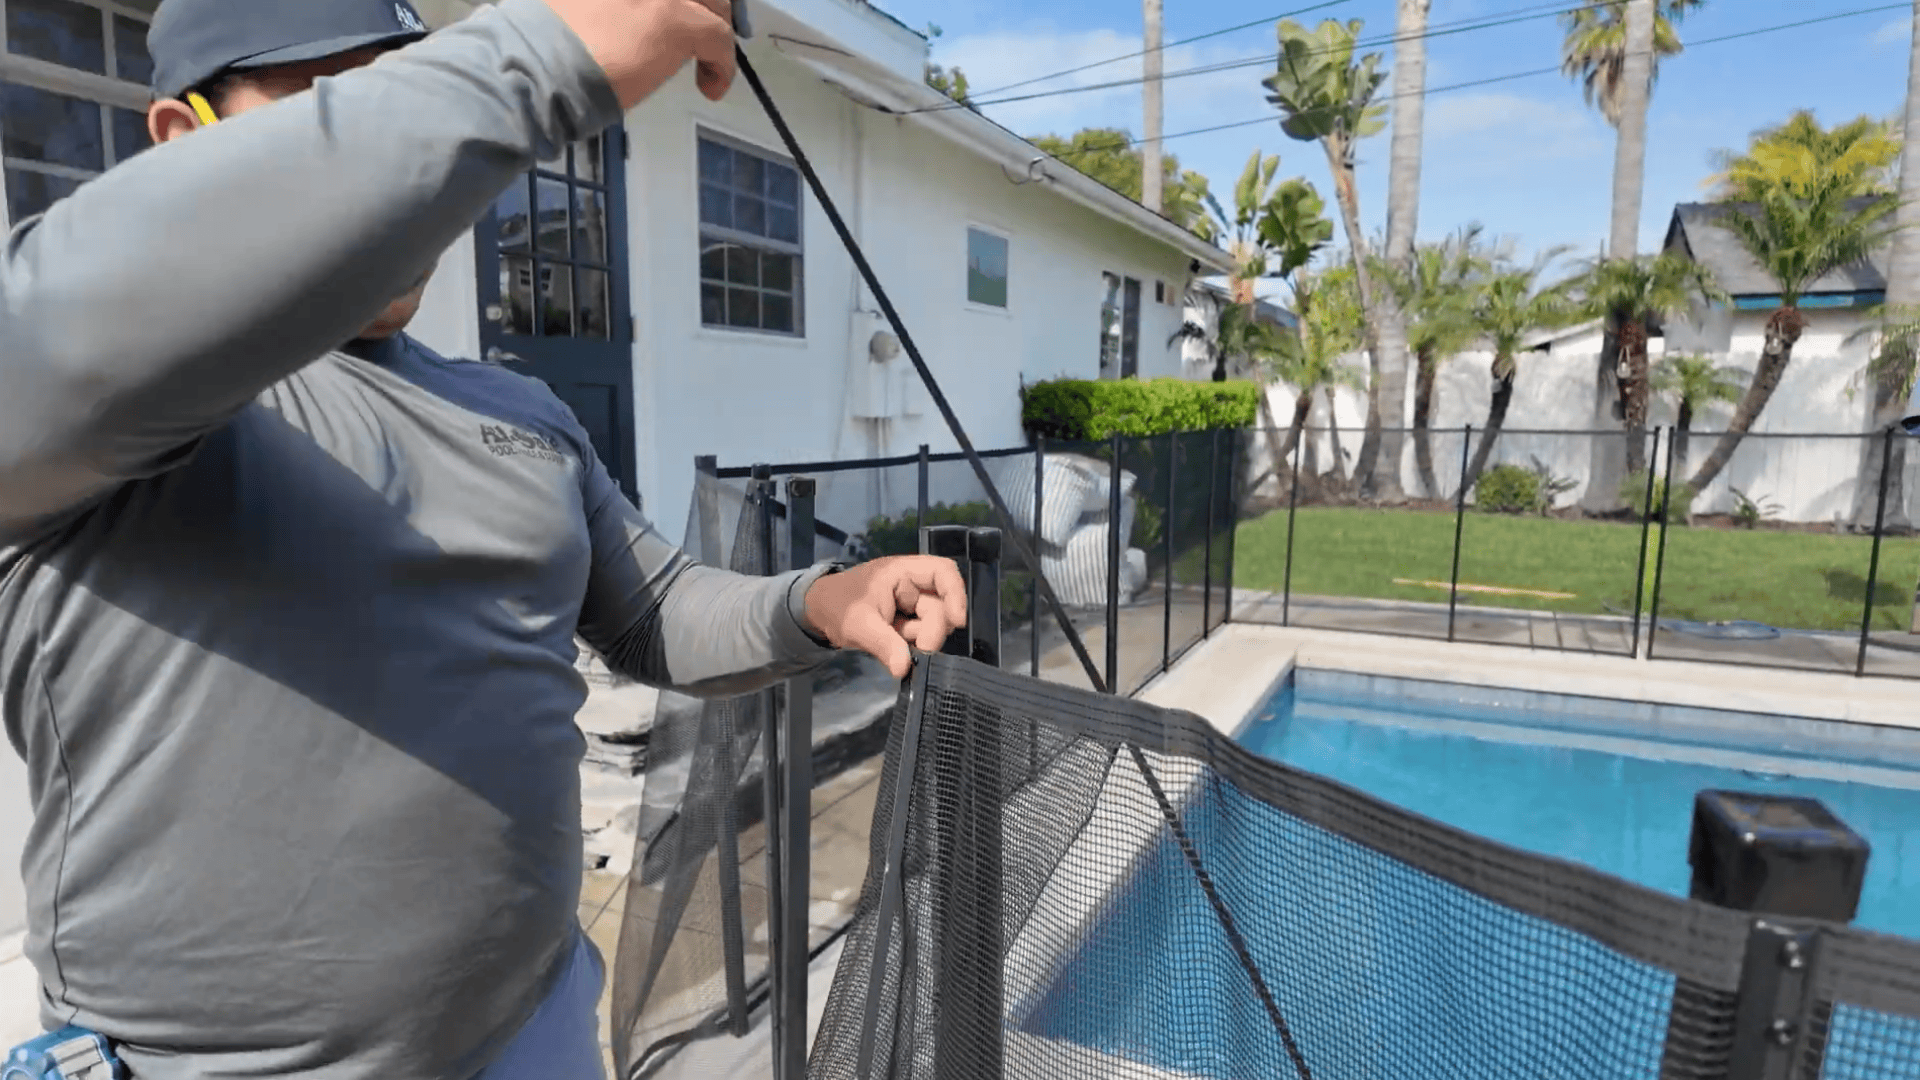
When installing or modifying a mesh pool fence, there may be times when you need to shorten a section to match your layout. There are three main ways to cut a mesh fence: Trim to Fit, Border Trim & Tape, and the most secure option—Double Molding Cut.

Whether you’re a DIYer or a professional installer, this method gives you a clean, strong, and long-lasting result. It does take a little more effort and some extra parts, but the result is worth it.

Tools & Materials You’ll Need:

  • Cordless drill
  • #2 Phillips bit (Classic) or #2 Square Drive bit (Ultra)
  • Tape measure
  • China marker or grease pencil
  • Scissors
  • One extra molding per cut
  • Two ¾” screws per cut (in addition to the normal section screws)

When to Use This Method

Use the Double Molding Cut when you:

  • Want the cleanest and most durable finish
  • Are cutting a section at a termination point, wall, or gate
  • Need a professional-grade repair or layout modification
  • Don’t mind using extra moldings and screws

Step-by-Step Instructions

1. Remove Existing Molding

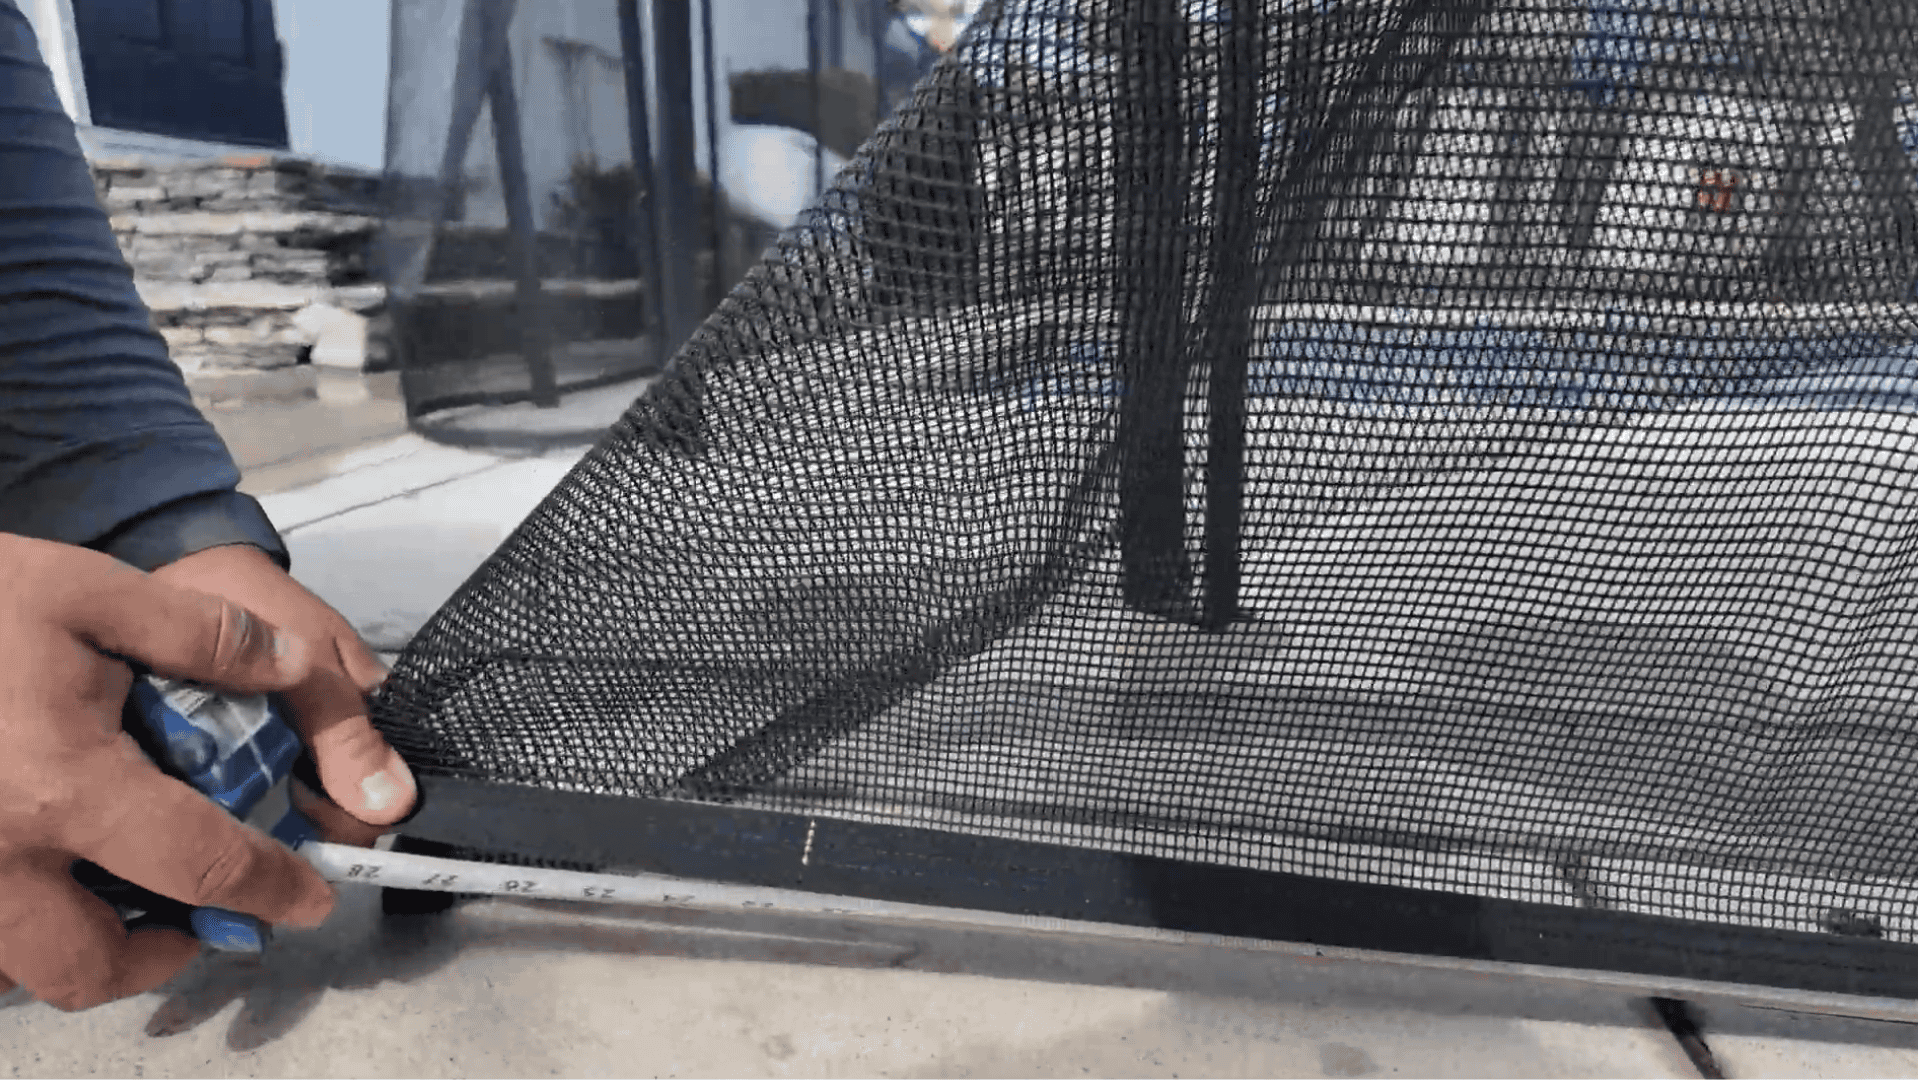
Unscrew and remove the existing molding from the pole you’re cutting. Trim off any excess mesh but leave at least 8 inches of slack to grip and stretch the mesh.

Remove molding and cut mesh

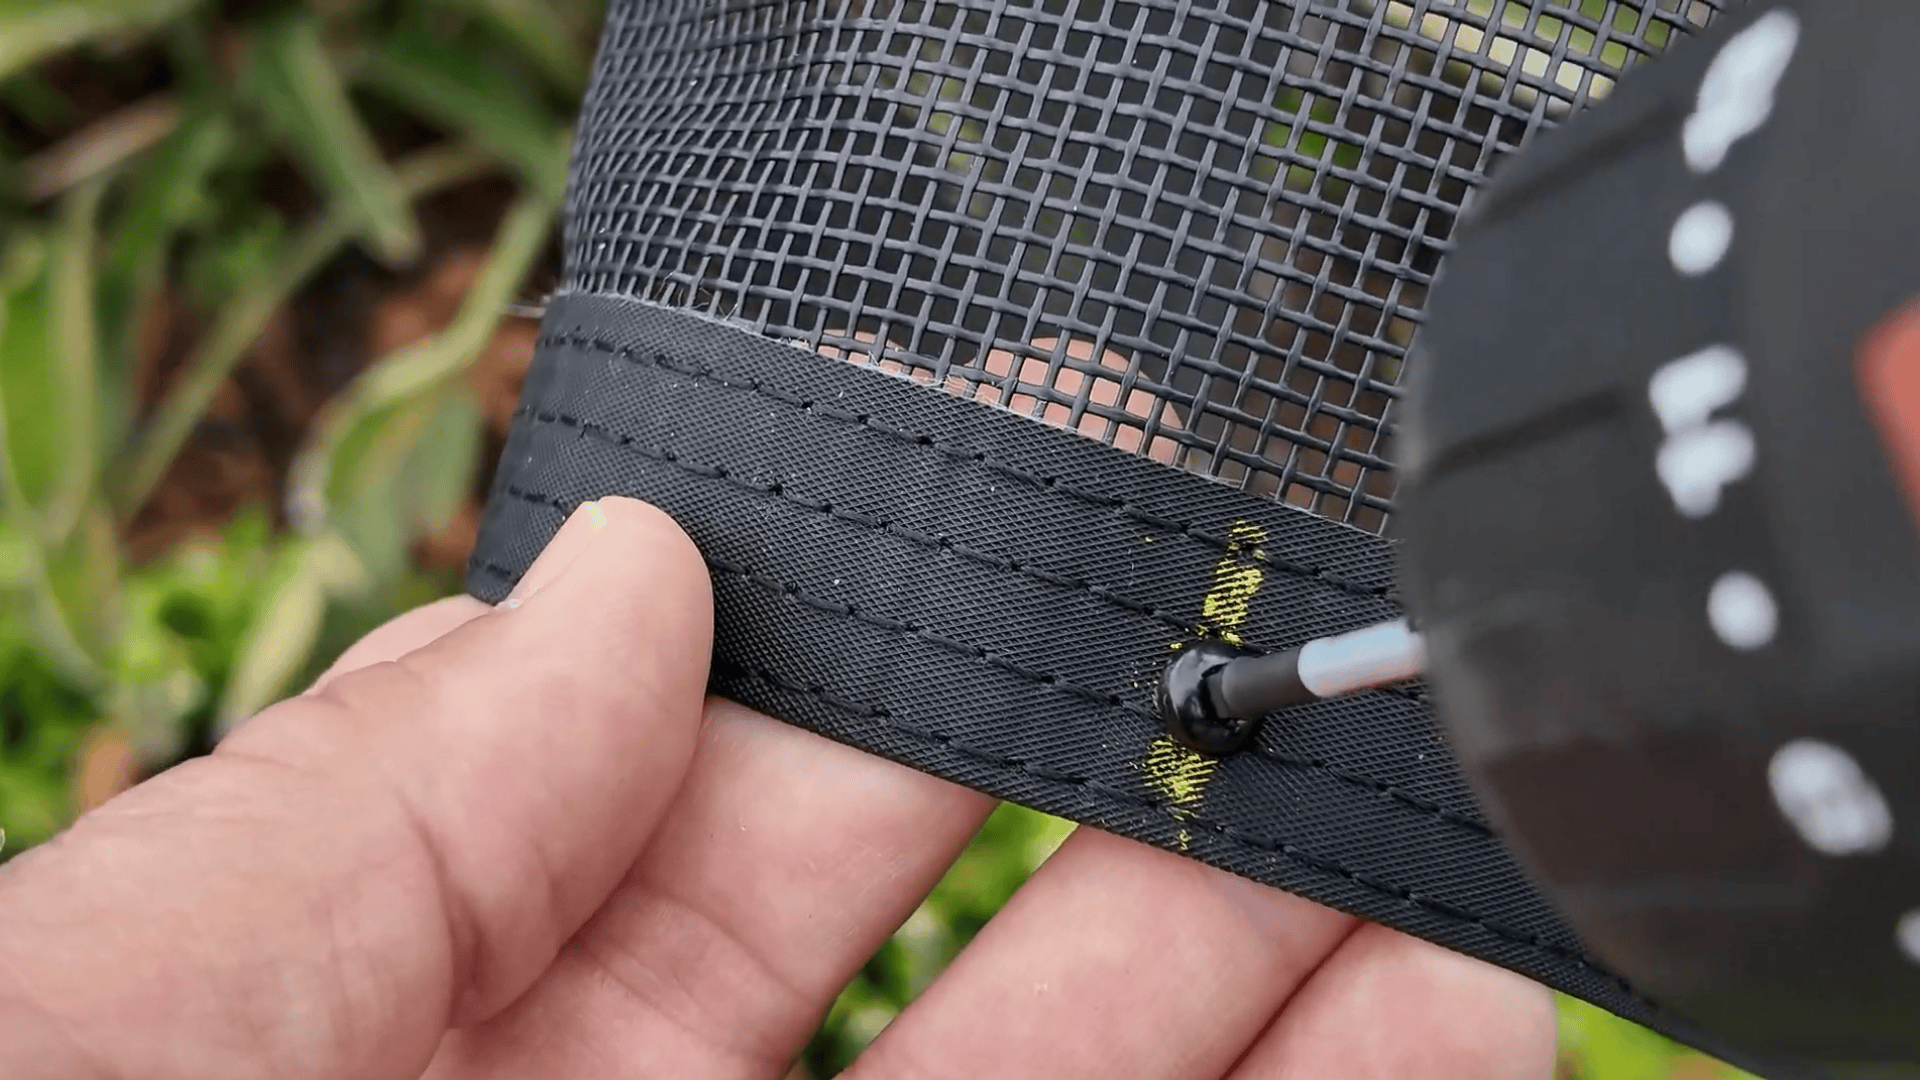
2. Mark Your Cut Line

Wrap the bottom mesh border tightly around the pole.

Installer wraps mesh around pole and marks it

Use your China marker to mark the center of the pole on the mesh.

Installer measures from pole to mark on mesh

Measure the distance from the previous pole’s mark and transfer that measurement to the top border to keep your cut straight.

Installer measuring and marking mesh border

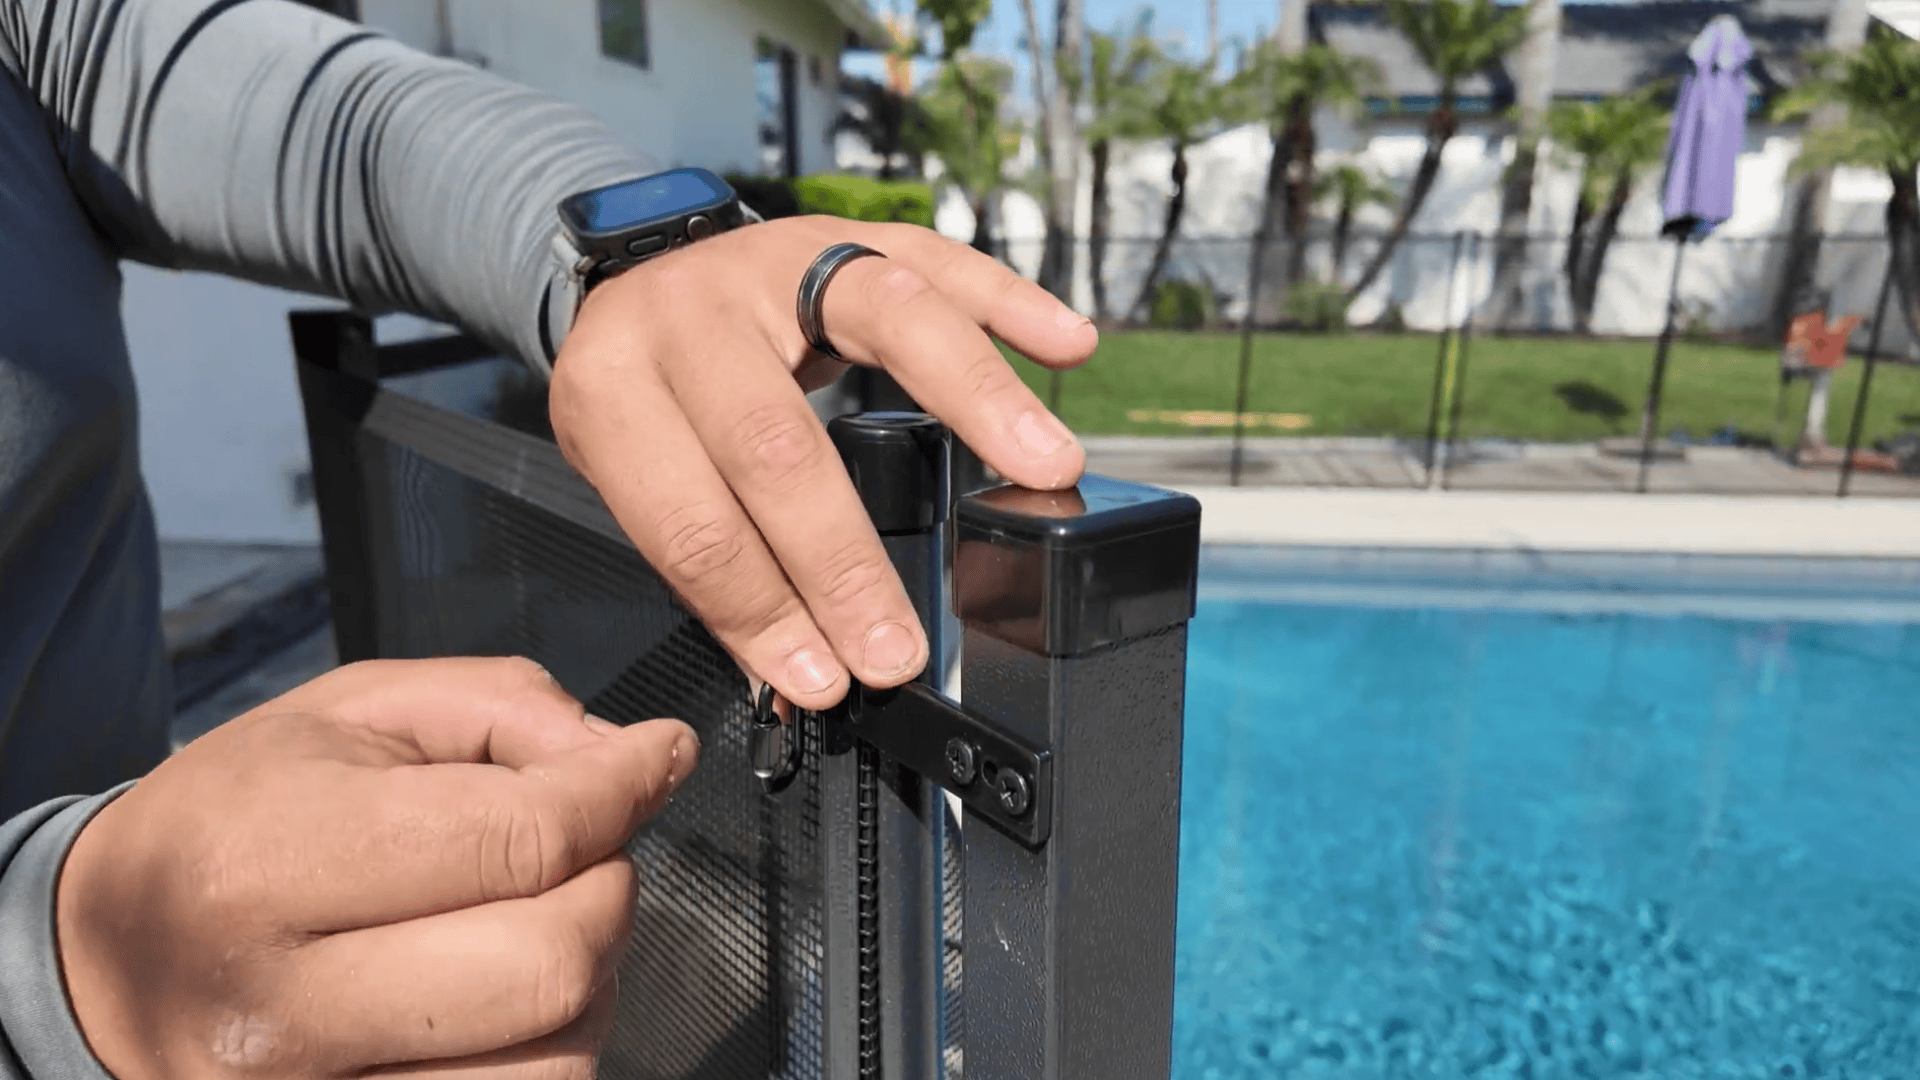
3. Attach the First Molding

Pre-set a ¾” screw into the top hole of the molding.

Installer pre-setting screw in molding

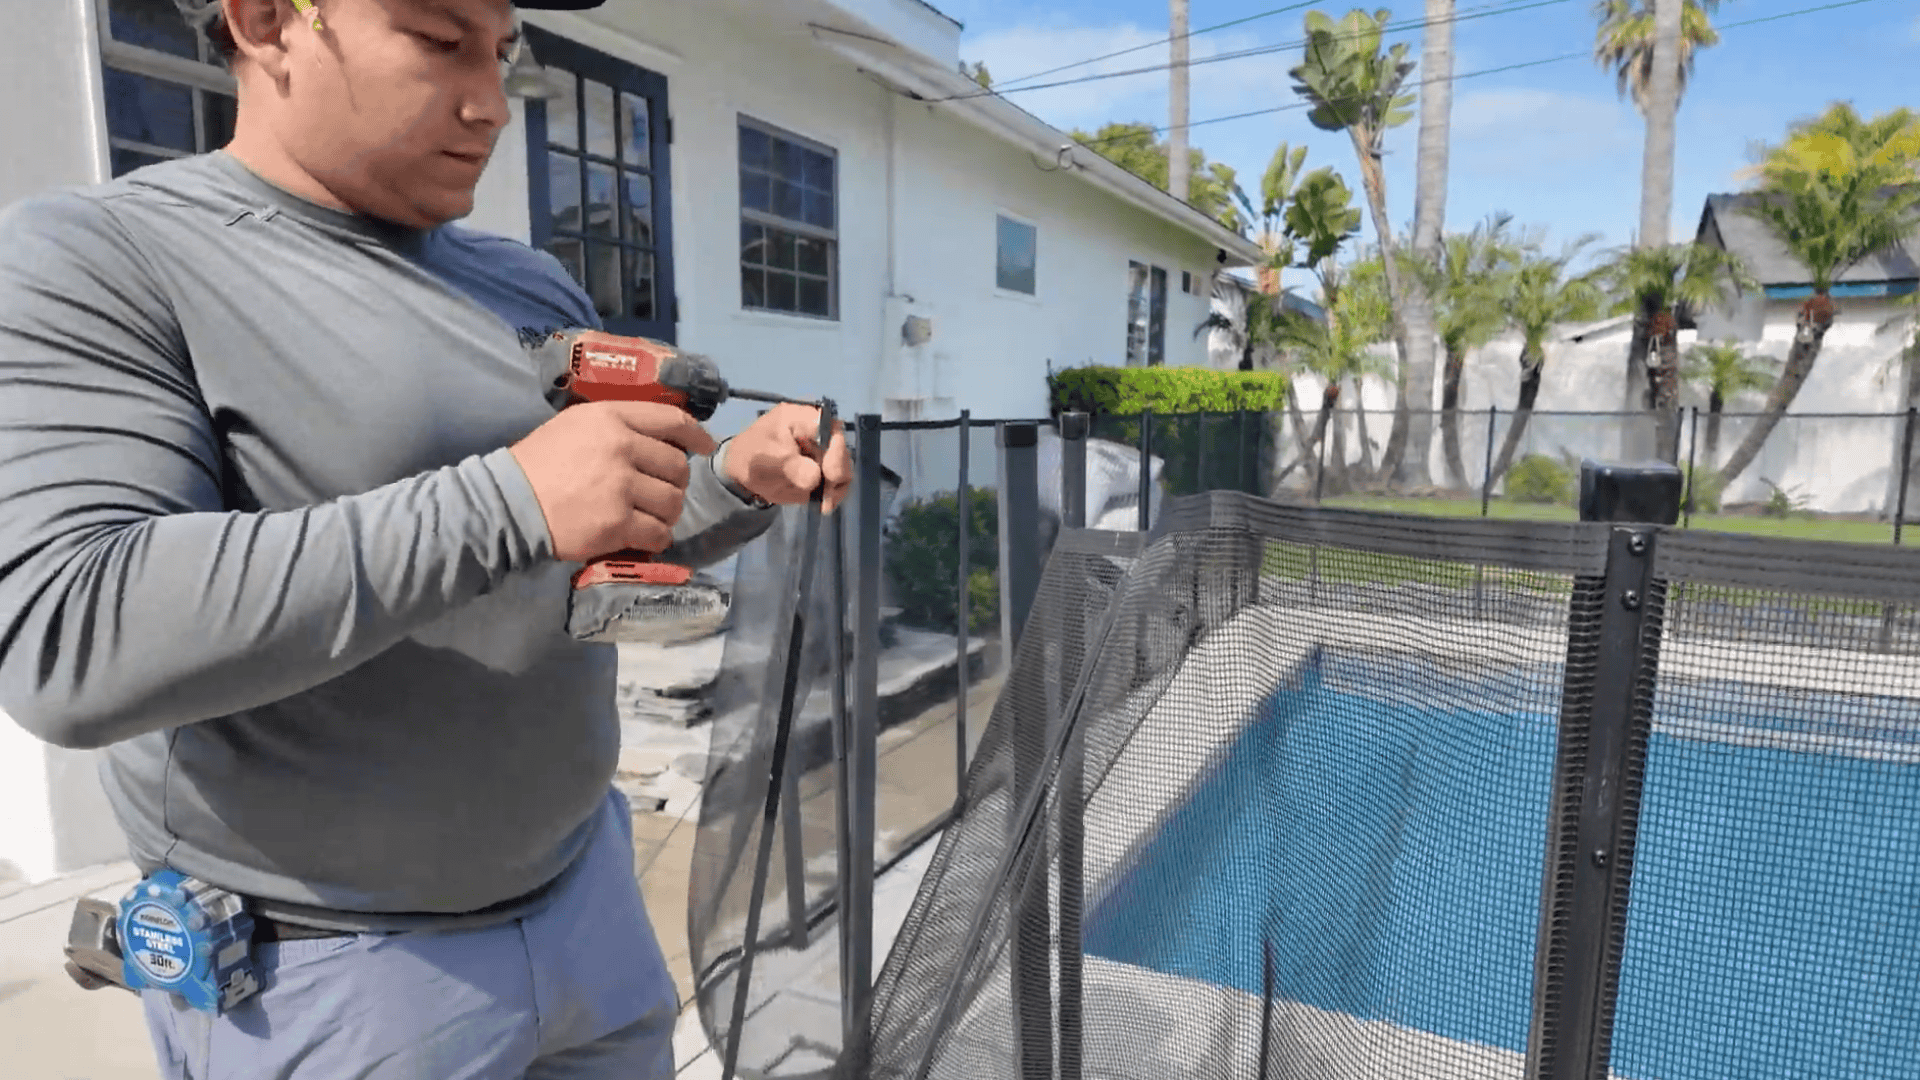
Hold the molding in place so the top mesh border sits slightly above the top of the molding.

Installer screwing molding and mesh into pole

Screw through the mesh into the pole at your marked center point.

Pro Tip: Keep your fingers out of the path of the screw—always screw between them.

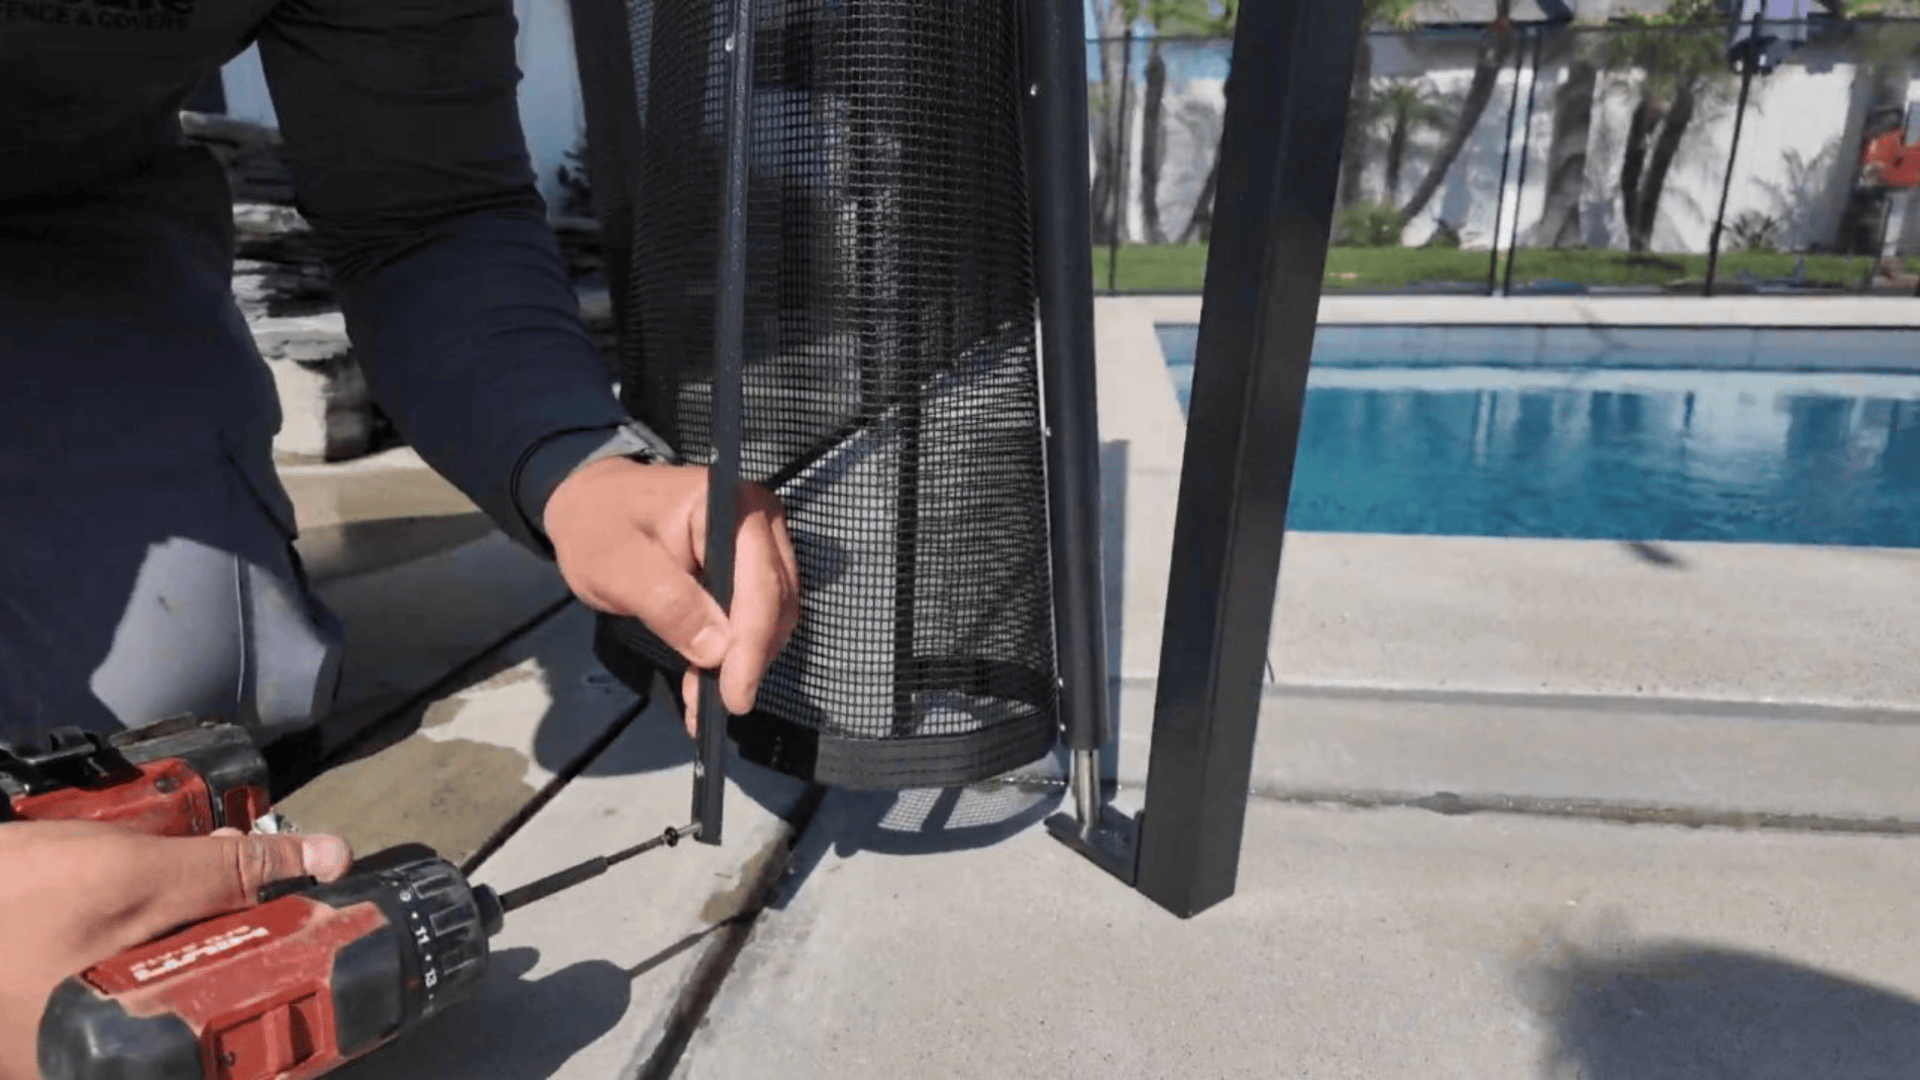
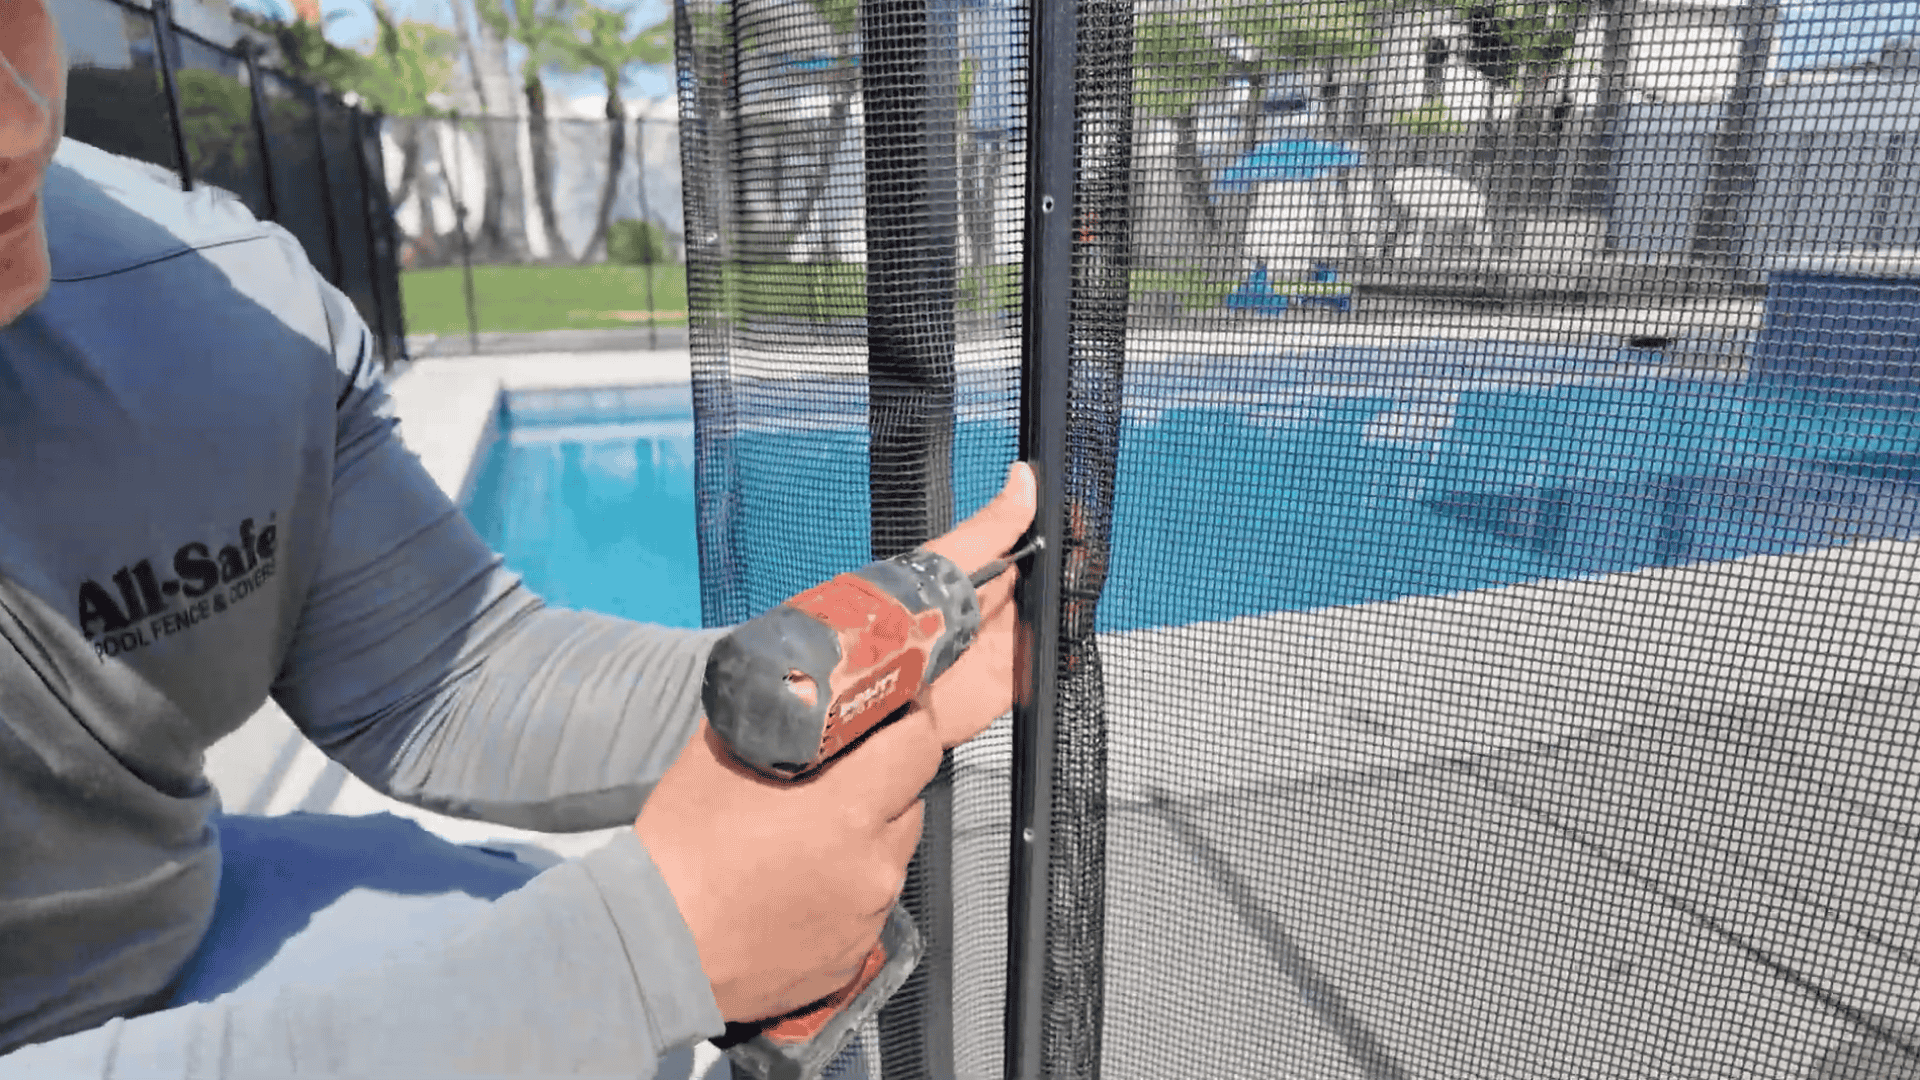
4. Create the Double Molding Sandwich

Place your extra molding on the back side of the mesh.

Installer puts molding on back of mesh

Fold the slack mesh over and screw through both moldings and the folded-over mesh.

Installer folds the slack mesh over and screw through both moldings and the folded-over mesh

Finish attaching both moldings and mesh to the pole.

Installer attaches both moldings and mesh to pole

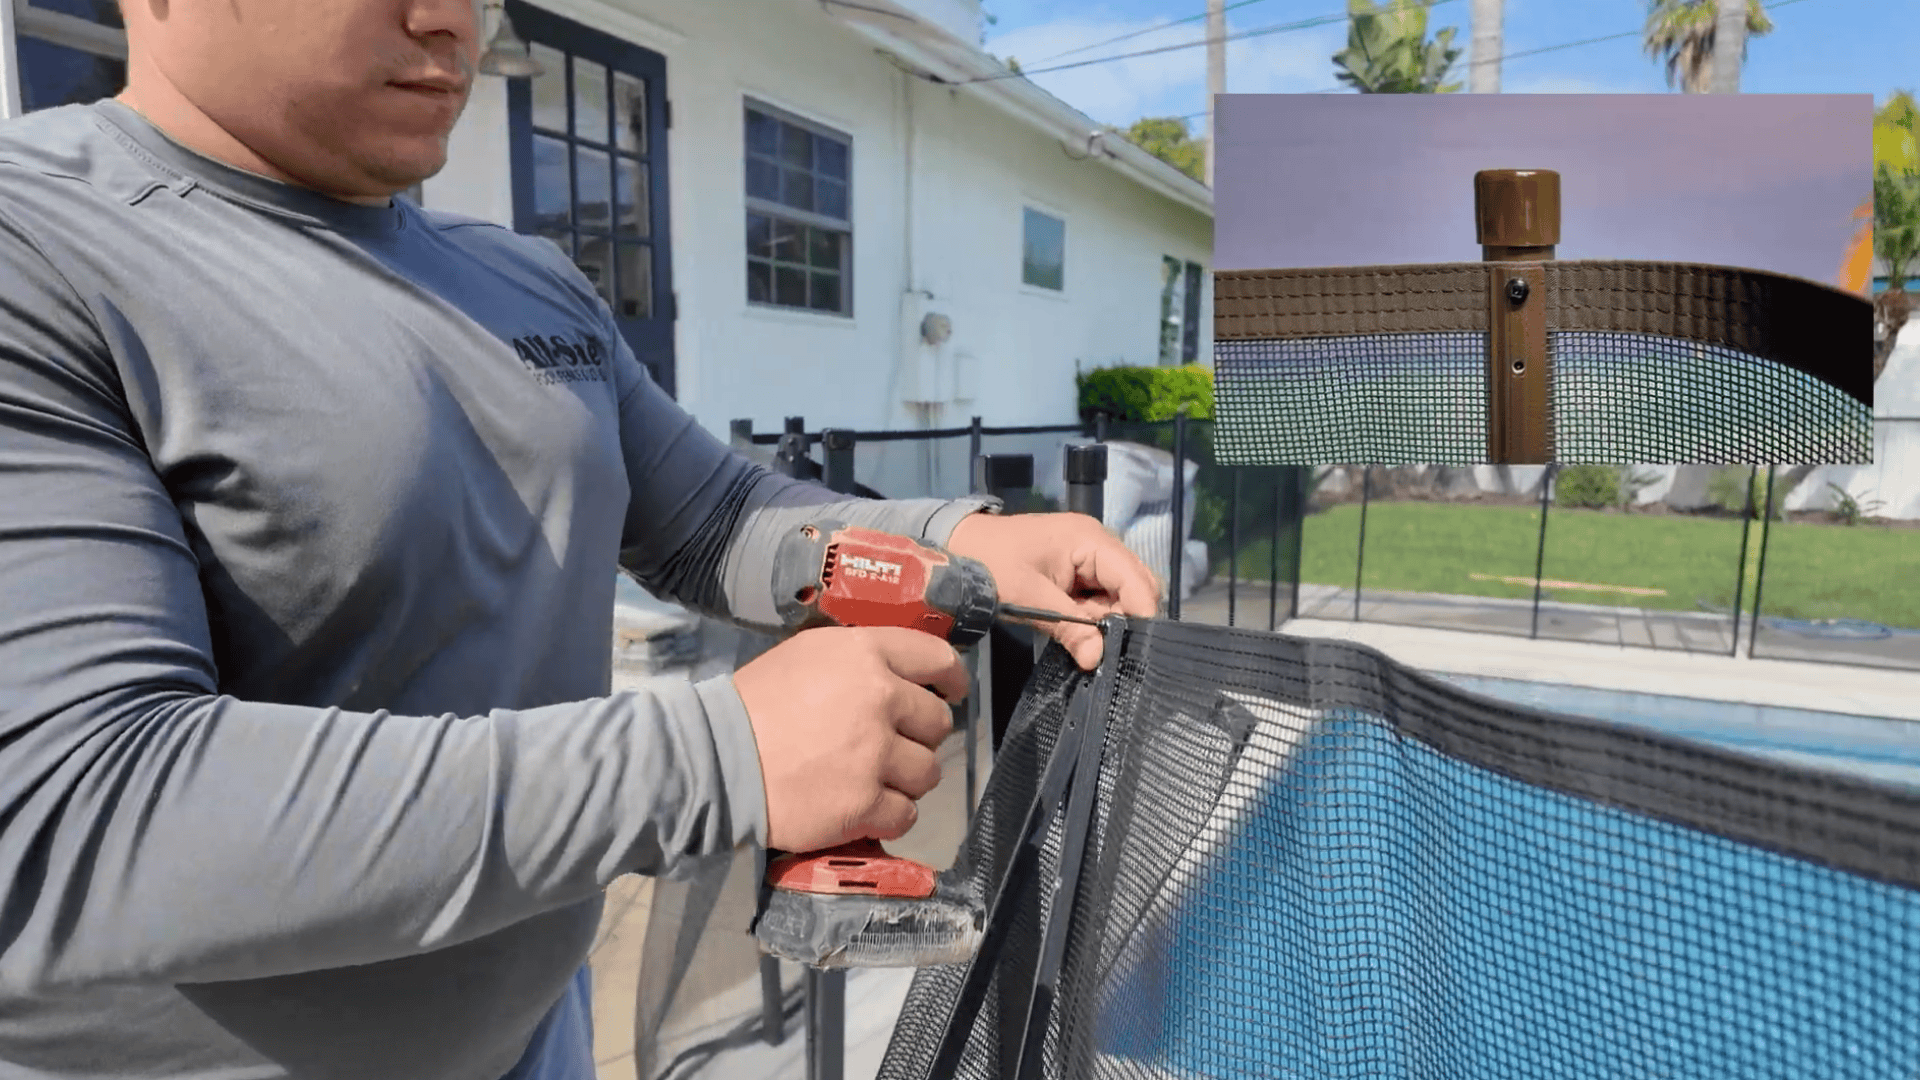
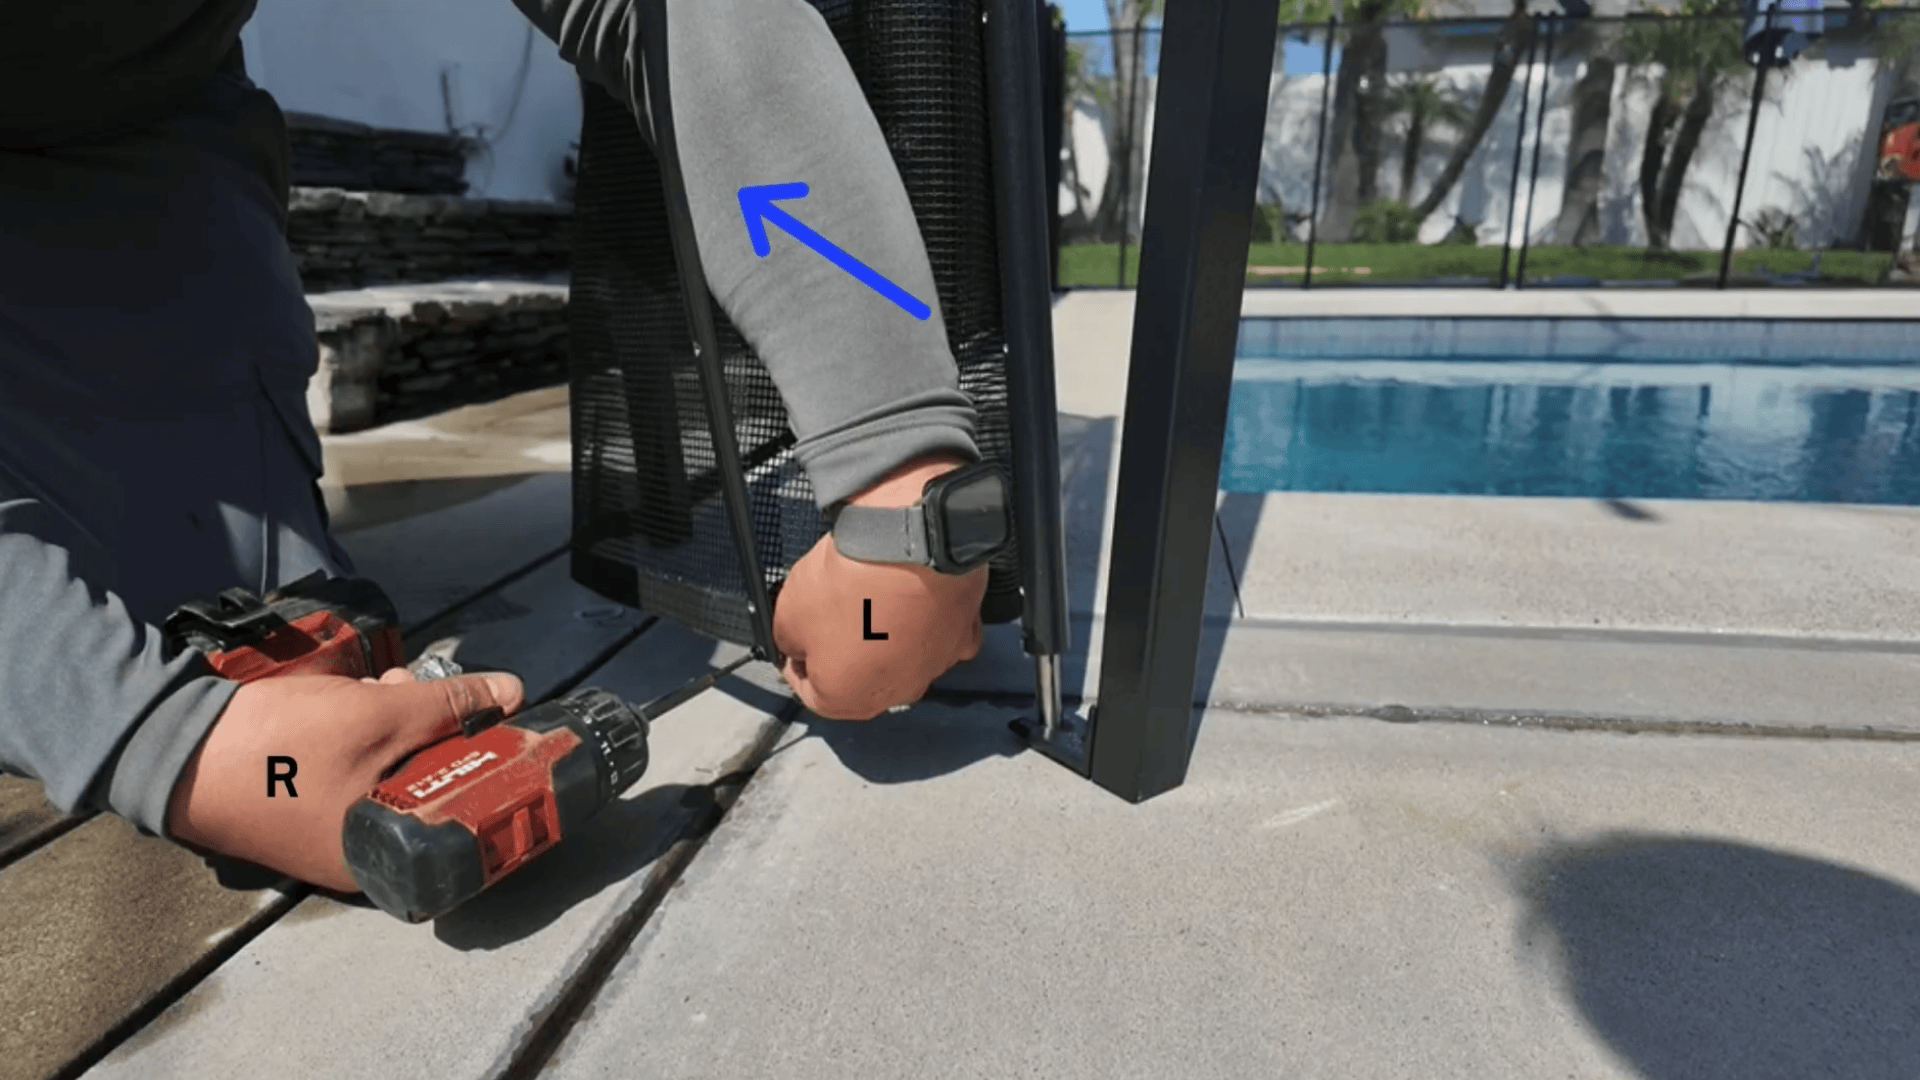
5. Set the Bottom Screw

Pre-drill the mesh just above the second thread from the bottom.

Drill into the bottom border just above the second thread from the bottom.

Pre-set a ¾” screw into the bottom hole of the molding.

Installer pre-setting screw into bottom of molding

With your drill in your right hand, push into the pole while holding the bottom mesh border with your left hand.

Use your arm between the mesh and molding to create a slight arch, which helps eliminate wrinkles as you drive the screw.

Installer uses arm method while attaching molding

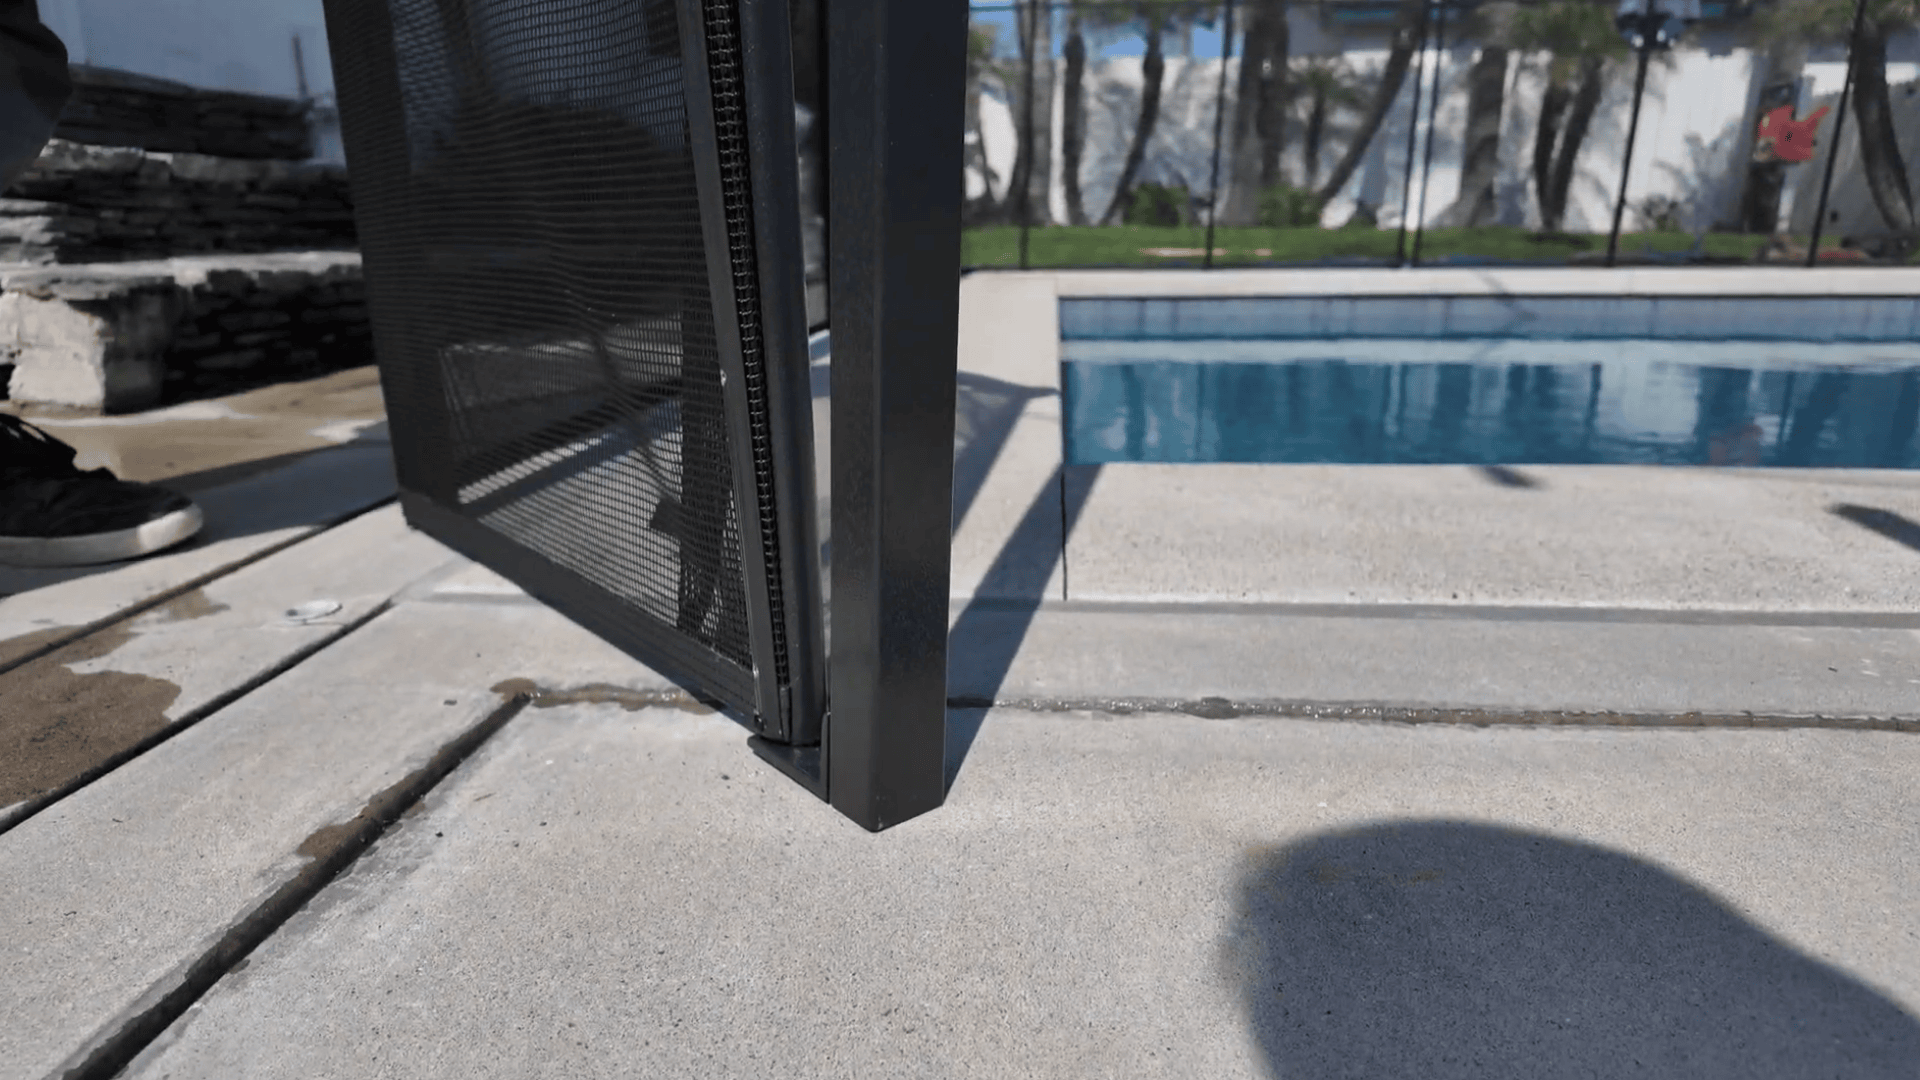
6. Reinstall the Pole and Complete the Section

Push the pole back into the deck sleeve.

Installer pushes pole back into deck sleeve

Reconnect the fence section.

Installer re-connects fence section

You can now finish the cut using standard section screws for the remaining border attachment points.

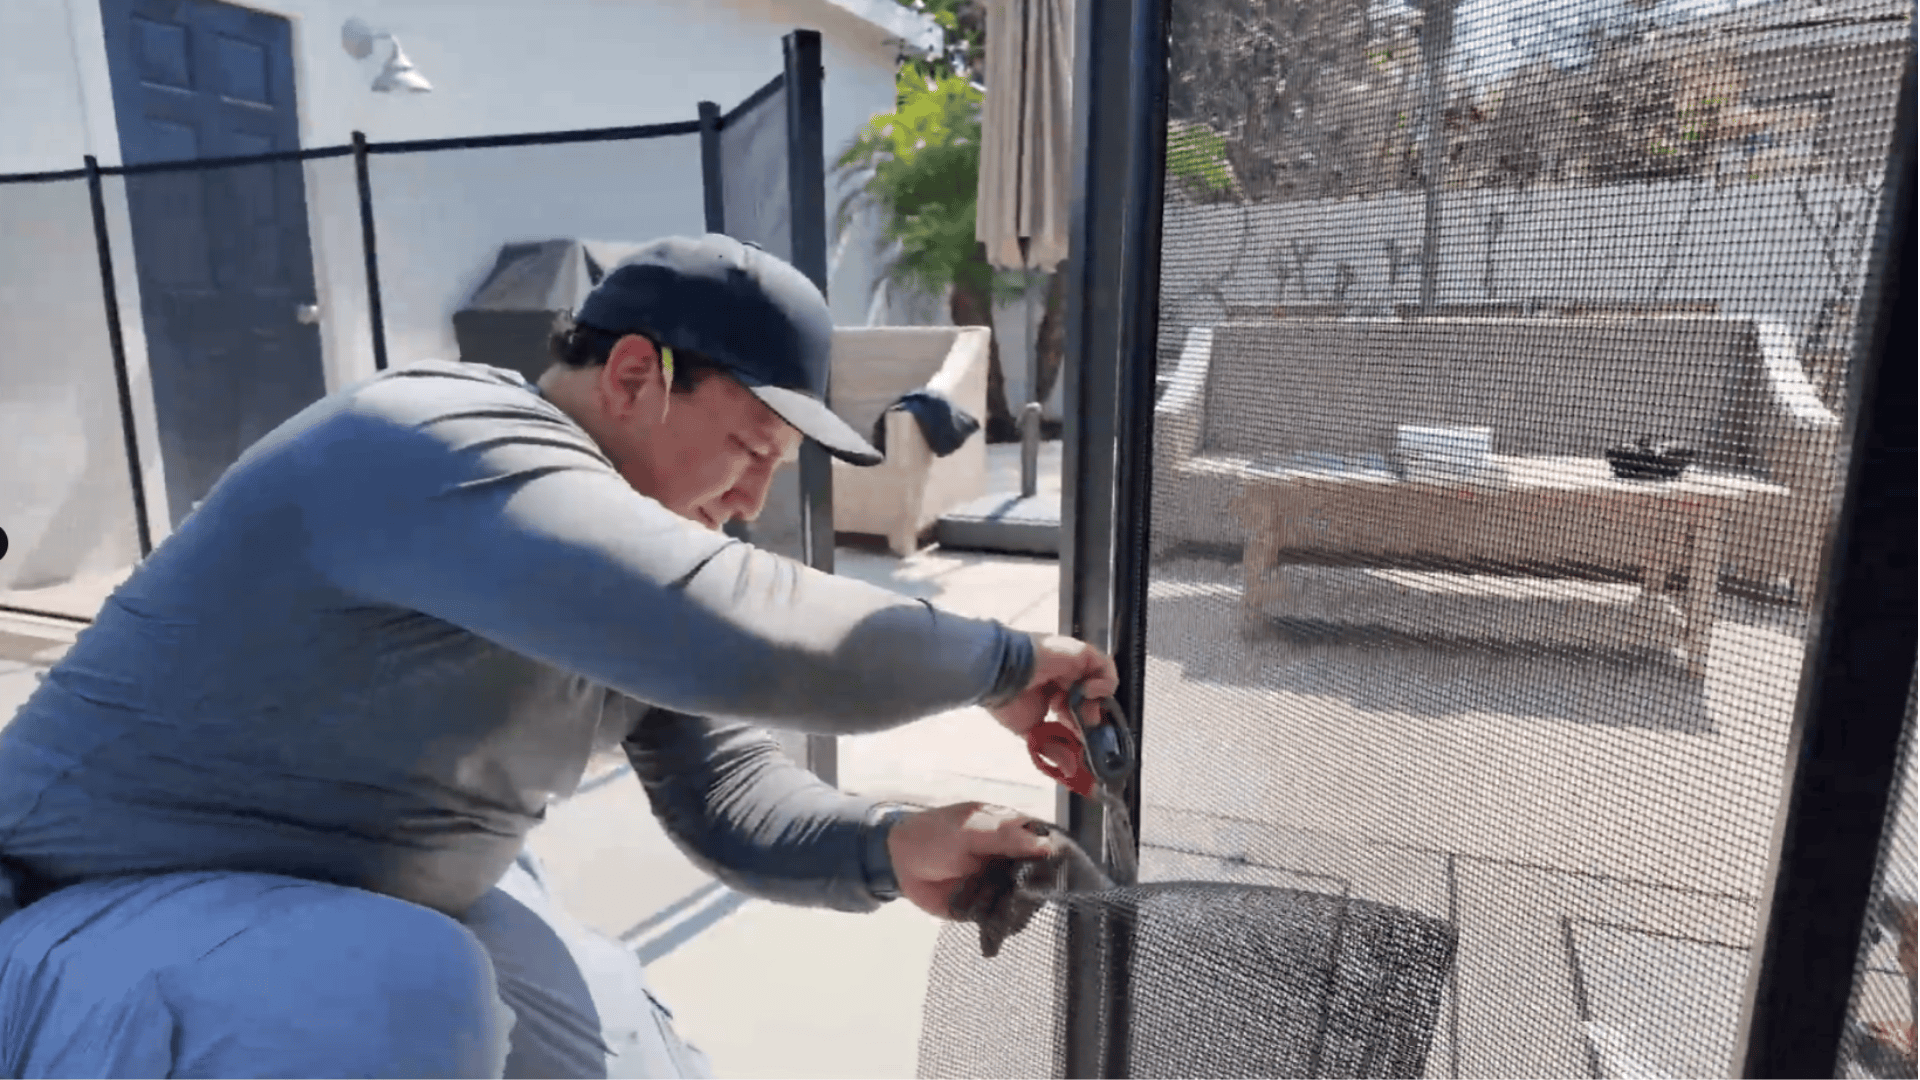
Final Steps: Tighten and Trim

Pull the remaining mesh tight between the poles.

Start from the middle of the molding, drive the first screw, and work your way down, pulling the mesh as you go.

Installer screws in molding starting from the middle

Then work upward from the center.

Once all screws are secure, carefully cut off the excess mesh using scissors.

Installer carefully cuts excess mesh

That’s the Double Molding Cut

Strong, professional, and effective — this method gives you a high-quality result that holds up over time. For other cutting options, check out:

Trim to Fit – No Materials Needed

Border Trim & Tape – Quick & Clean DIY

Need extra moldings, screws, or tools? Shop pool fence parts here »

Was this article helpful?
0 out of 5 stars
5 Stars 0%
4 Stars 0%
3 Stars 0%
2 Stars 0%
1 Stars 0%
5
Please Share Your Feedback
How Can We Improve This Article?
Table of Contents

Get Started!

Enter in your zip code to let us know where your pool is located.

Color Variations

Colors on your screen or brochure may not match the actual color of your product.

Due to the many variations in monitors, phones, and browsers, color samples and product examples may appear different on different screens. Computers and mobile devices are not all calibrated equally and color reproduction on the Internet is not precise. The same is true for printed items such as brochures and other sales literature. 

In addition, the colors of our products photograph differently under different lighting conditions. For example, photos taken in full sunlight will vary from photos taken on a cloudy or overcast day. Similarly, shadows from nearby objects can affect the color and transparency of our products. If a precise color or specific shade is important, please inspect the actual color of your product prior to installation.

Colors will vary from batch to batch.

Many of our products’ materials are not available through typical stores and vendors and therefore must be custom manufactured specifically for our use. In order to control costs and provide you with the best value possible, our raw materials are produced in large batches and can often take several months to receive. The colors of our materials can, and often do, vary slightly from batch to batch. Although we make every effort to minimize color variations, we cannot be responsible for these differences when they occur. If a precise color or specific shade is important, please inspect the actual color of your product prior to installation.

Color names are subjective and may not be what you think the color should be.

For example, we use the name “putty” to describe some of our products. Your idea of the color “putty” may be different than someone else’s idea of “putty”. In addition, products may have the same color name but may not be the exact same color. For example, we have different shades of “black”. Please do not order using color names as your only guide. If a precise color or specific shade is important, please inspect the actual color of your product prior to installation.

Inspect the actual color of your product prior to installation.

If it is important that your product be an exact color or shade, it is highly recommended that you inspect the actual product prior to its installation and address any concerns with your local independent installer. Most independent installers do not offer refunds or accept returns due to color variations.