
How to Cut Pool Fence Mesh – DIY Method 2: Border Trim & Tape (Clean Finish with Border Roll)
Whether you’re installing a new mesh fence, customizing your layout, or replacing an old section, cutting mesh is sometimes unavoidable. This guide covers Method 2: Border Trim & Tape — a clean and professional way to shorten a pool fence section by reapplying a new edge using Border with One Thread and either double-sided tape or staples.
This method gives you a smooth finish that holds up well over time — perfect if you’re aiming for a more finished look than a raw cut.
Tools & Materials You’ll Need
- Cordless drill
- 2 Phillips bit (for Classic Fence) or #2 Square Drive (for Ultra Fence)
- Tape measure
- China marker (grease pencil)
- Heavy-duty scissors or utility knife
- Border with One Thread (cut to length)
- Double-sided tape (or Heavy Duty Stapler as an alternative)
- Fence molding (existing)
- Section screws
- Piece of cardboard (to protect the pole during reassembly)
Step-by-Step Instructions
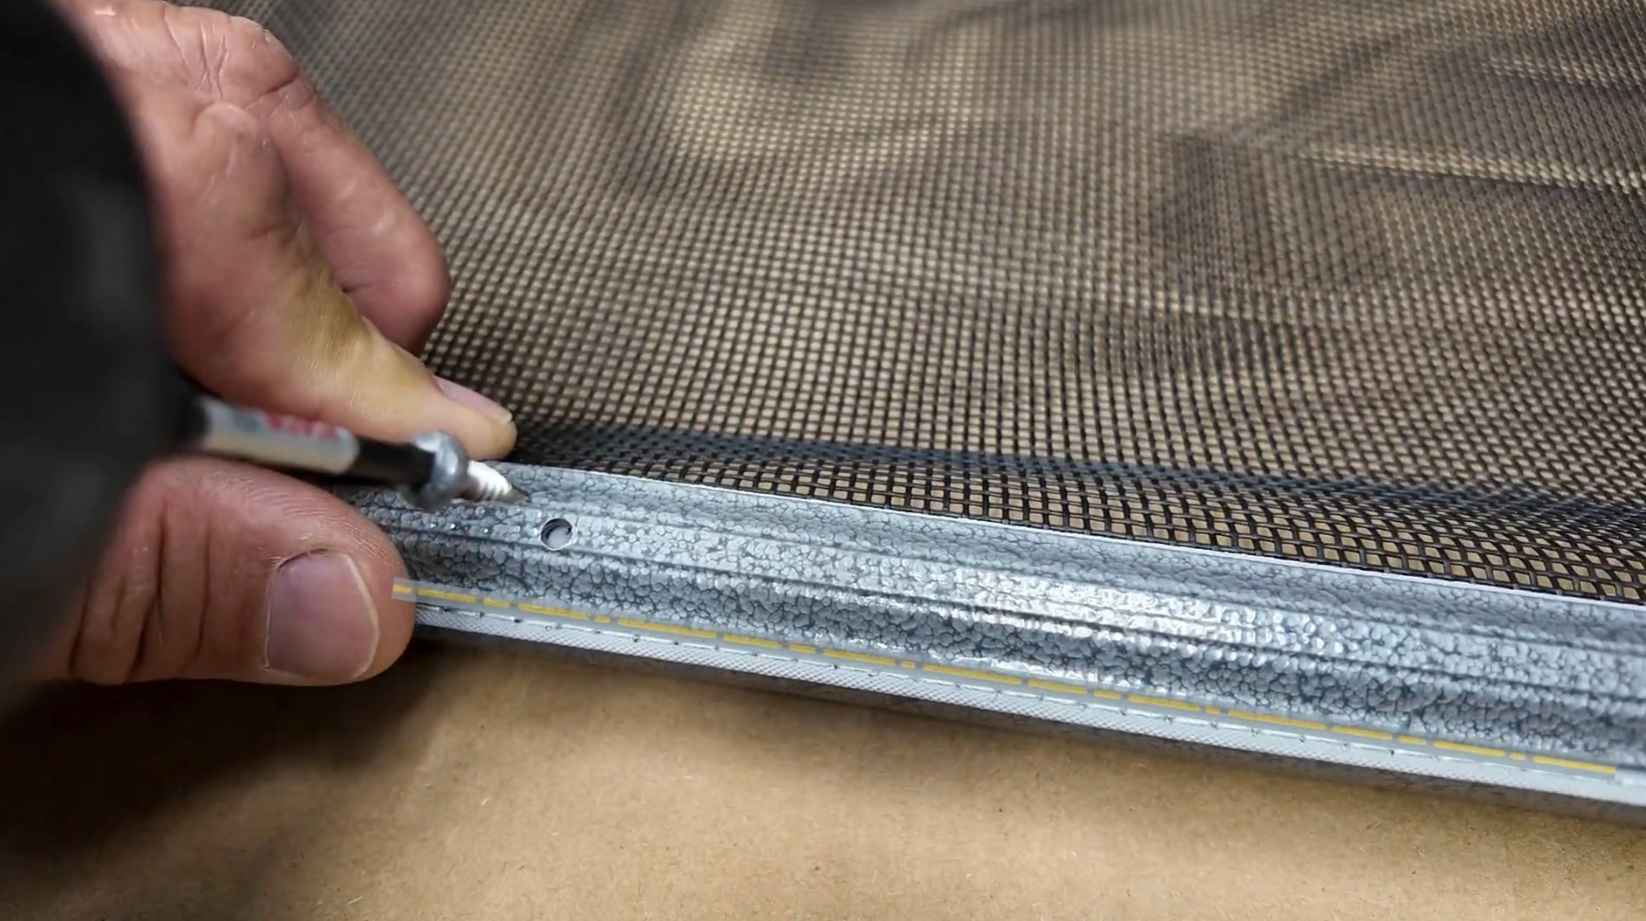
1. Mark Your Cut
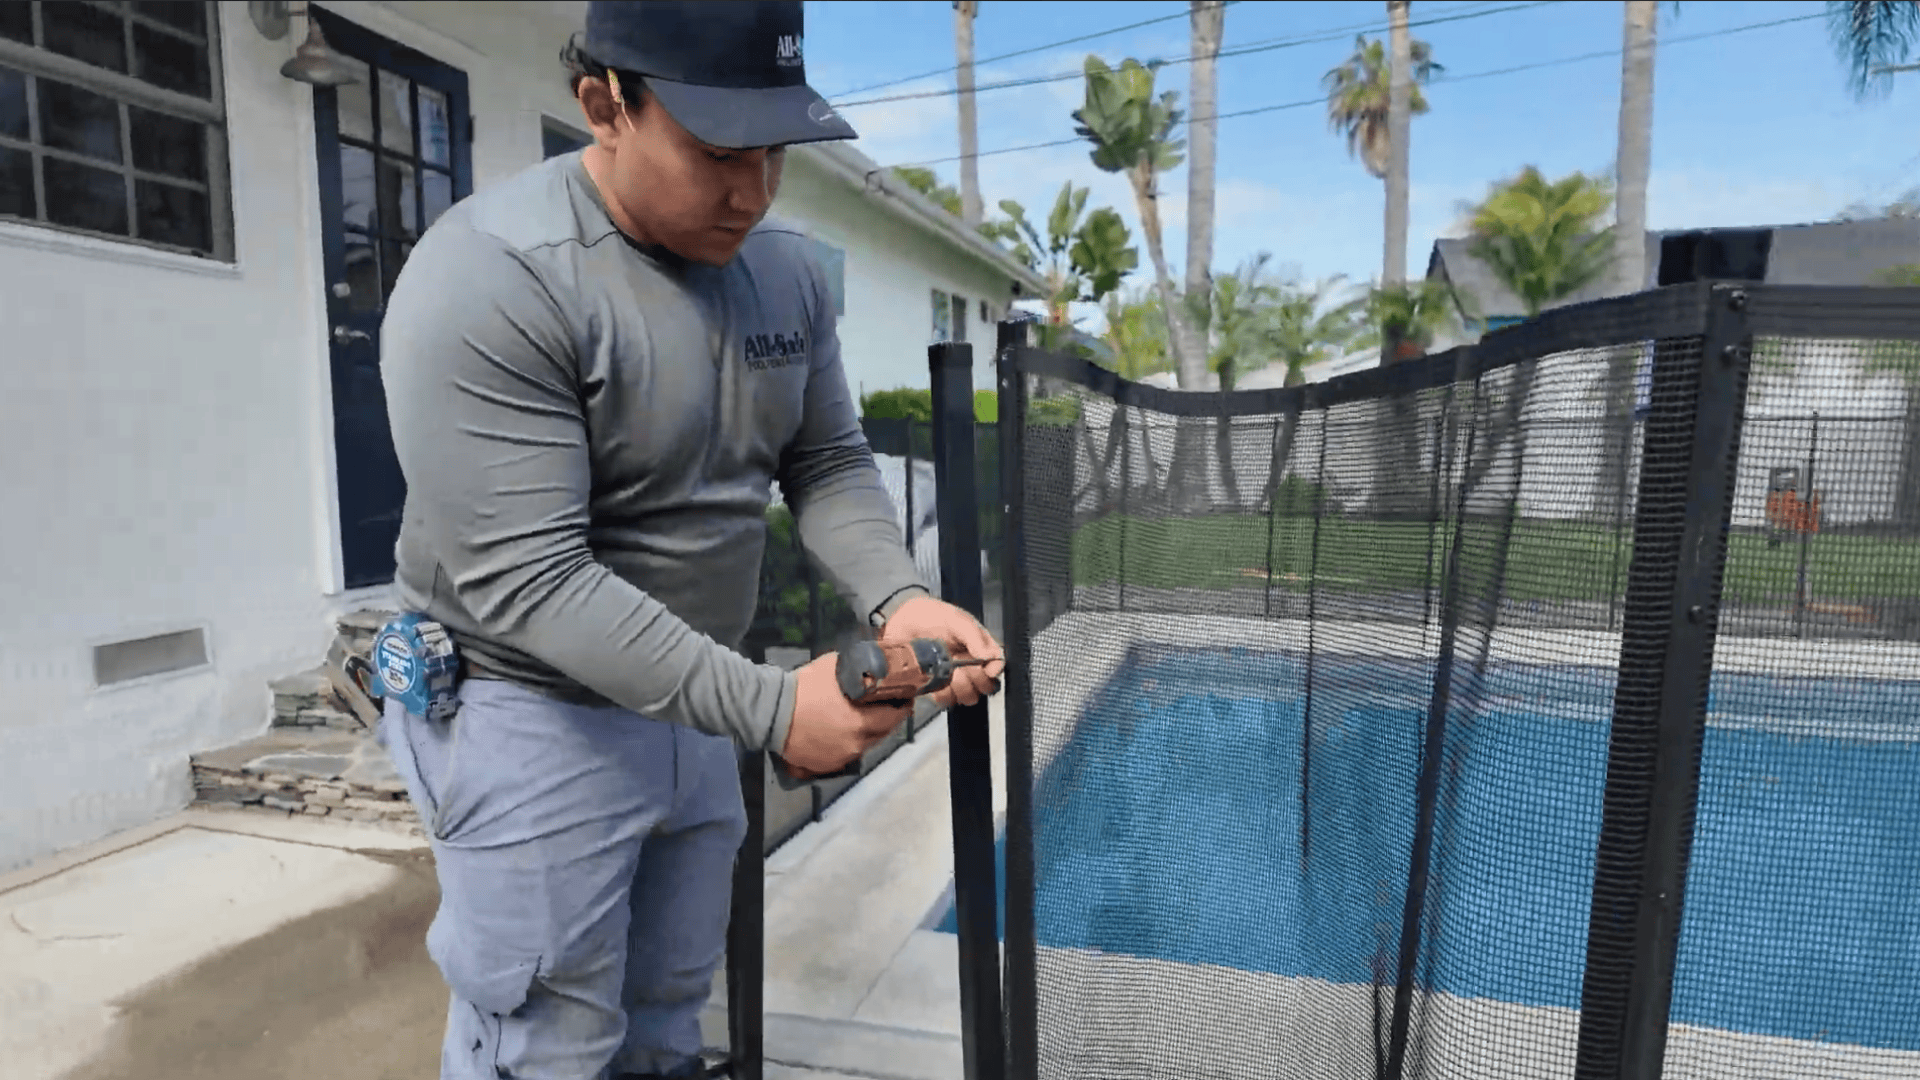
Remove the existing molding from the pole.
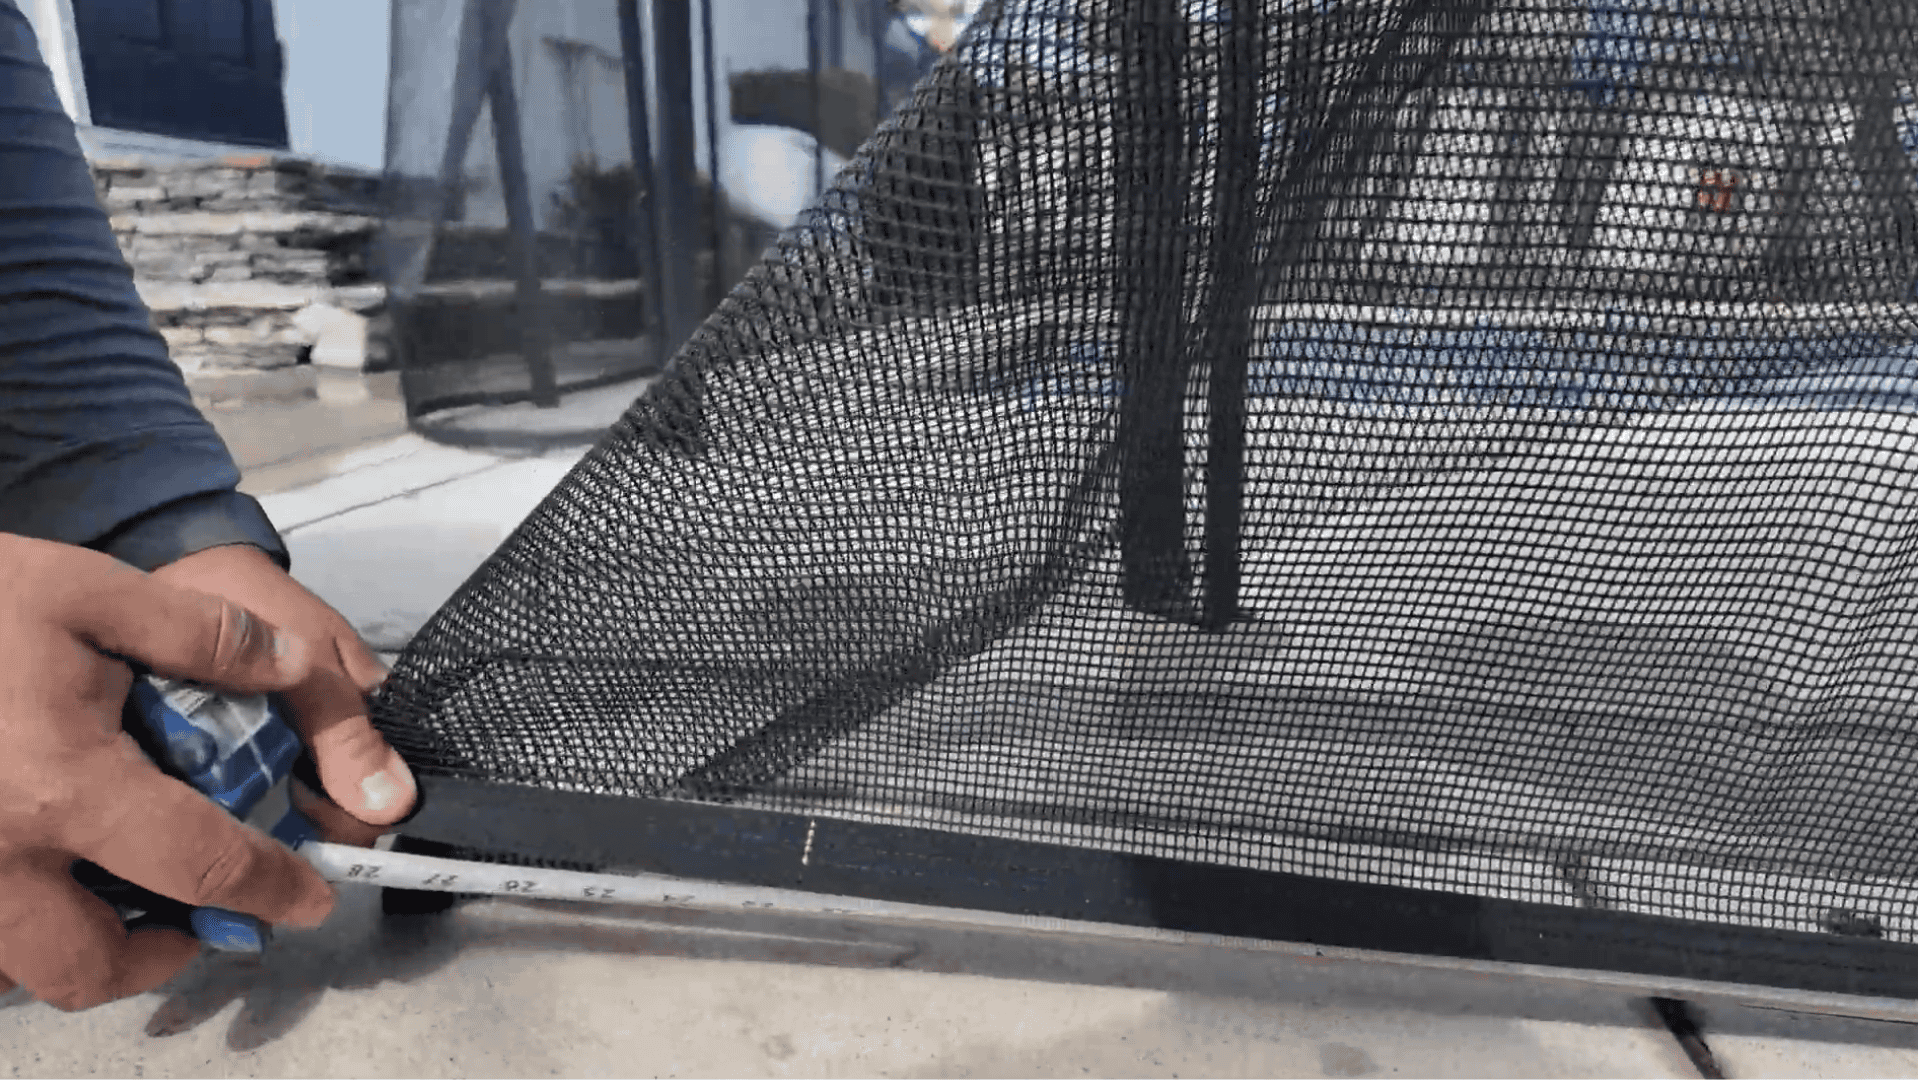
Wrap the mesh tightly around the pole and mark the center of the pole on the bottom border with your China marker.

Measure from the previous pole to the mark you made and transfer that same measurement to the top border. This ensures a straight, even cut.
2. Prepare for the Cut
Lay the section flat on a clean surface (a table is ideal).

From your original marks, add ⅜ of an inch and mark a new cut line on both the top and bottom borders.

Use a straight edge or molding to draw a straight line, then cut the mesh along this new line.

3. Add the Border
Cut a strip of Border with One Thread slightly longer than your mesh height.
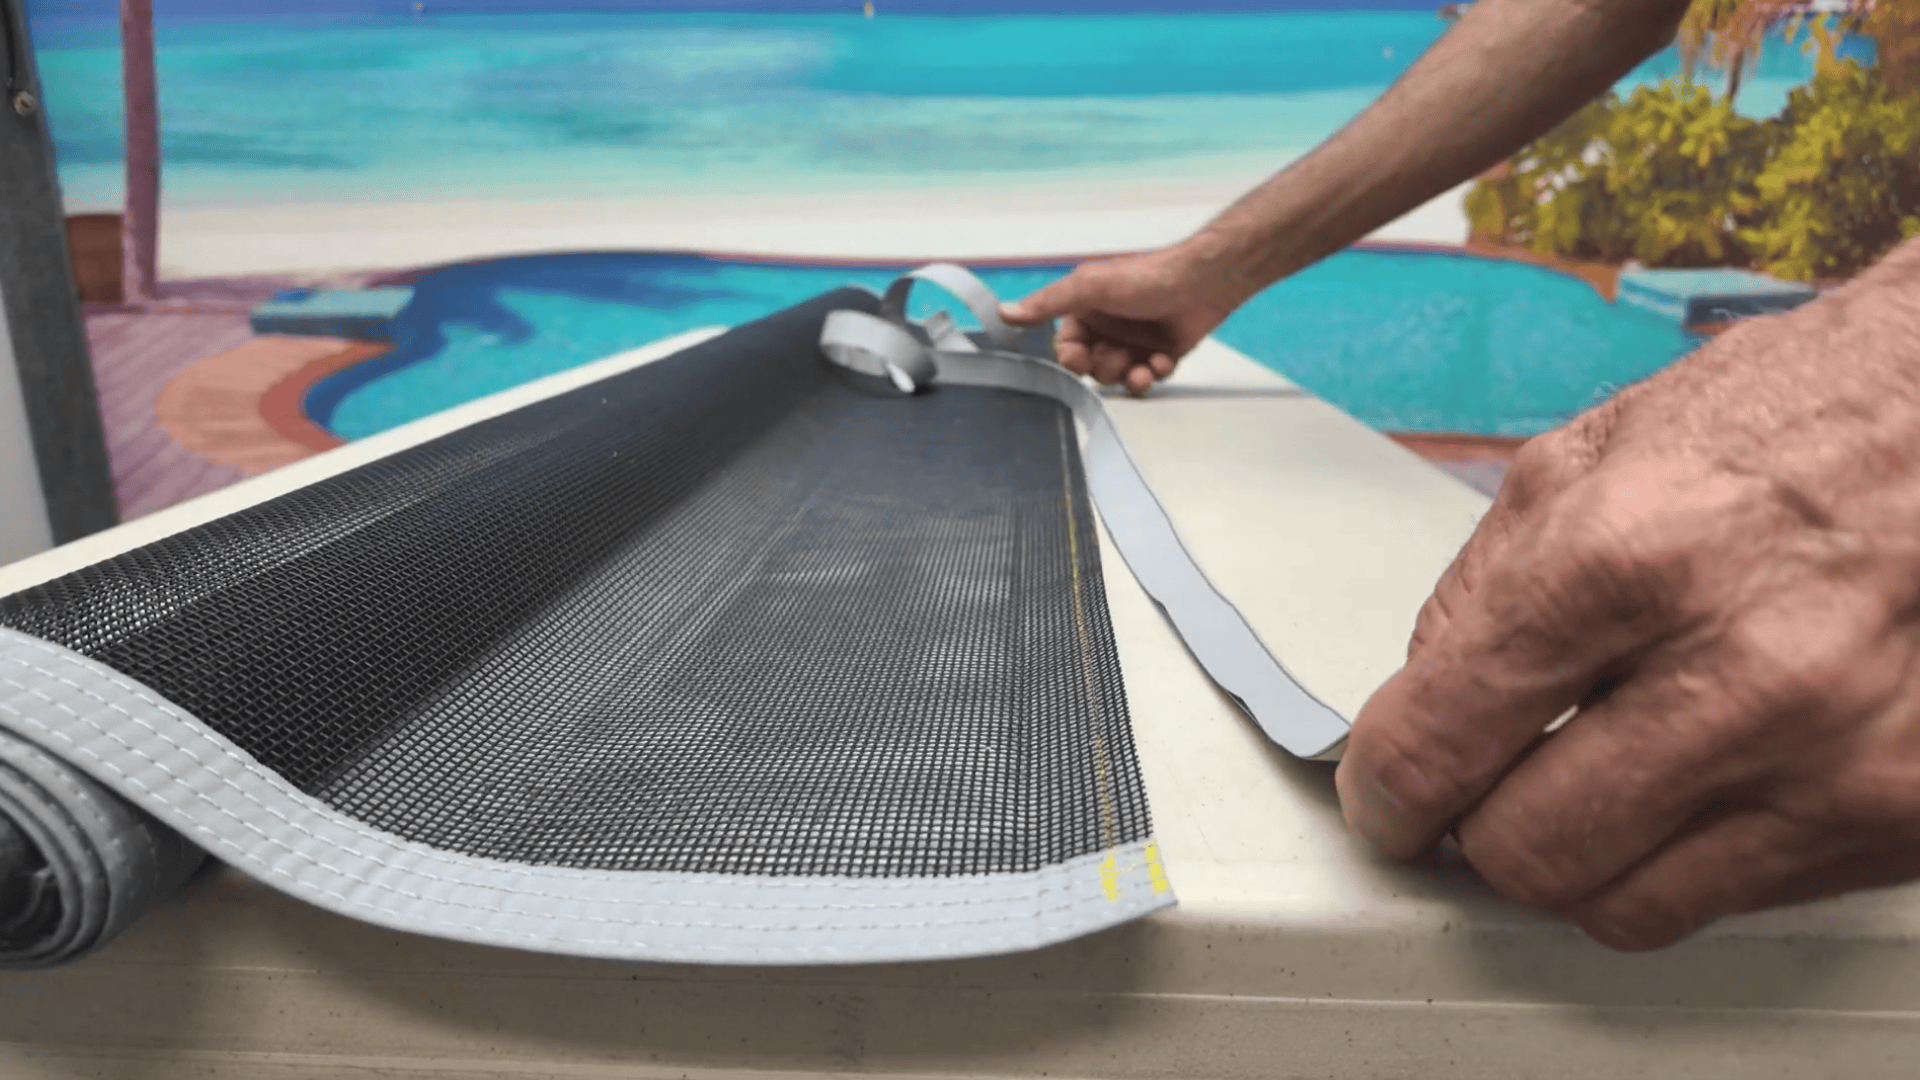
Apply double-sided tape along the mesh edge.
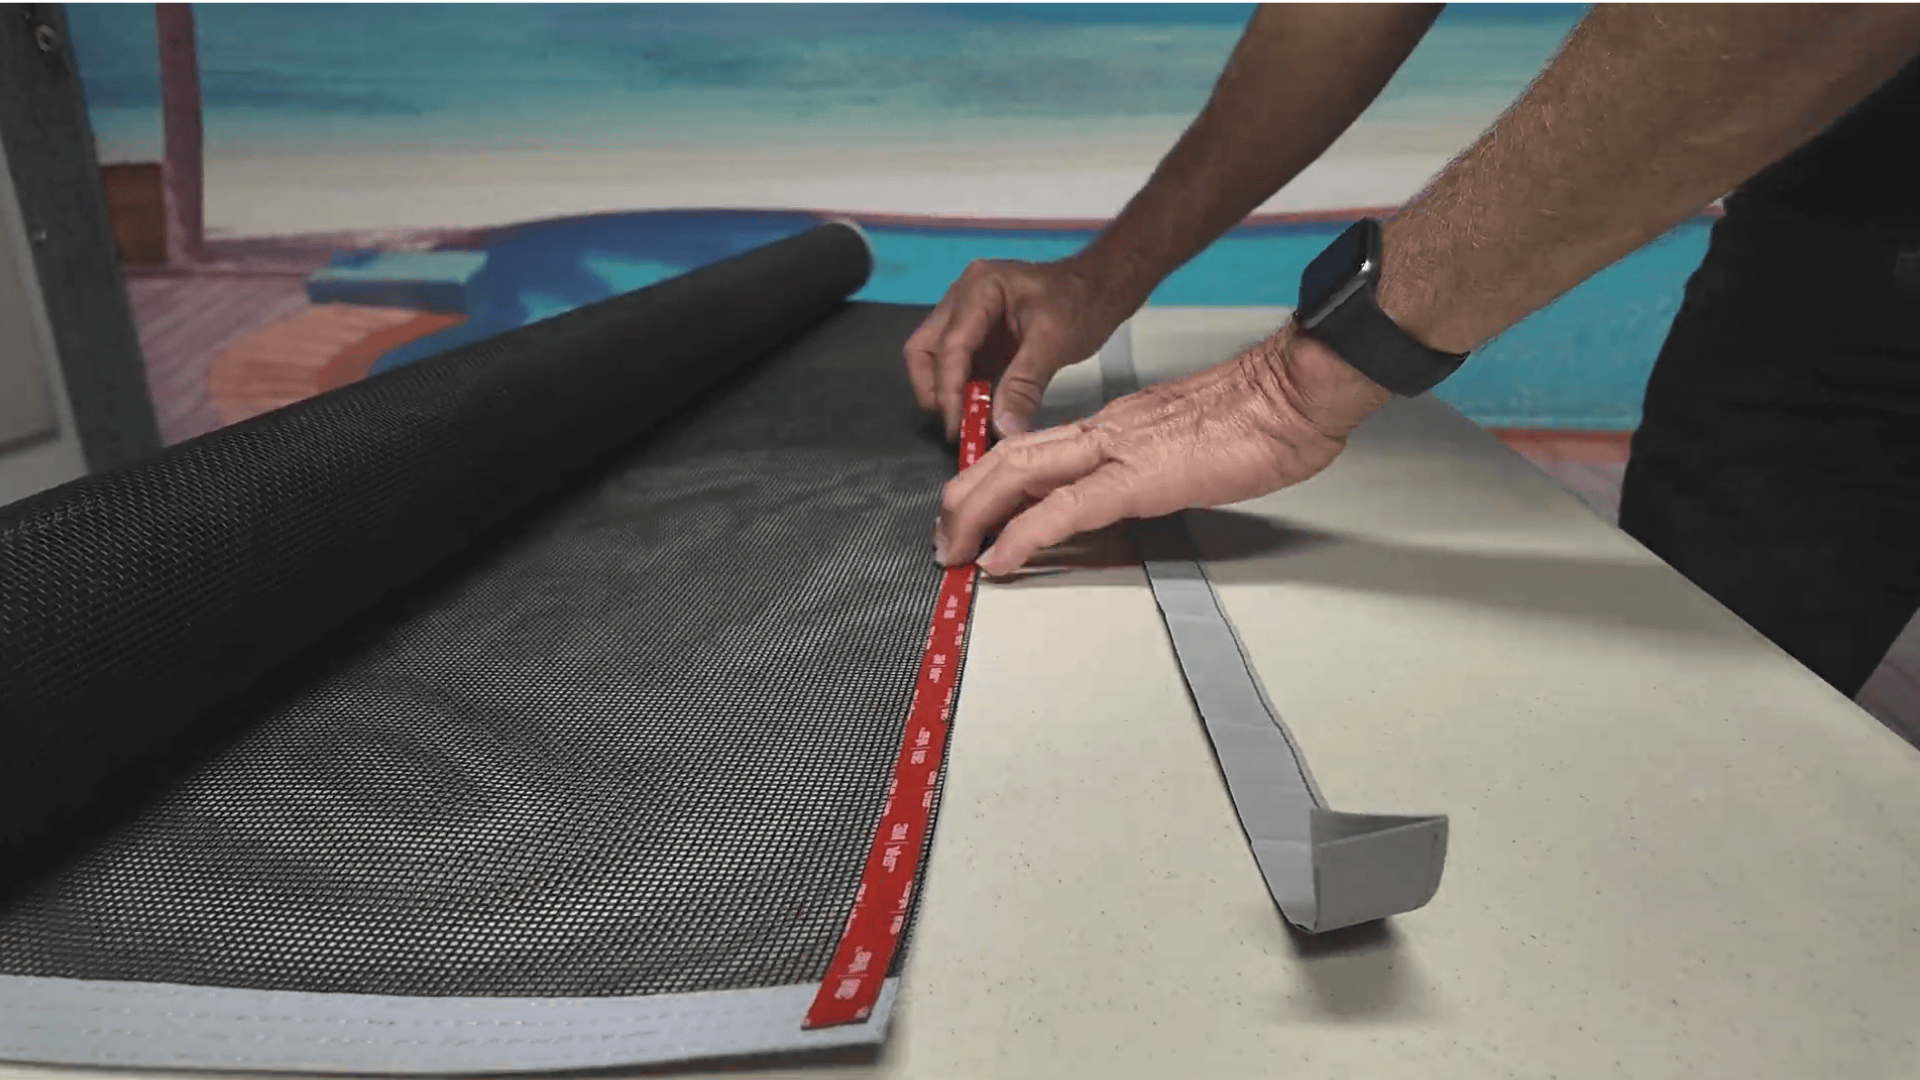
Open the border and sandwich the mesh inside, pushing it all the way to the thread.
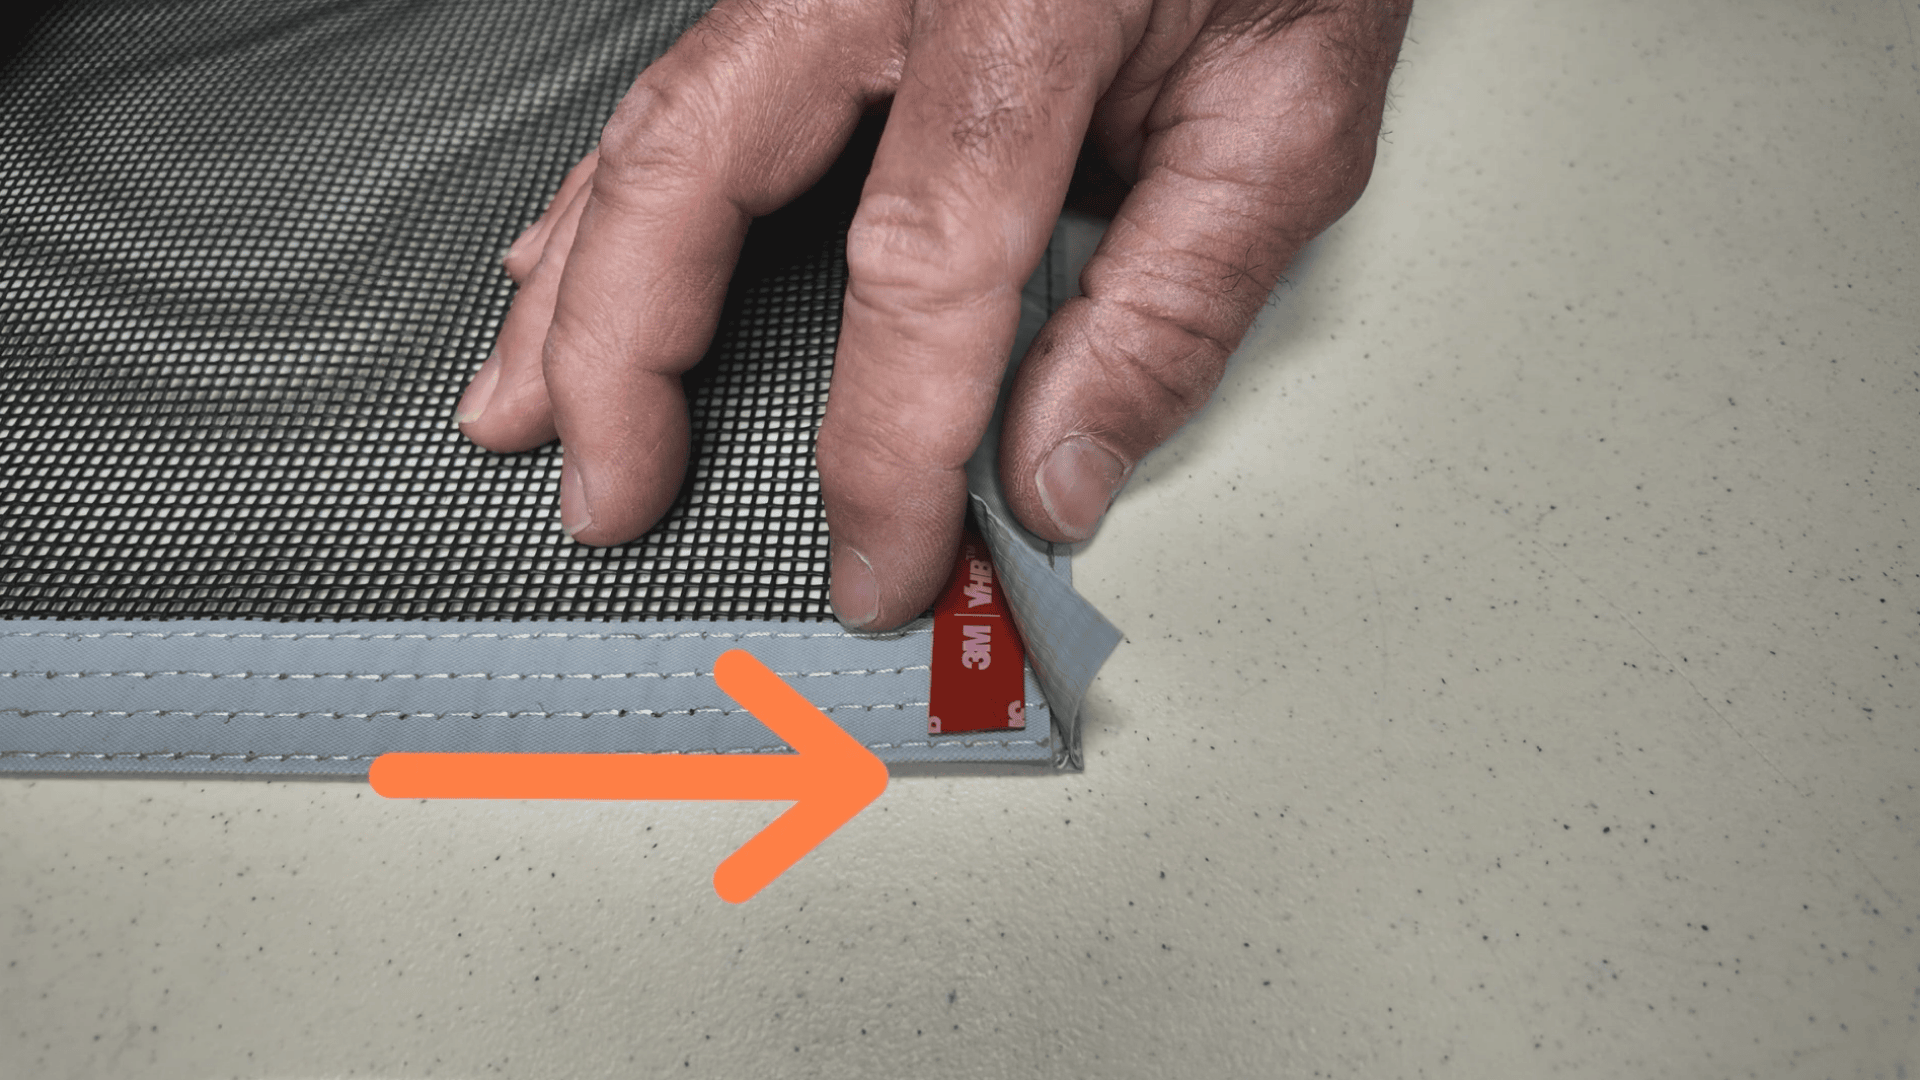
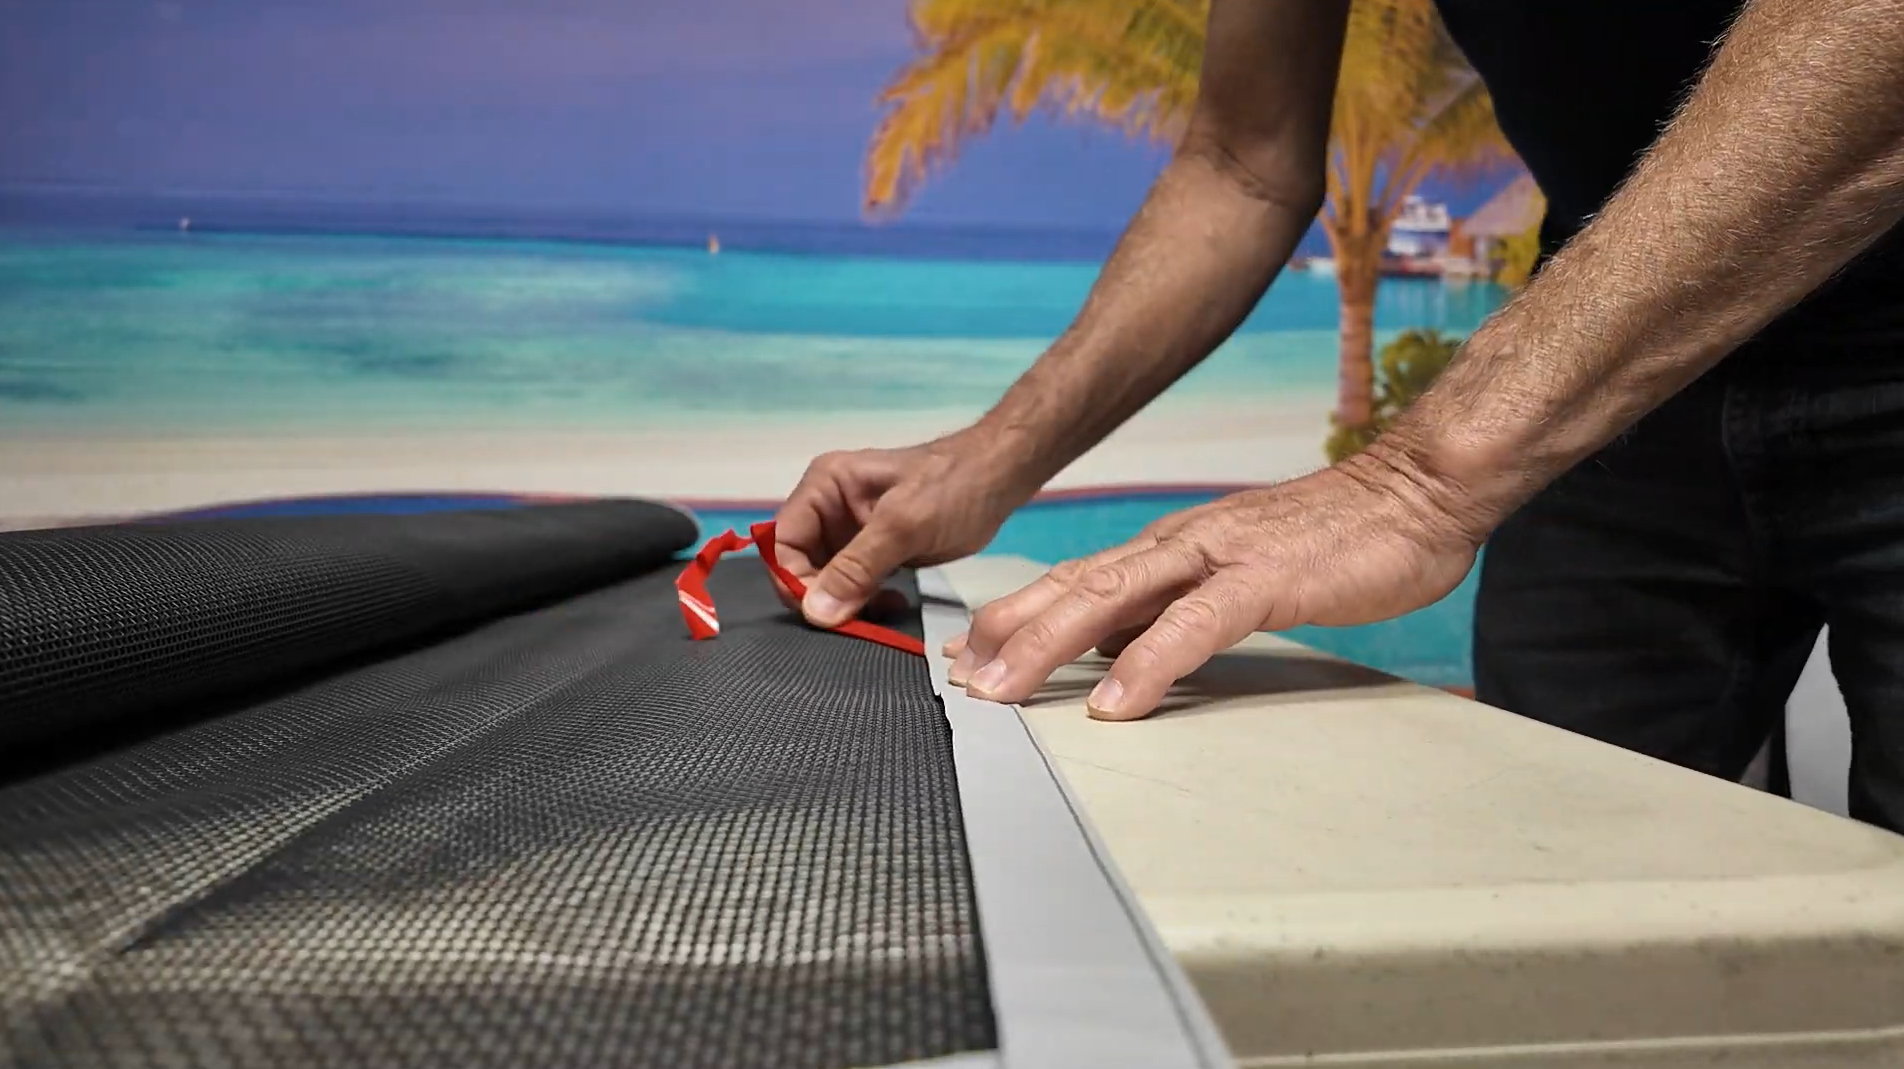
Peel the backing of the tape gradually and press the border in place, working down the length of the mesh.
Alternative Option: Staple Method
Instead of tape, you can staple the border onto the mesh.
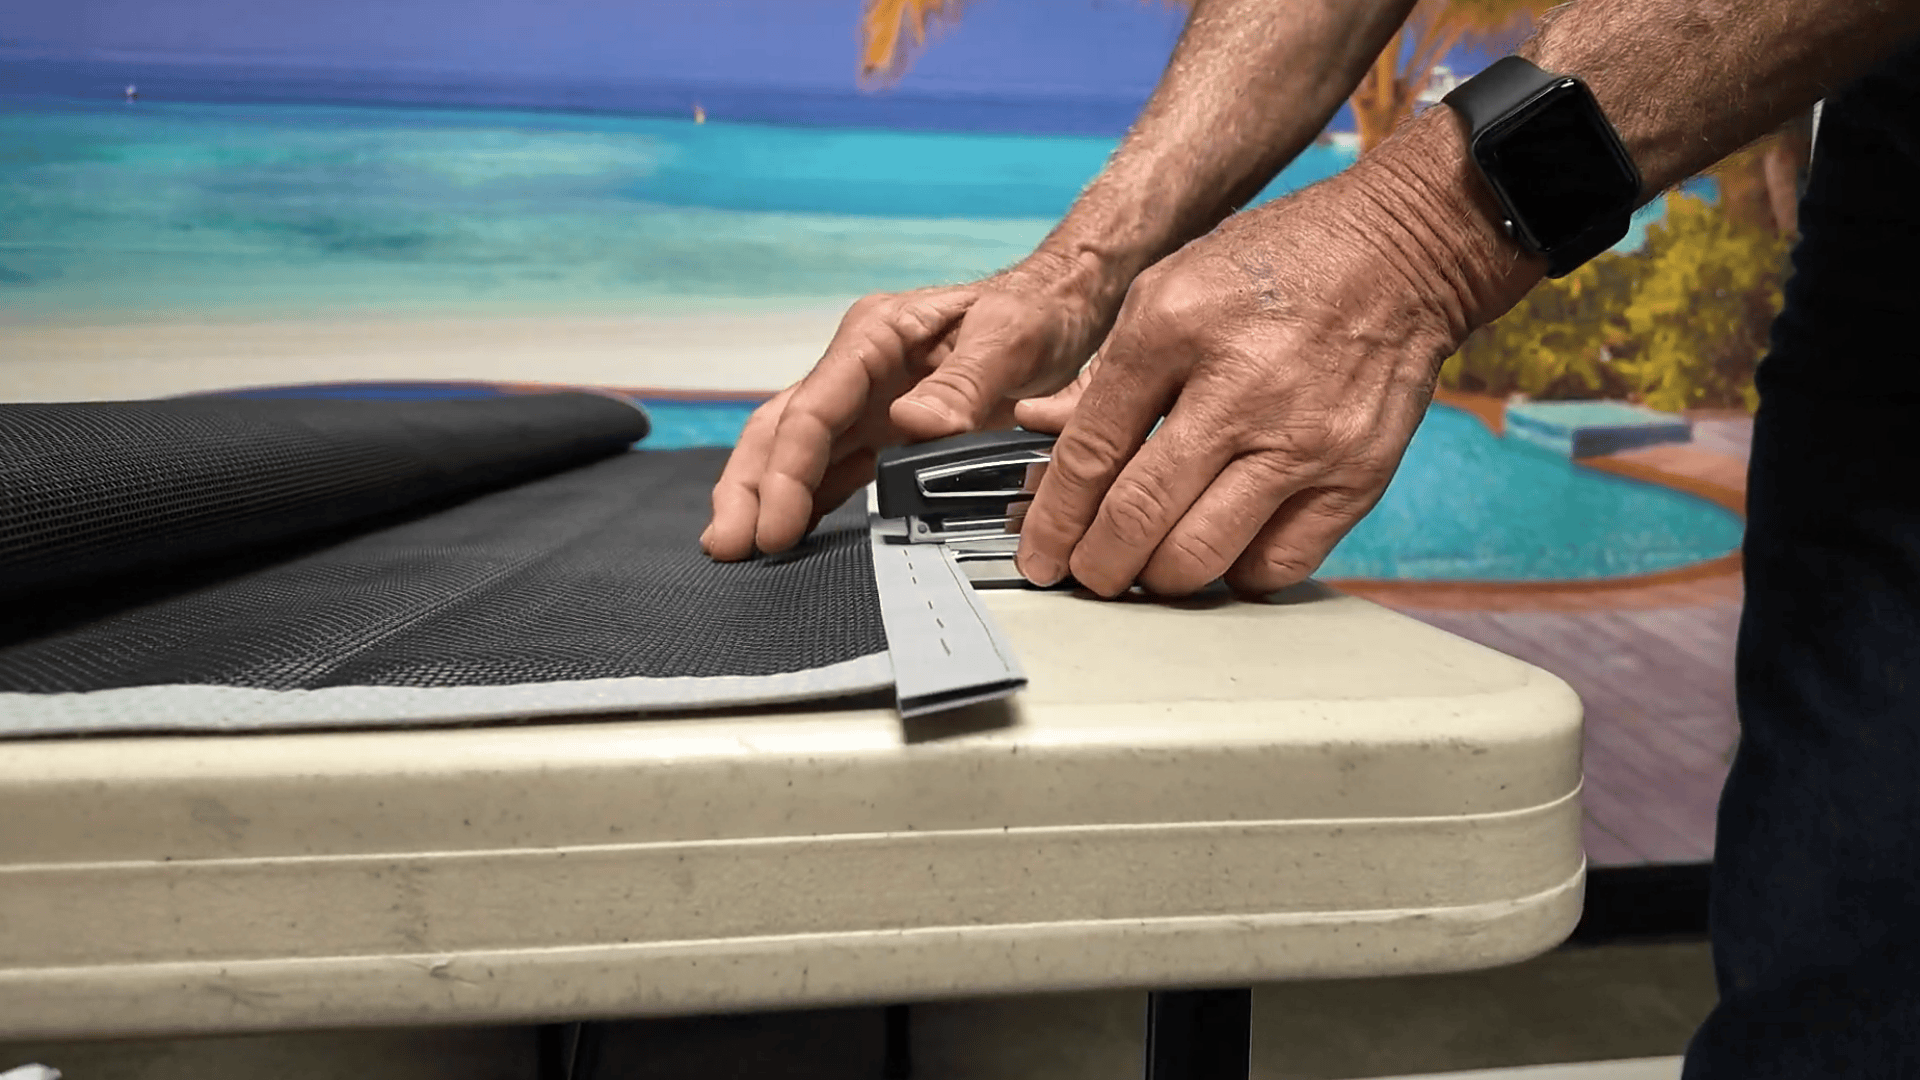
Push the mesh firmly into the border groove, then staple through the border every ¼” to ½” using a heavy-duty stapler.
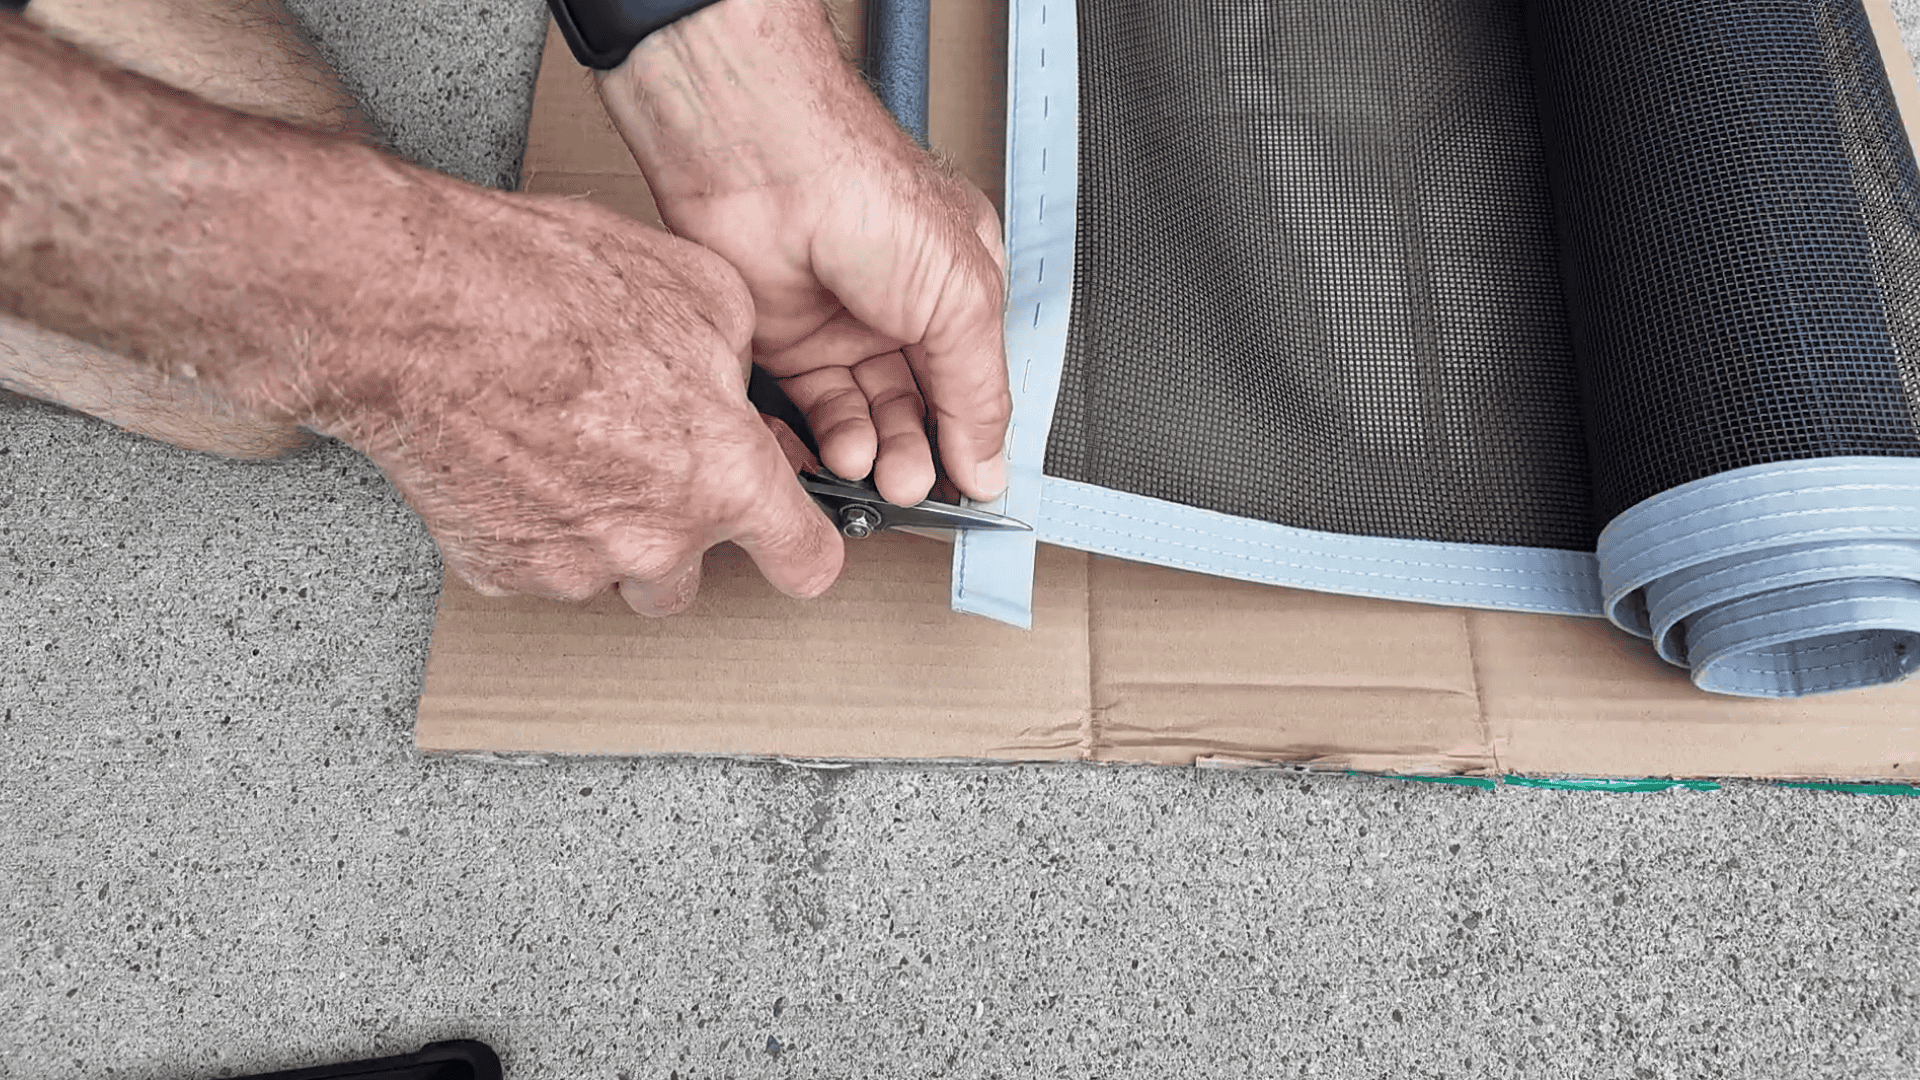
4. Trim the Excess Border
Once the border is applied, trim any excess border material flush with the top and bottom mesh borders.
Reinstalling the Section
5. Line Up the Mesh and Molding
Lay the fence section flat on the ground with cardboard beneath to protect the pole.

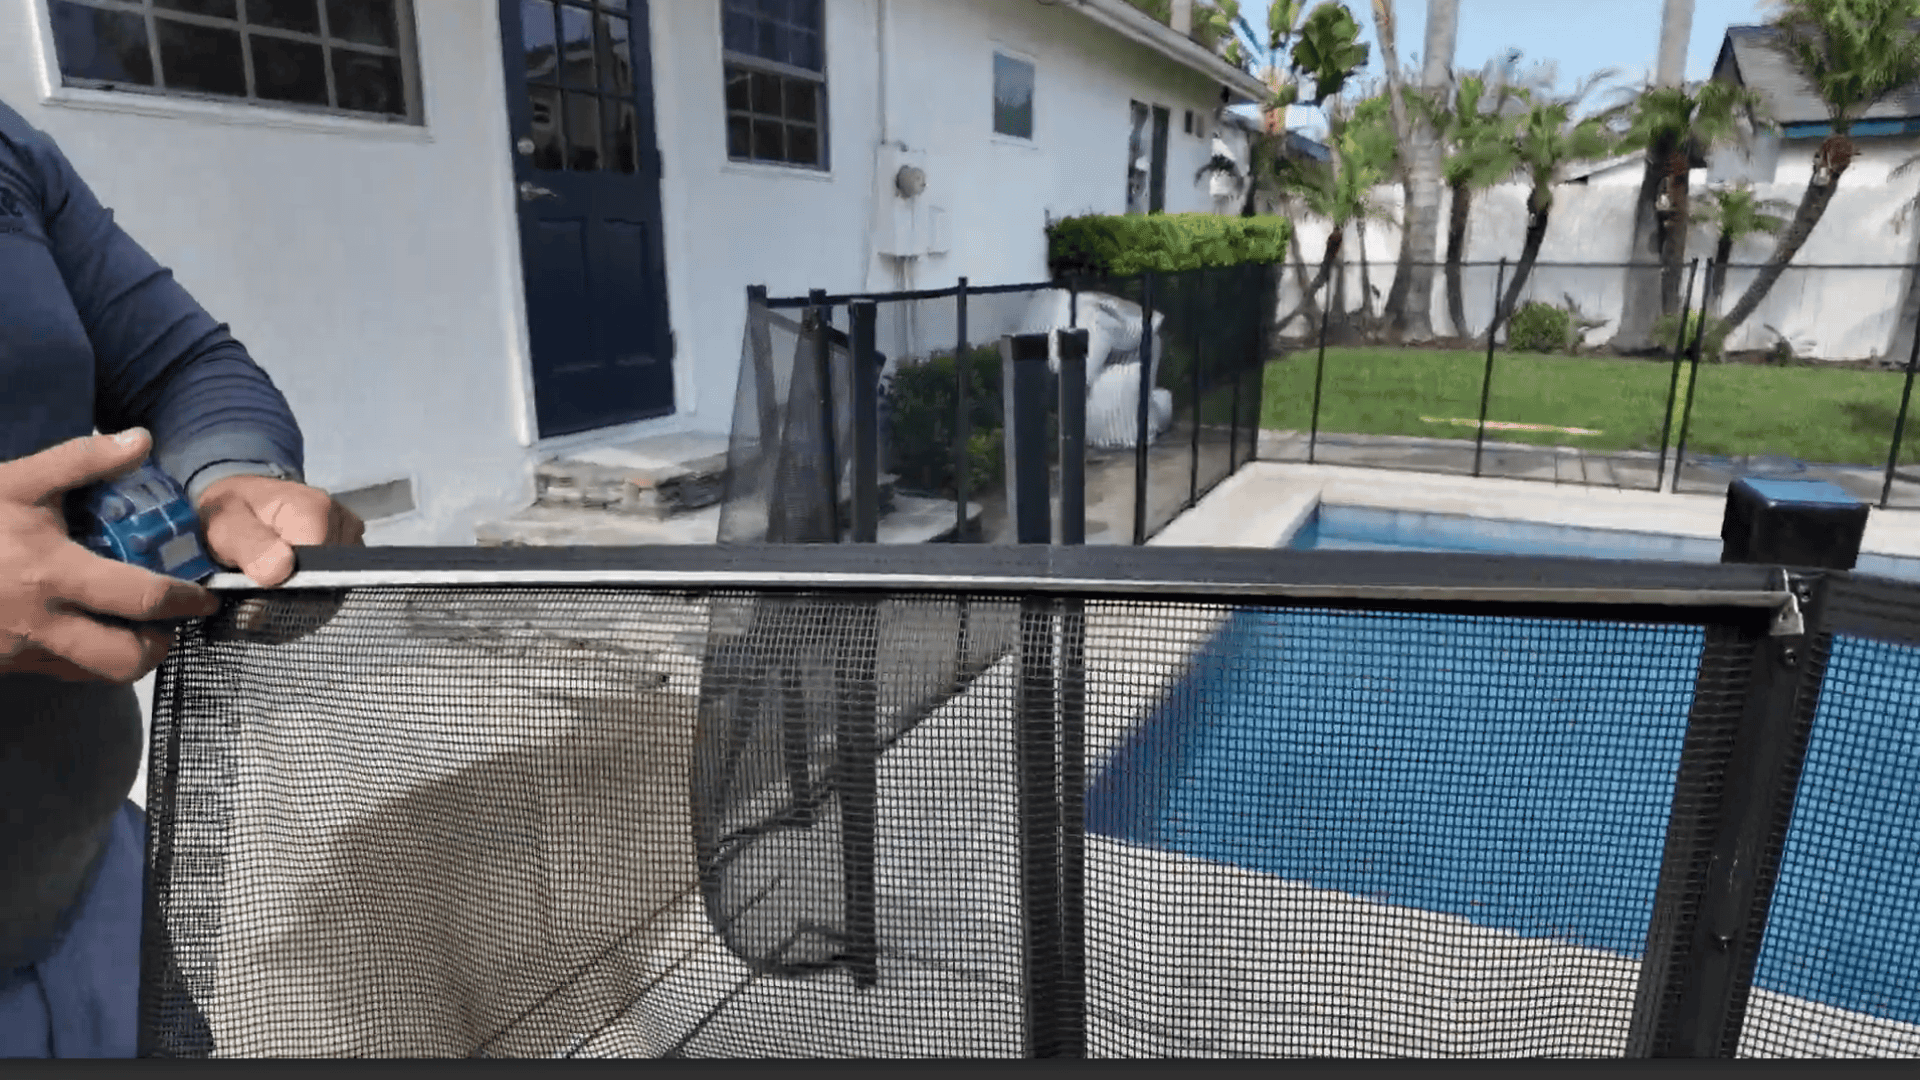
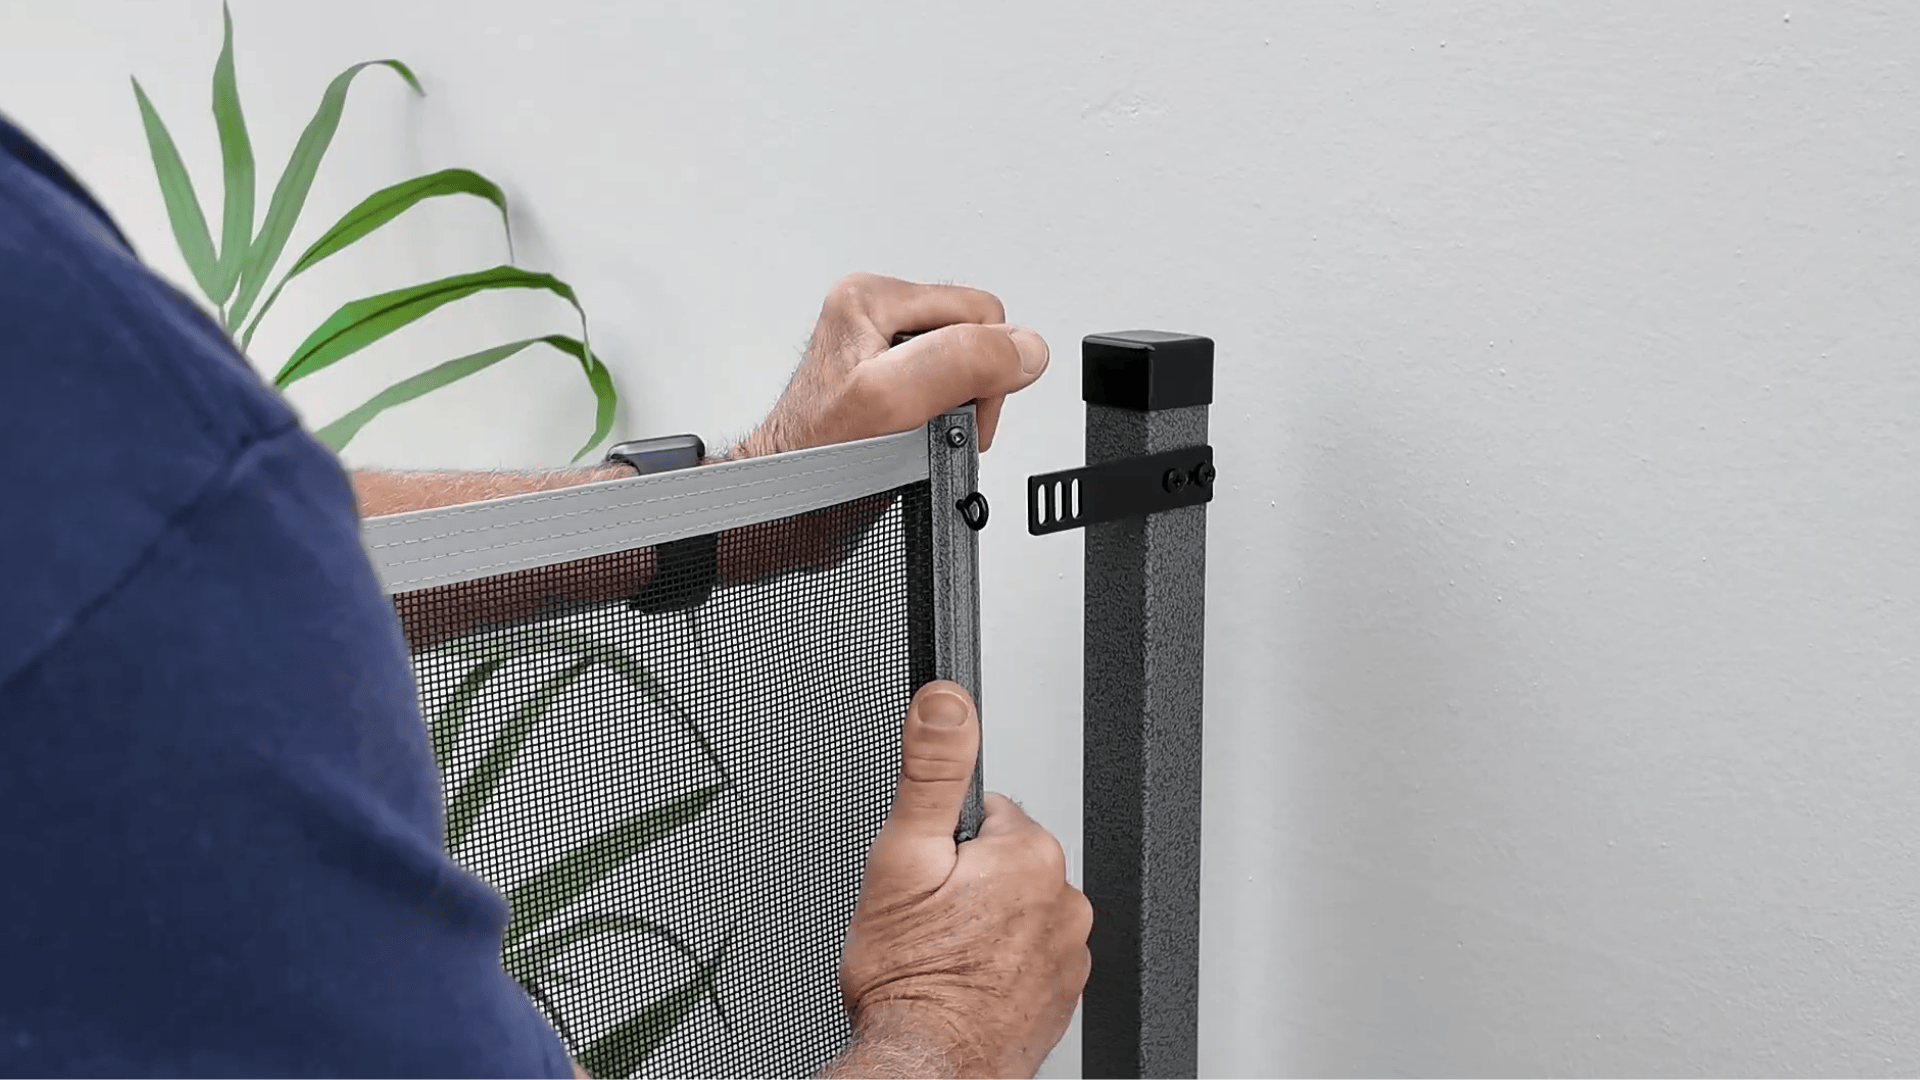
Line up the top of the molding with the top thread of the border.
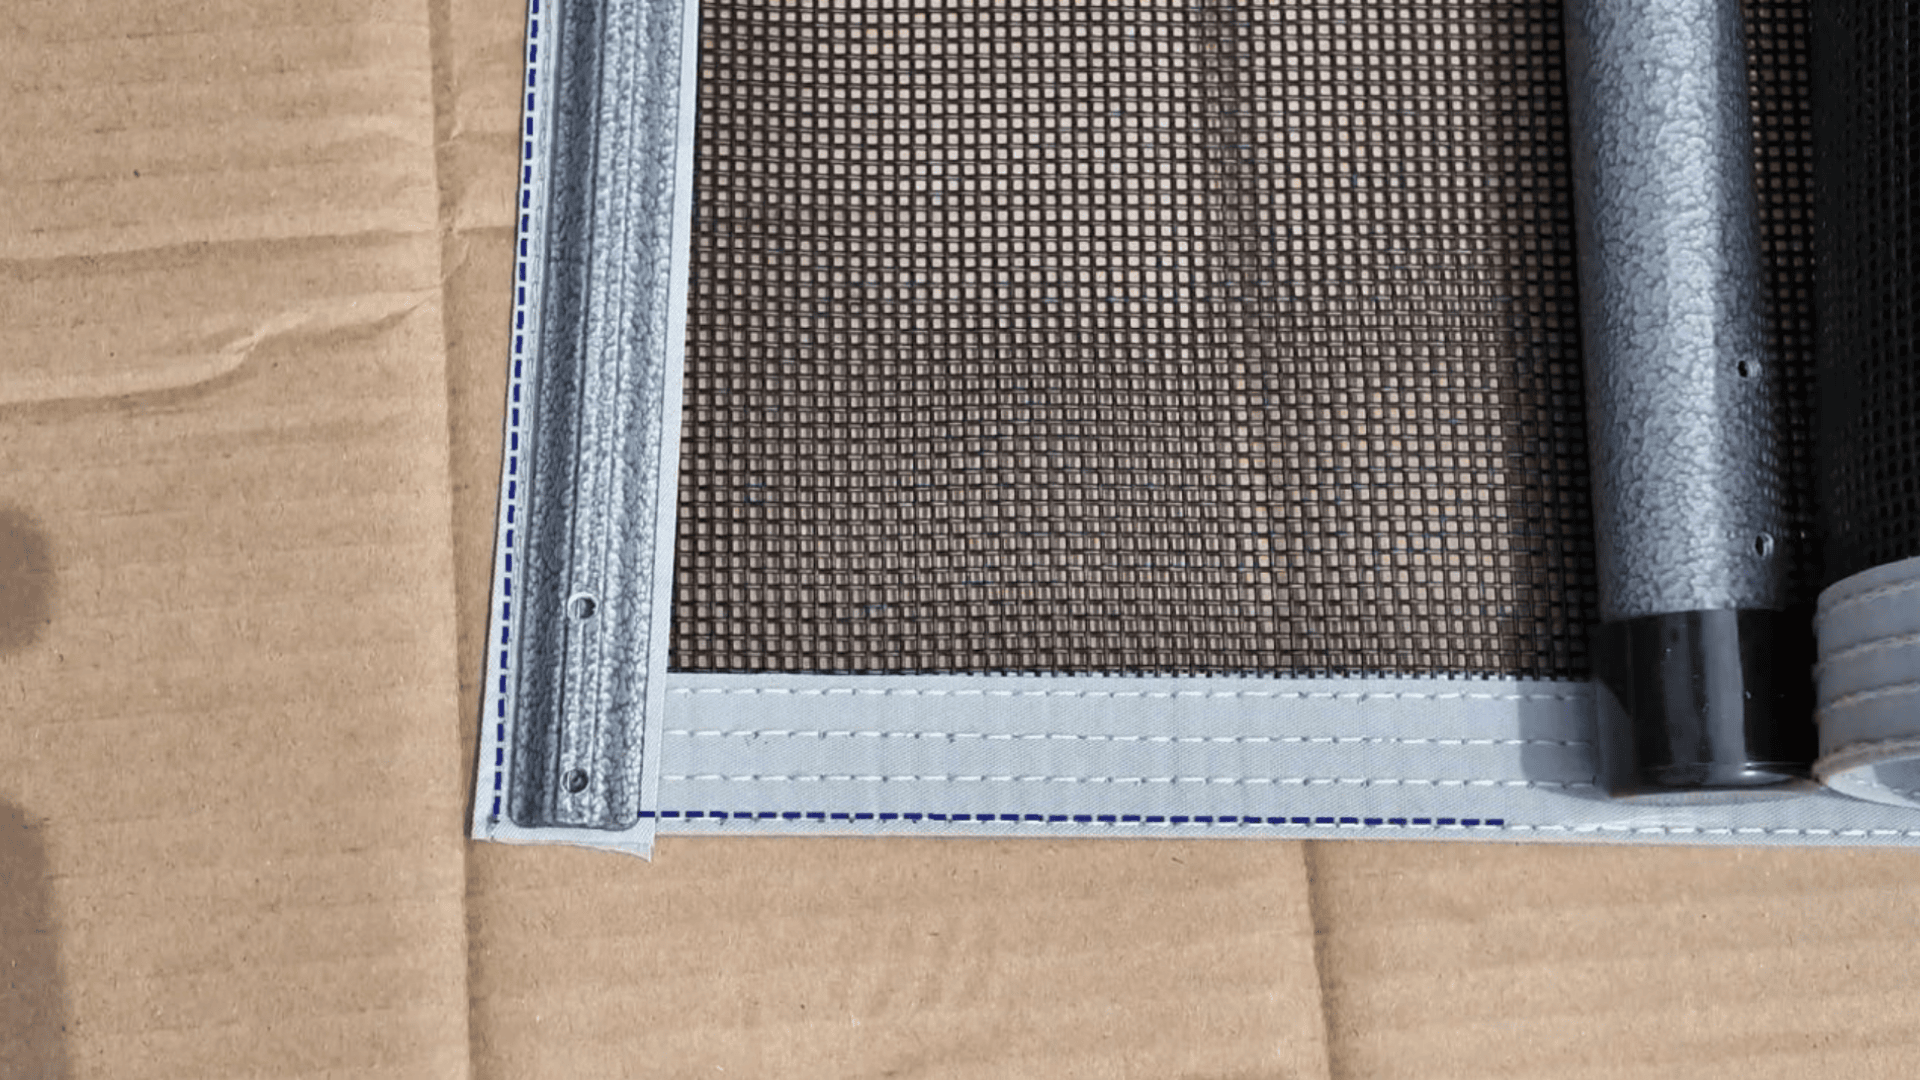
The full thread should be visible along the side of the molding.
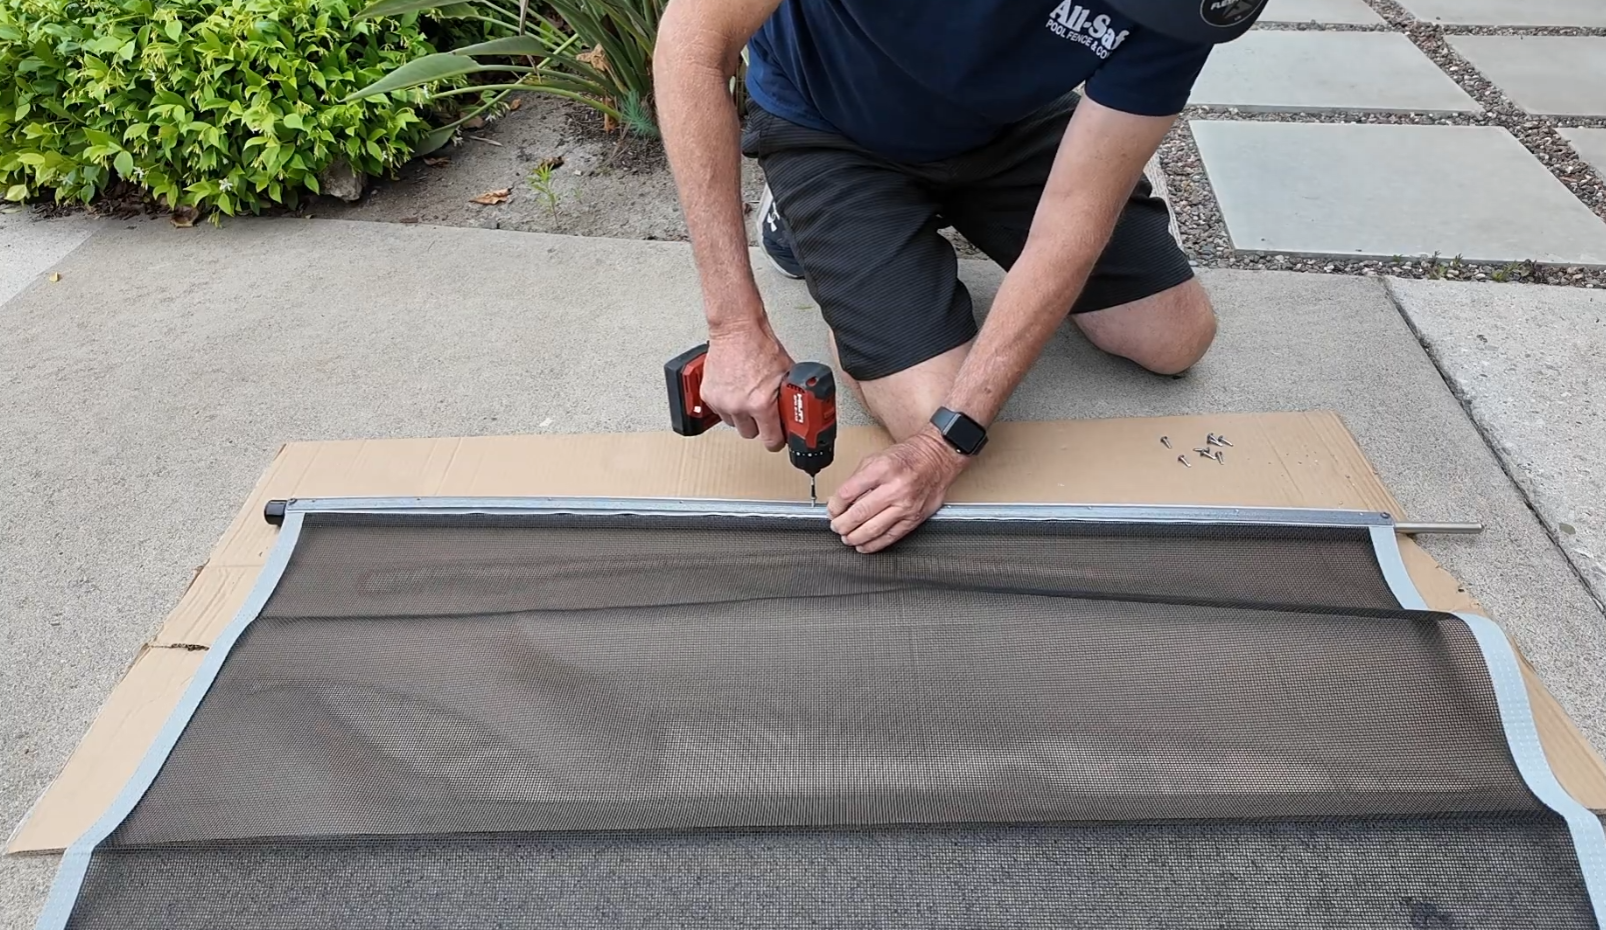
6. Secure the Molding
Pre-set a section screw into the top hole of the molding and attach it to the pole.
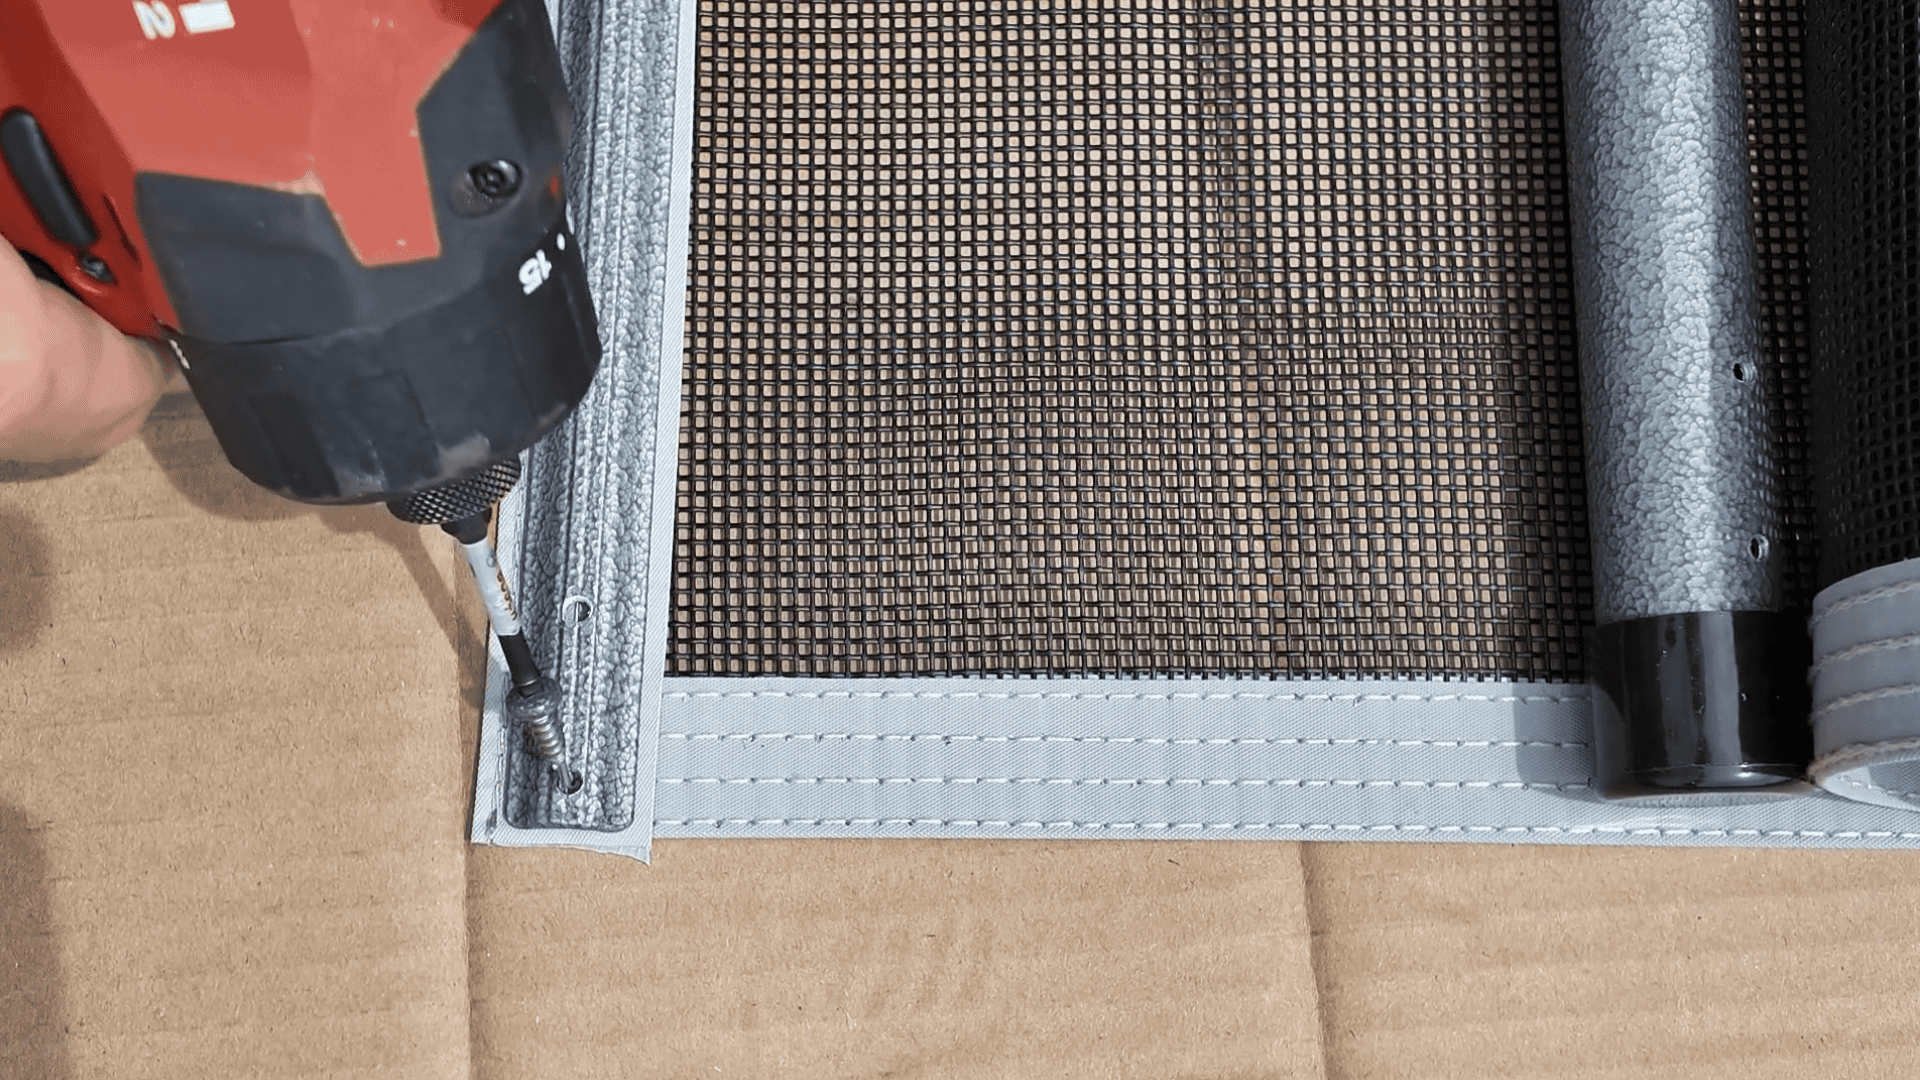

Pre-drill just above the second thread from the bottom and preset a screw into the bottom hole.
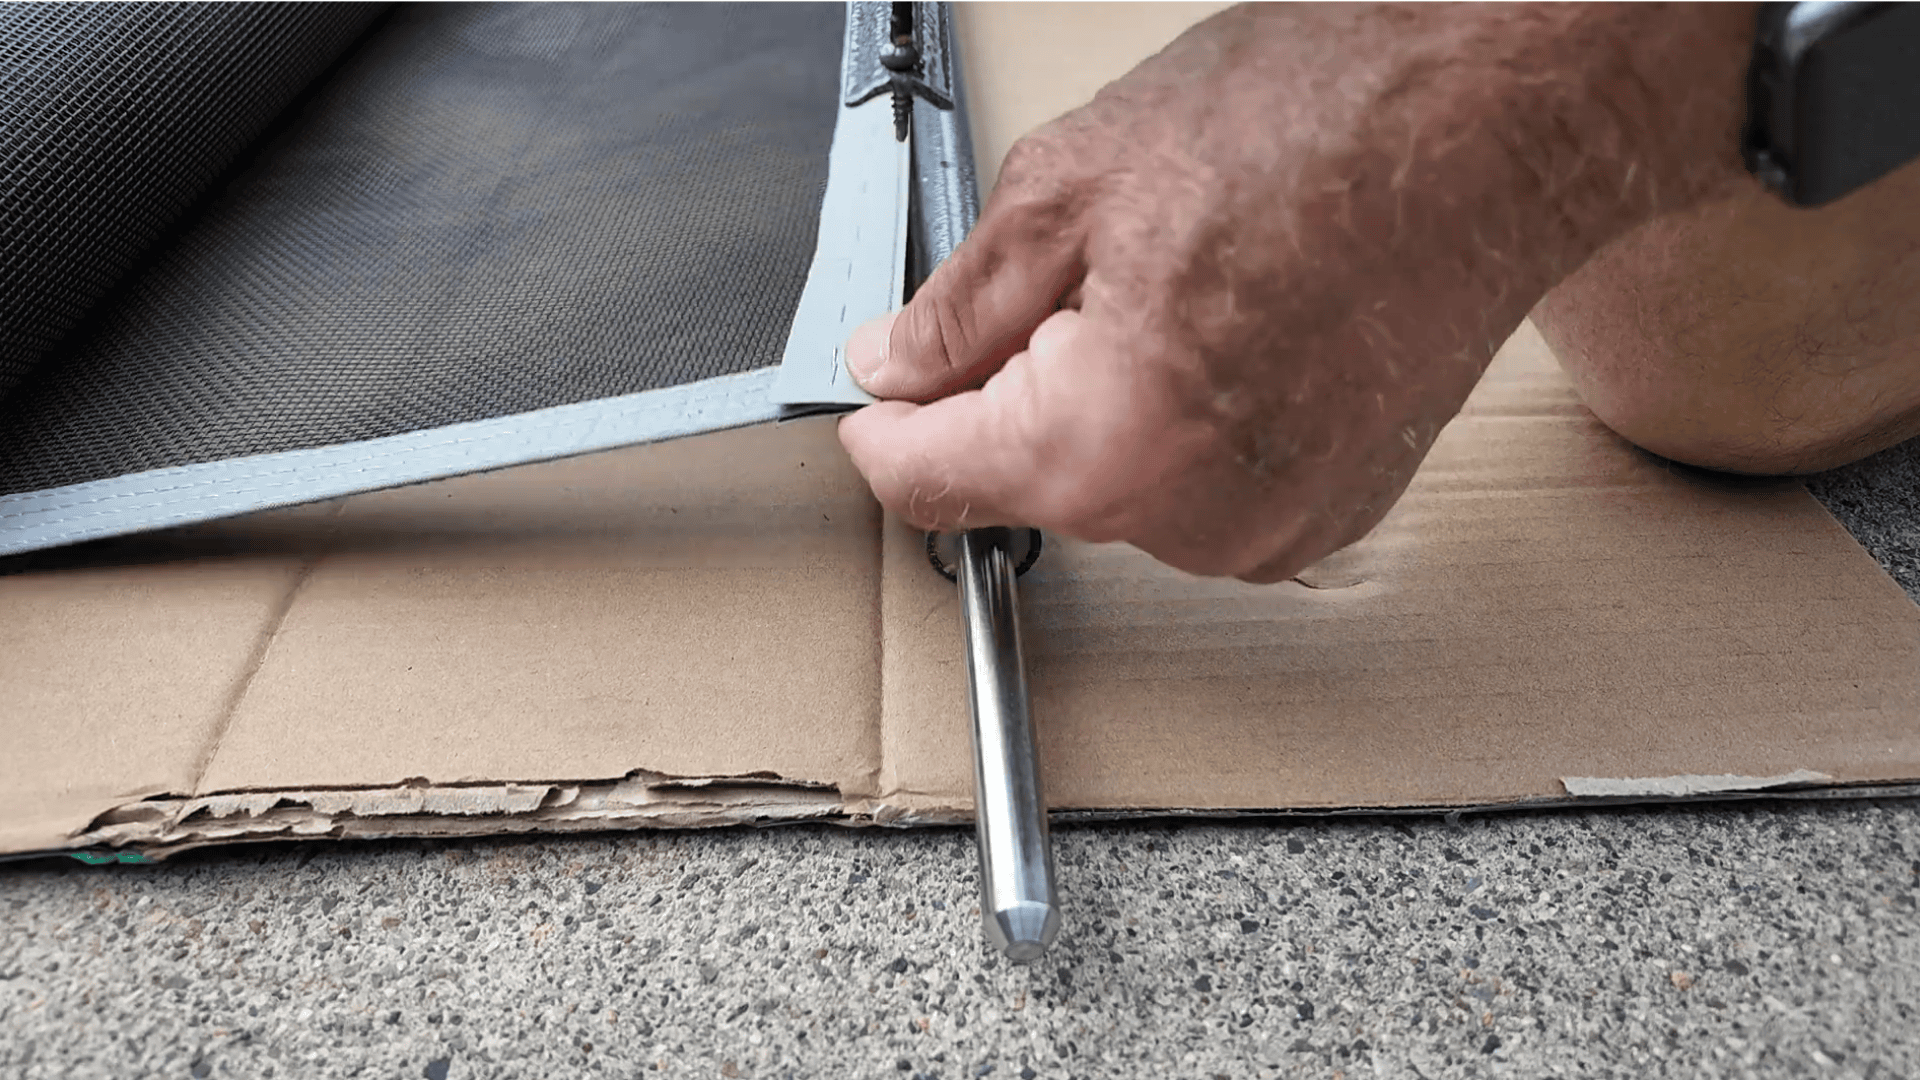
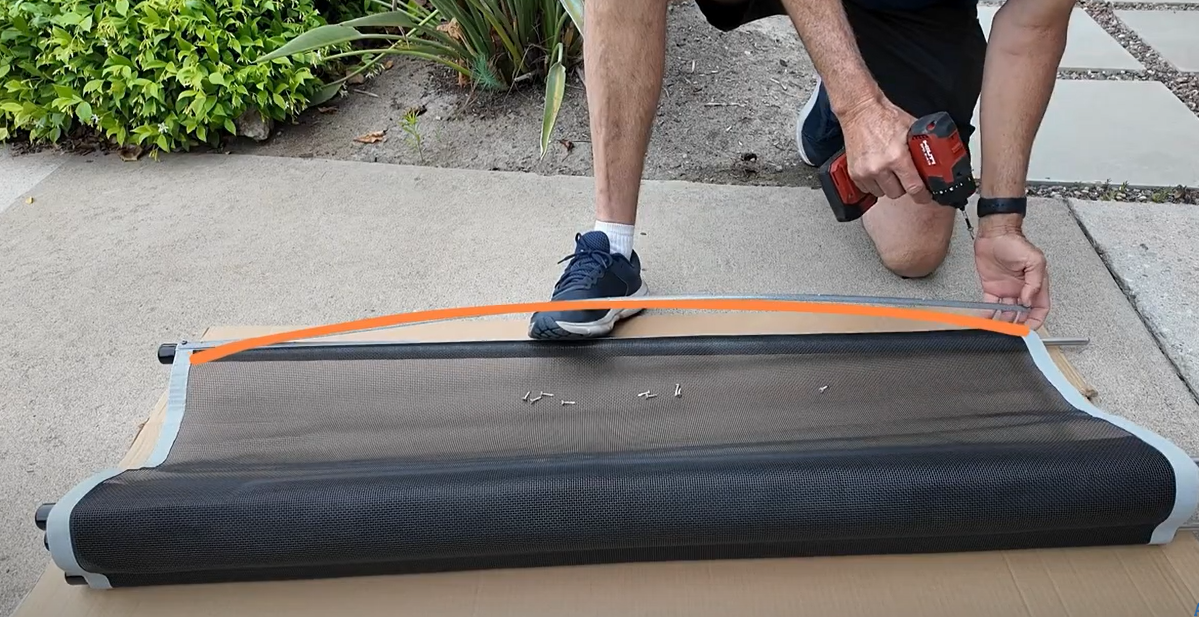
Pro Tip:
Insert your foot between the mesh and molding, push down on the molding to create an arc, and then screw in the bottom screw. Releasing your foot will tighten the mesh, remove wrinkles, and give a factory finish.

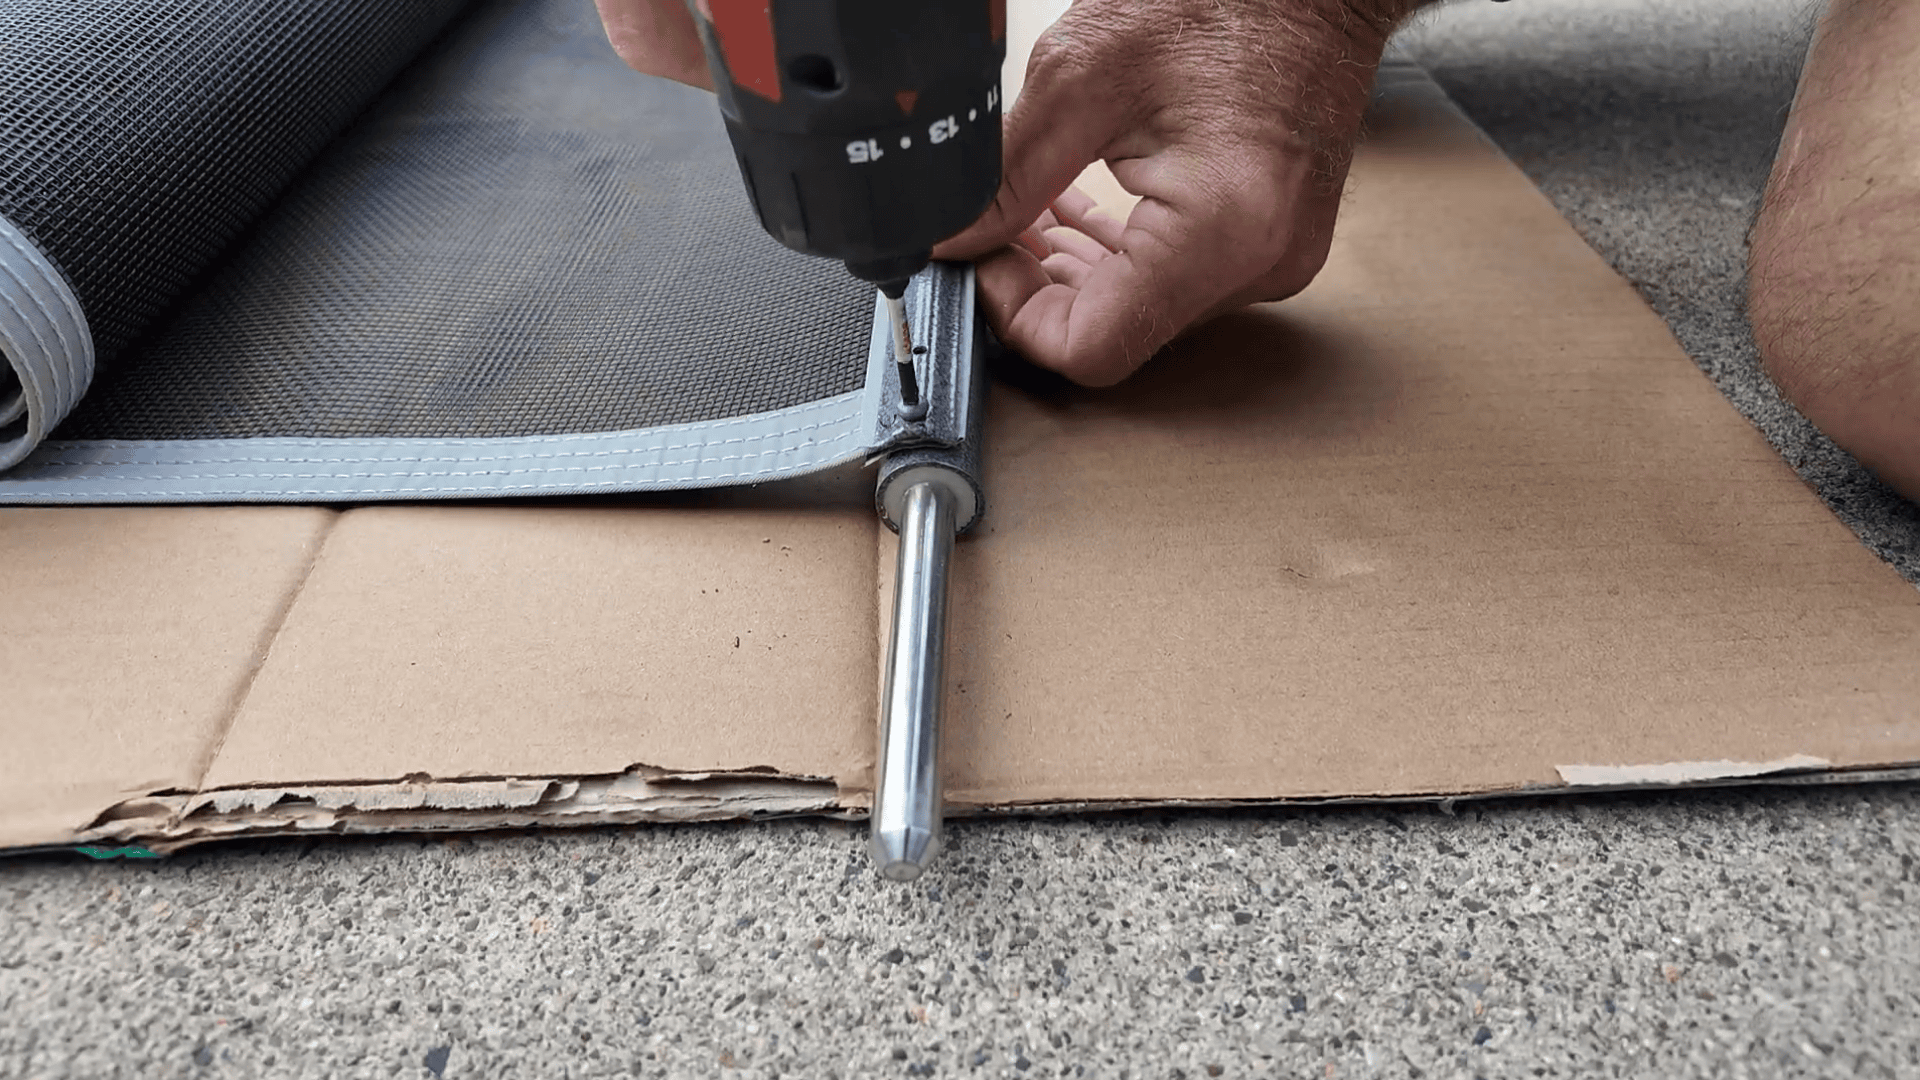
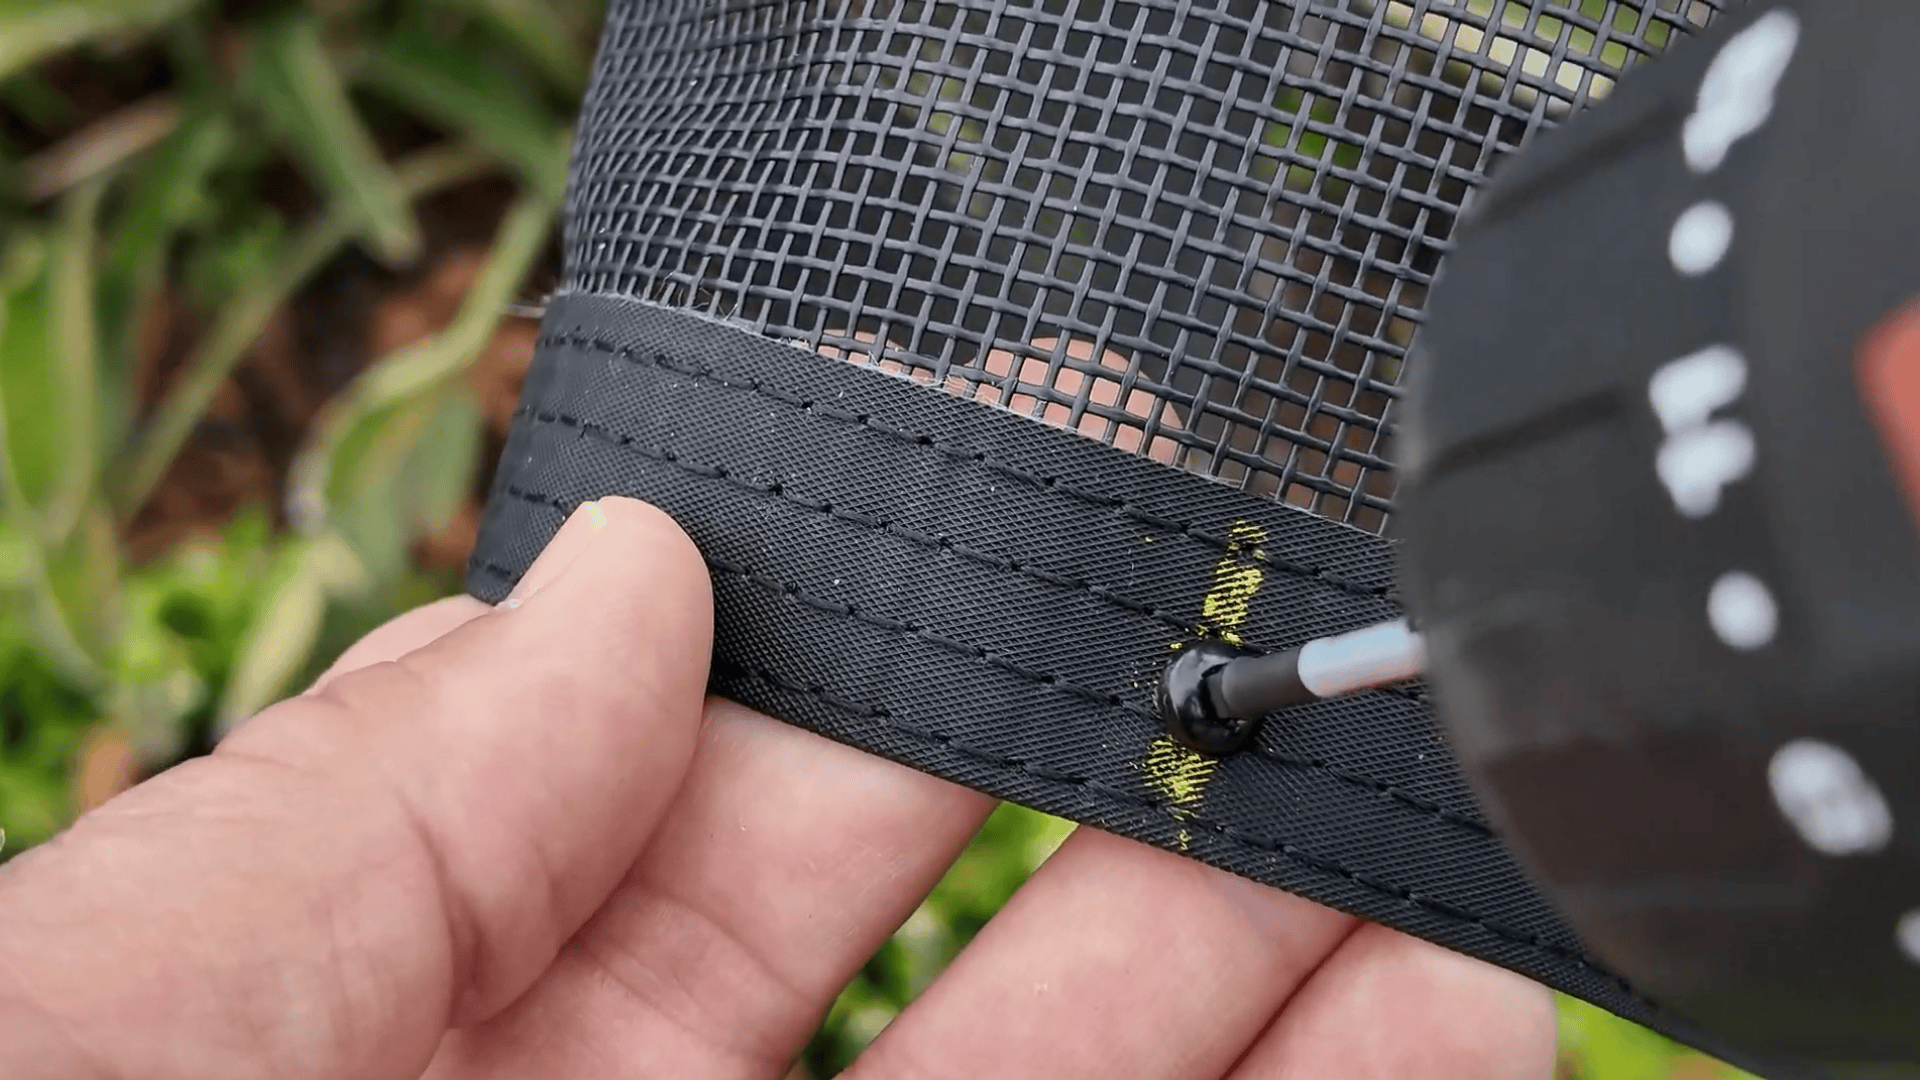
7. Finish Screwing the Section
Starting in the center, alternate up and down while adding section screws until the molding is fully secured.
Final Step: Reconnect the Fence
Reinstall the section into your layout.
Reattach to neighboring sections and make any final tension adjustments.
Summary: Why Choose Border Trim & Tape?
Cleaner Look
Strong, Long-Lasting Hold
Great for DIYers and Pros Alike
Works with Tape or Staples
This method is a great middle-ground option — not as raw as a basic trim, but easier than double molding. Be sure to check out Method 1: Trim to Fit and Method 3: Double Molding Cut to find the approach that fits your project best.
Continue Learning
- How to Cut Pool Fence Mesh to Fit Your Layout: 3 DIY Methods
- How to Cut Pool Fence Mesh – DIY Method 1: Trim to Fit (No Materials Needed)
- How to Cut Pool Fence Mesh – DIY Method 3: Double Molding Cut
Shop for Parts Online
View our selection of Replacement Pool Fence & Gate Mesh