
How To: Repair or Replace Pool Gate Mesh
If your pool fence gate mesh has been damaged—whether by pets, weather, or wear and tear—you can replace it yourself with just a few tools and some patience. Follow the instructions below to remove and replace the gate mesh safely and correctly.
Tools Required:
- Cordless drill
- #2 Square drive bit
- #2 Phillips drive bit
- Flathead screwdriver
- Phillips screwdriver
- Putty knife
- Replacement gate mesh
Step-by-Step Instructions:
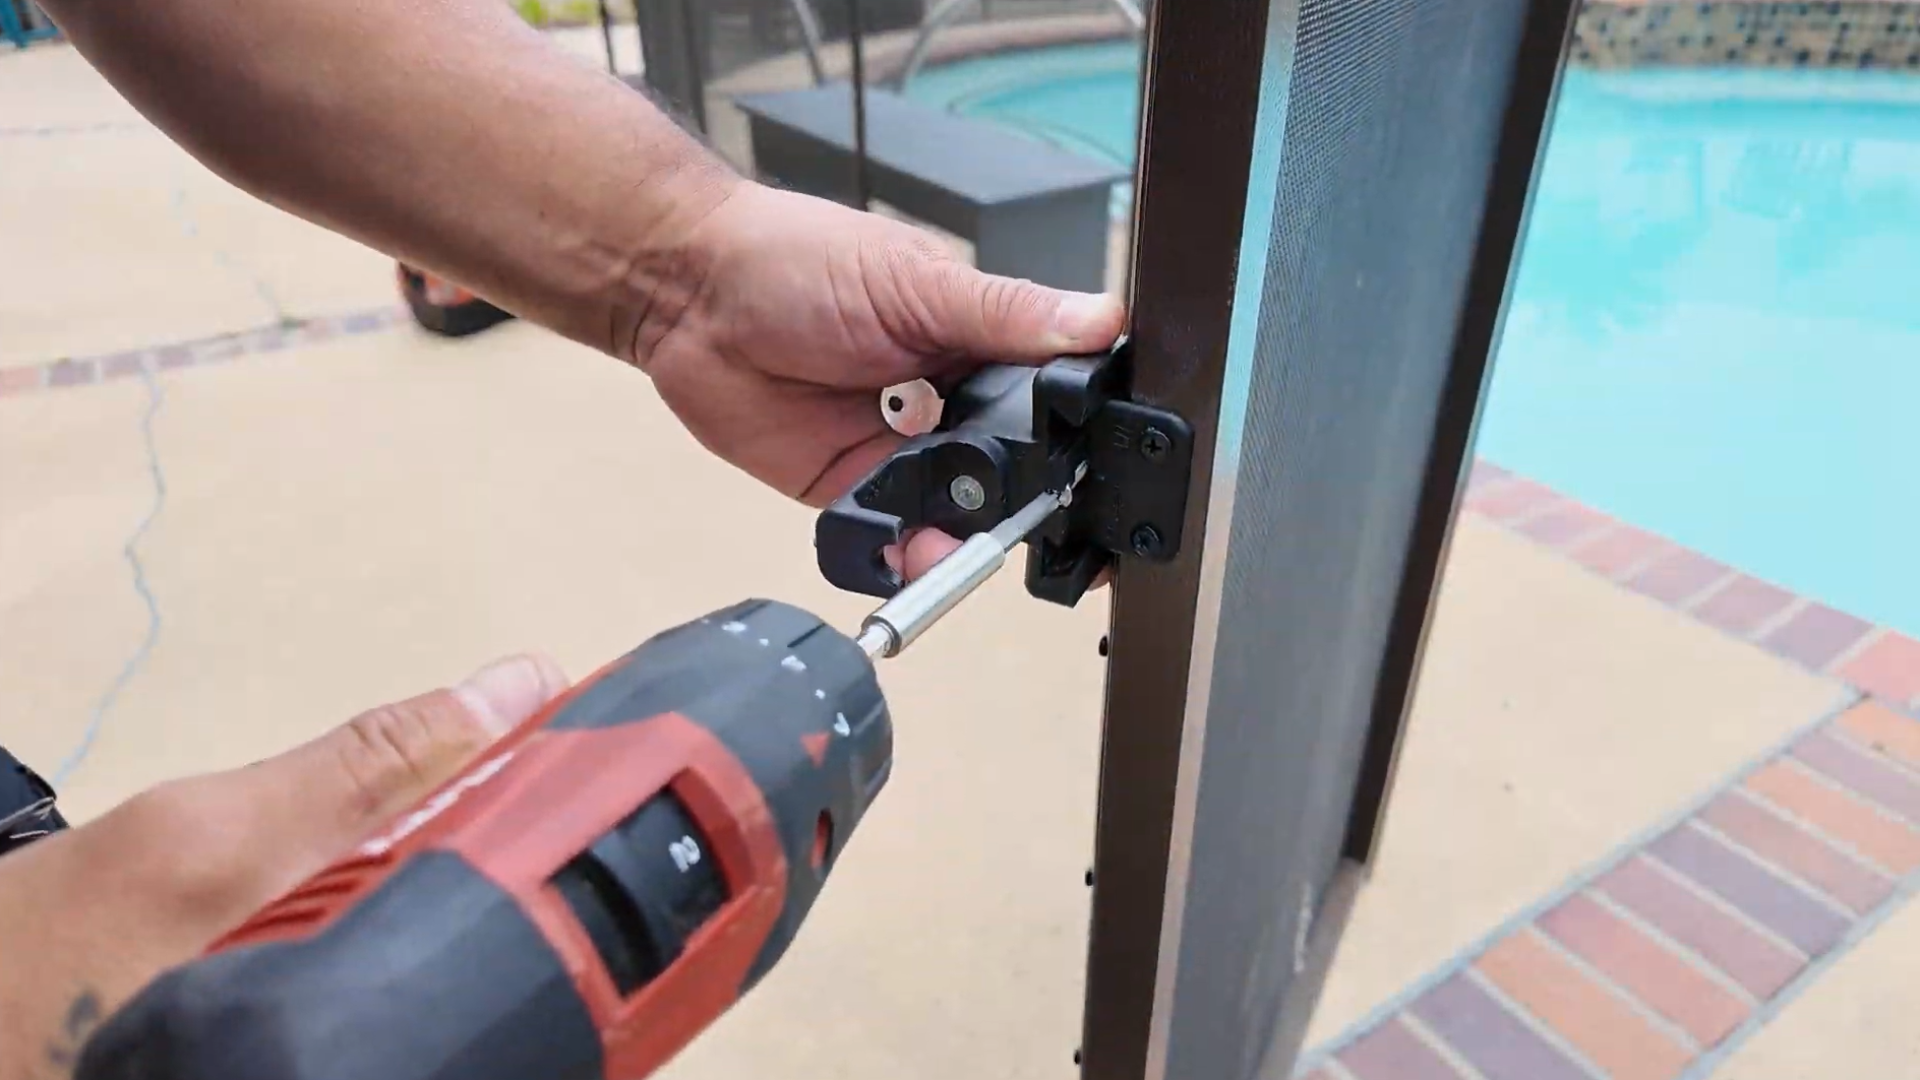
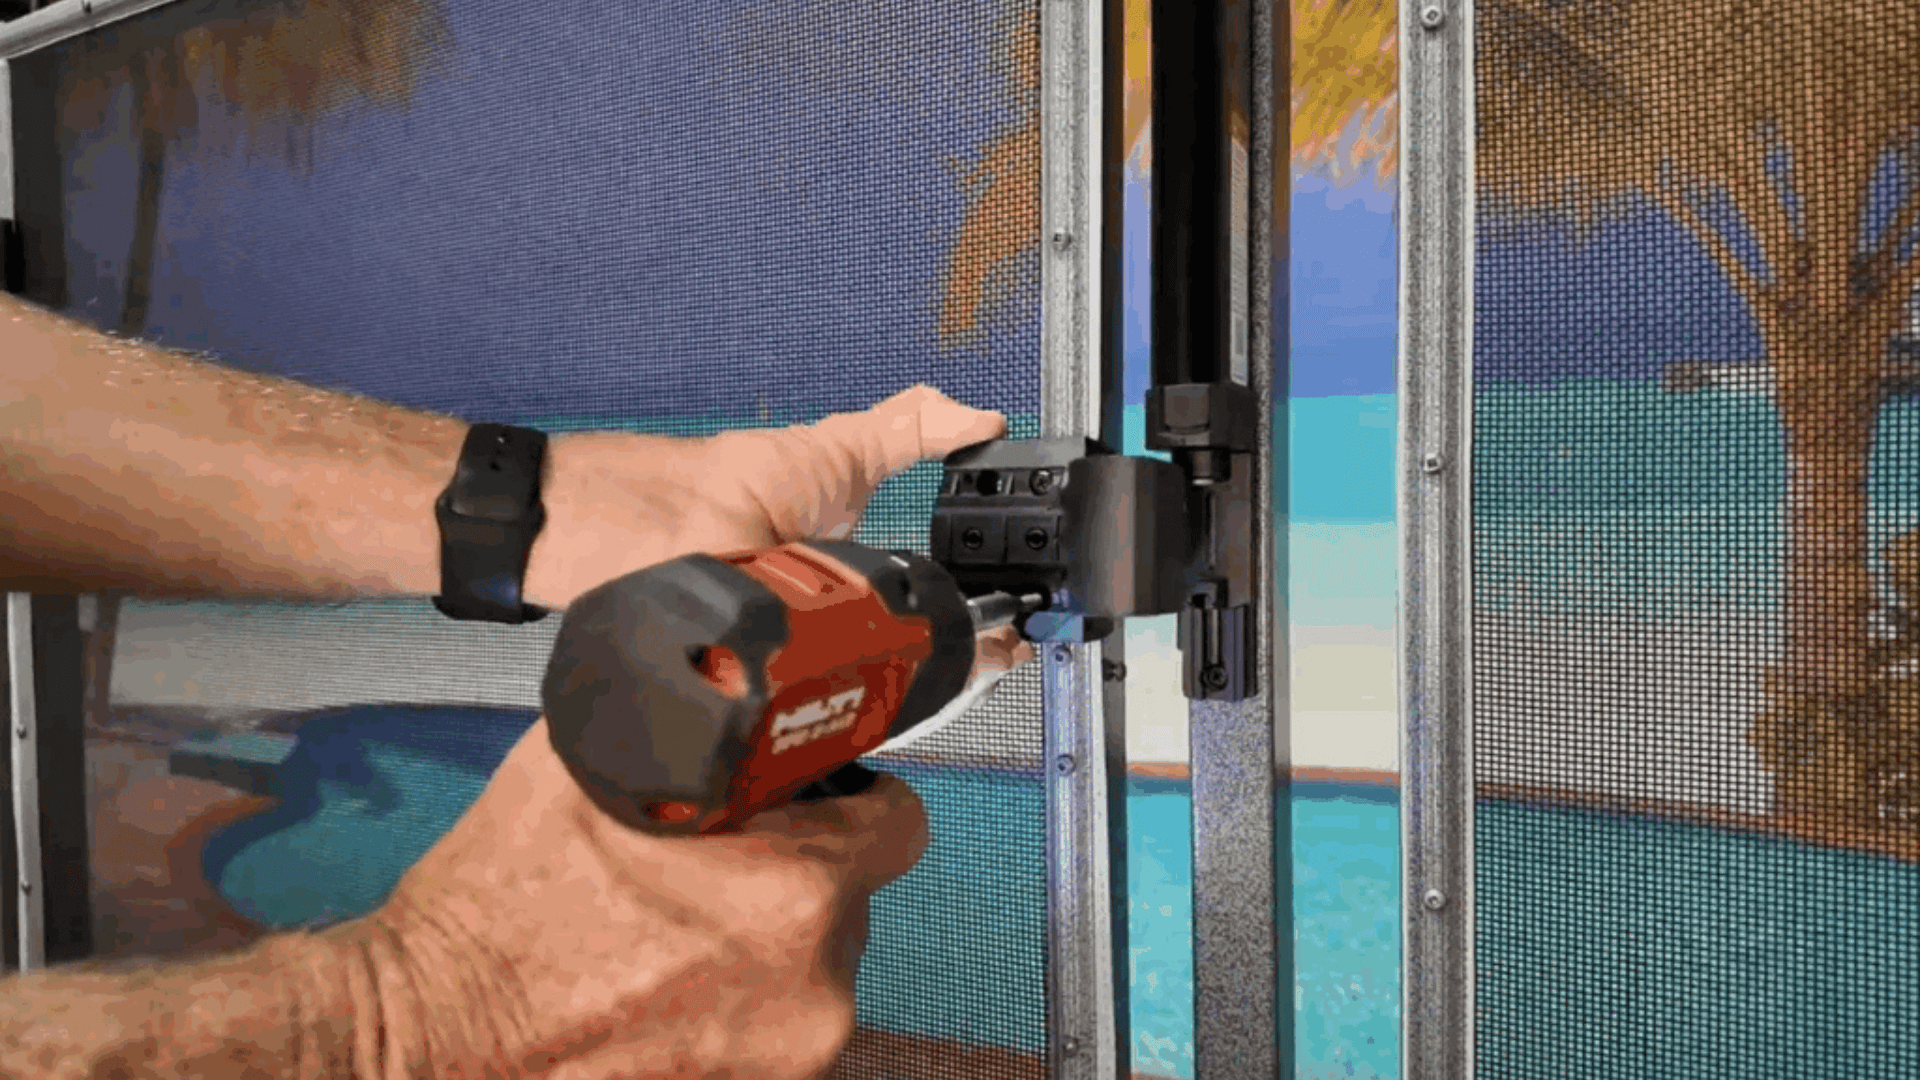
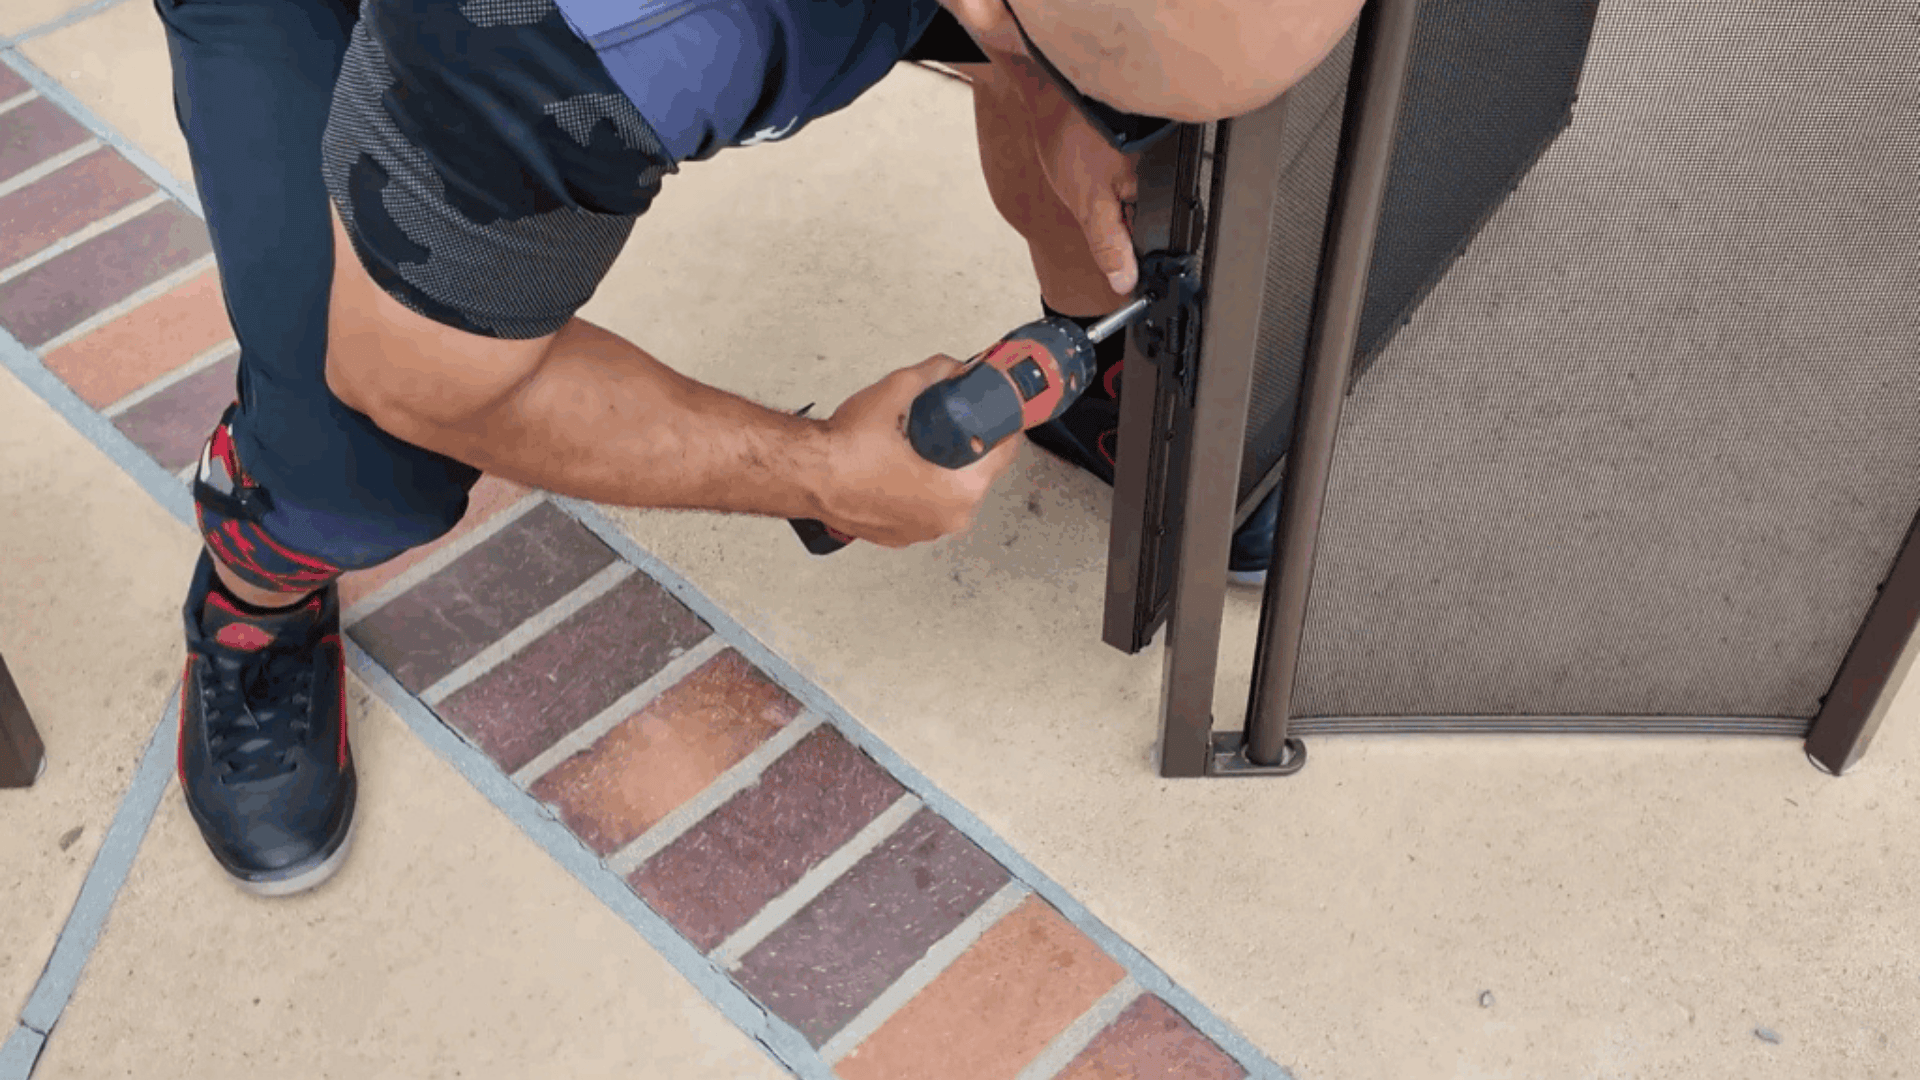
1. Remove the Striker Body
TriLatch:
Unscrew the striker body from the mounting bracket, then remove the mounting bracket from the gate frame.
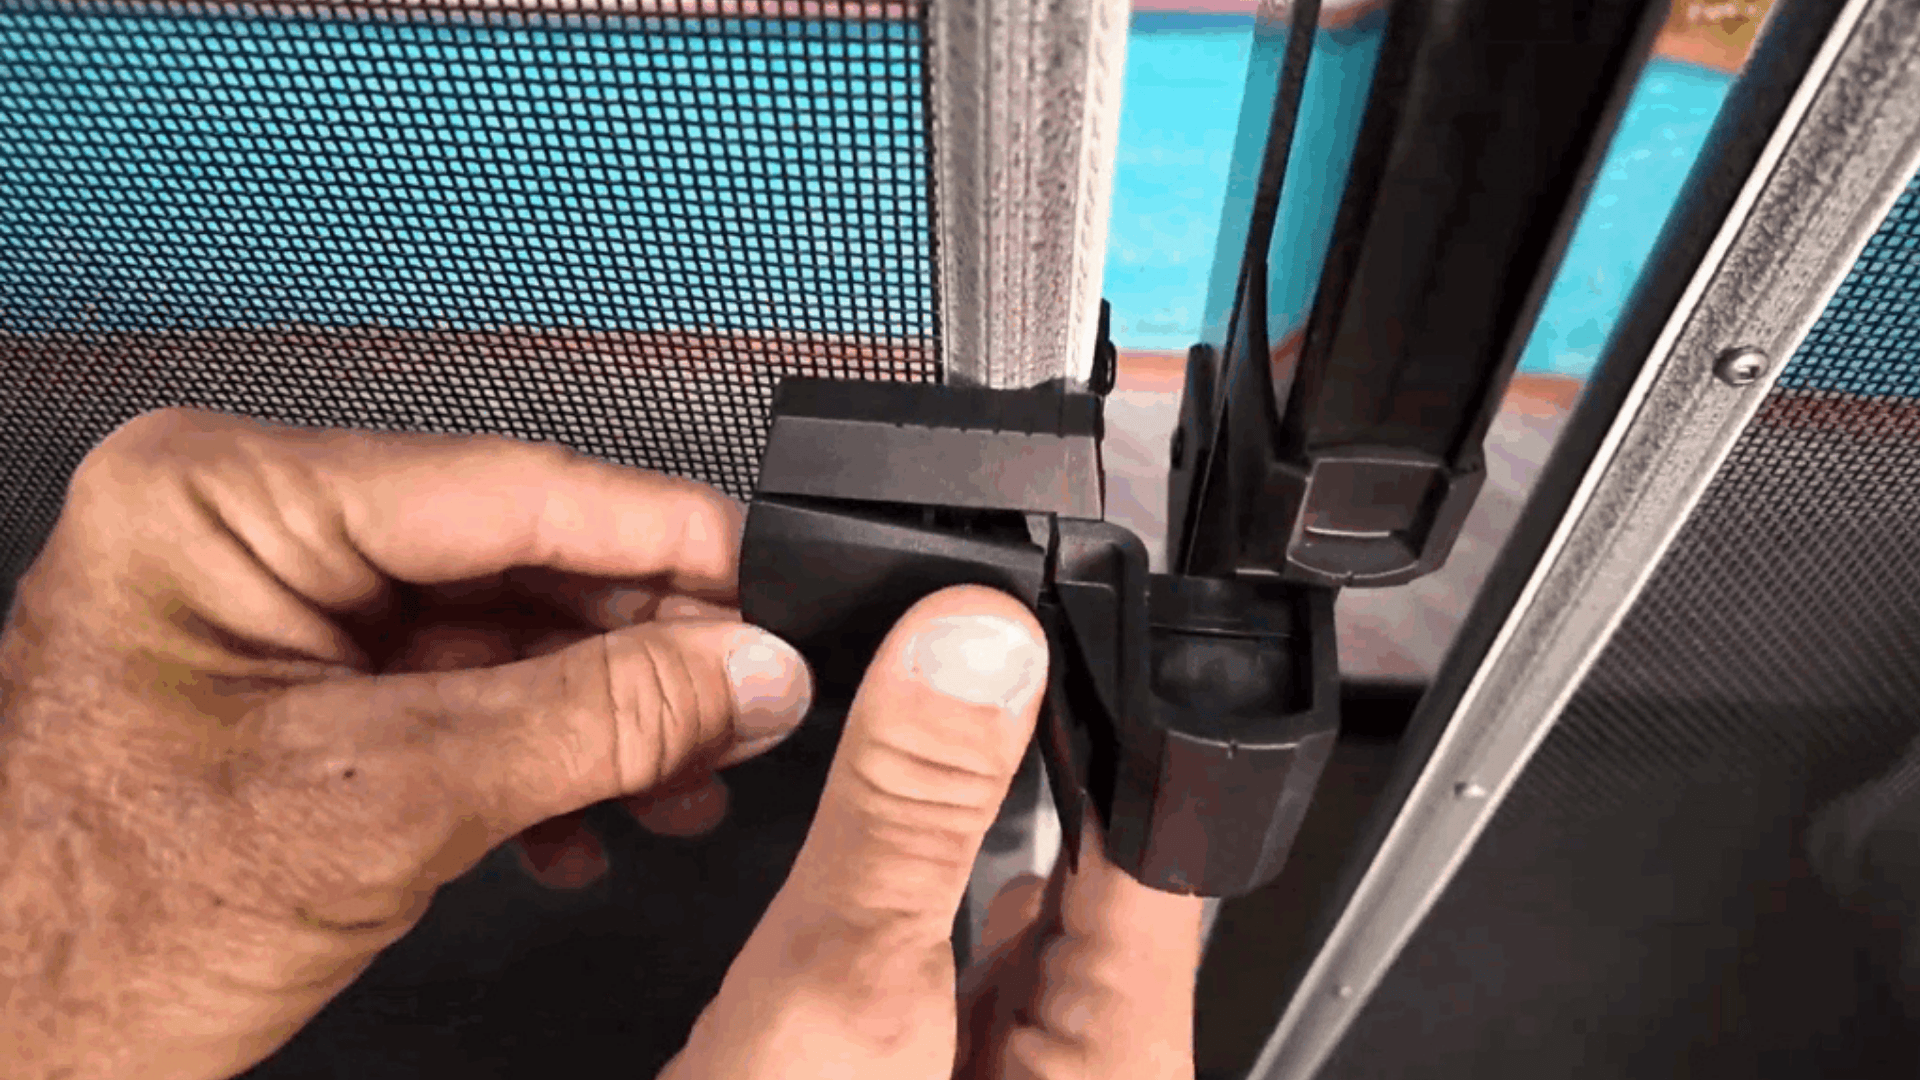
MagnaLatch:
Locate the adjustment screw inside the striker body.

Turn it clockwise until the first two screw holes are visible.
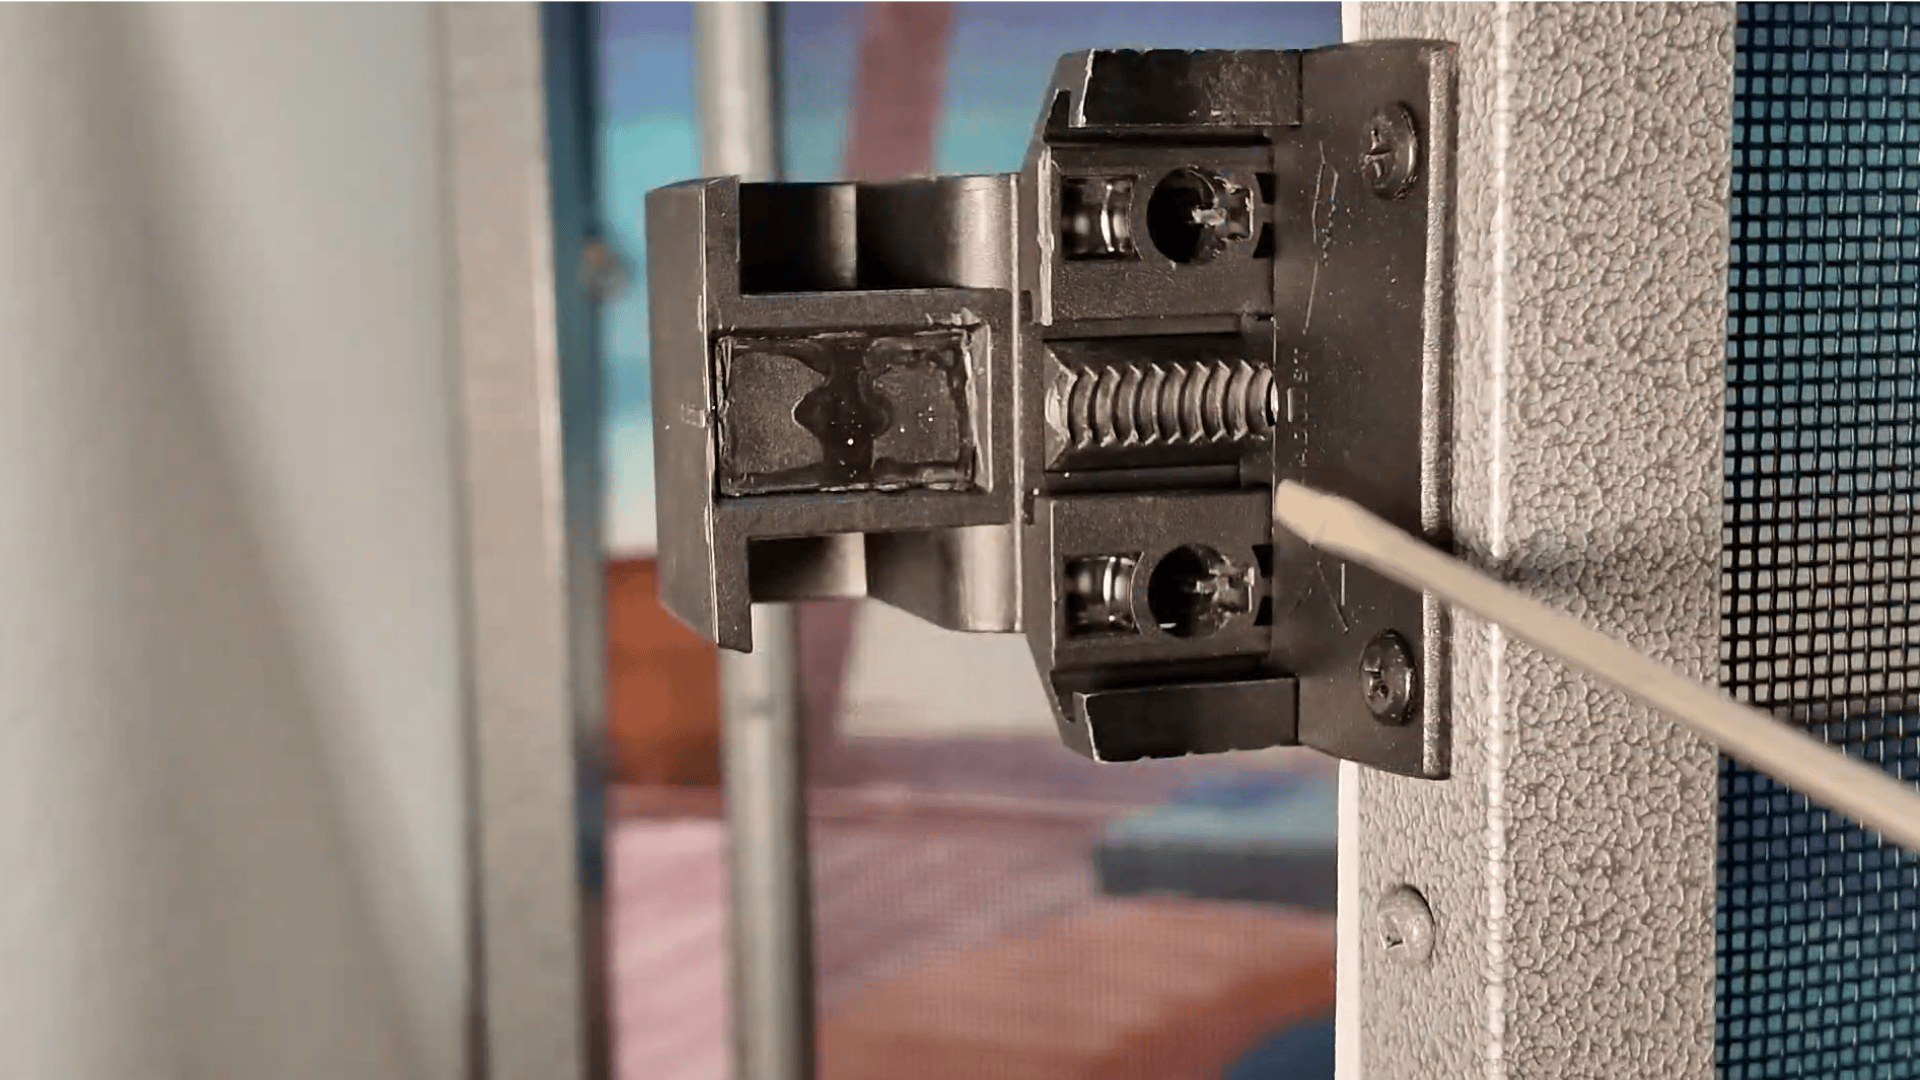
Use a small flathead screwdriver to gently push the mounting tabs and remove the cover plate.

Turn the adjustment screw counterclockwise to reveal the mounting screws.
Remove all four screws to detach the striker body.

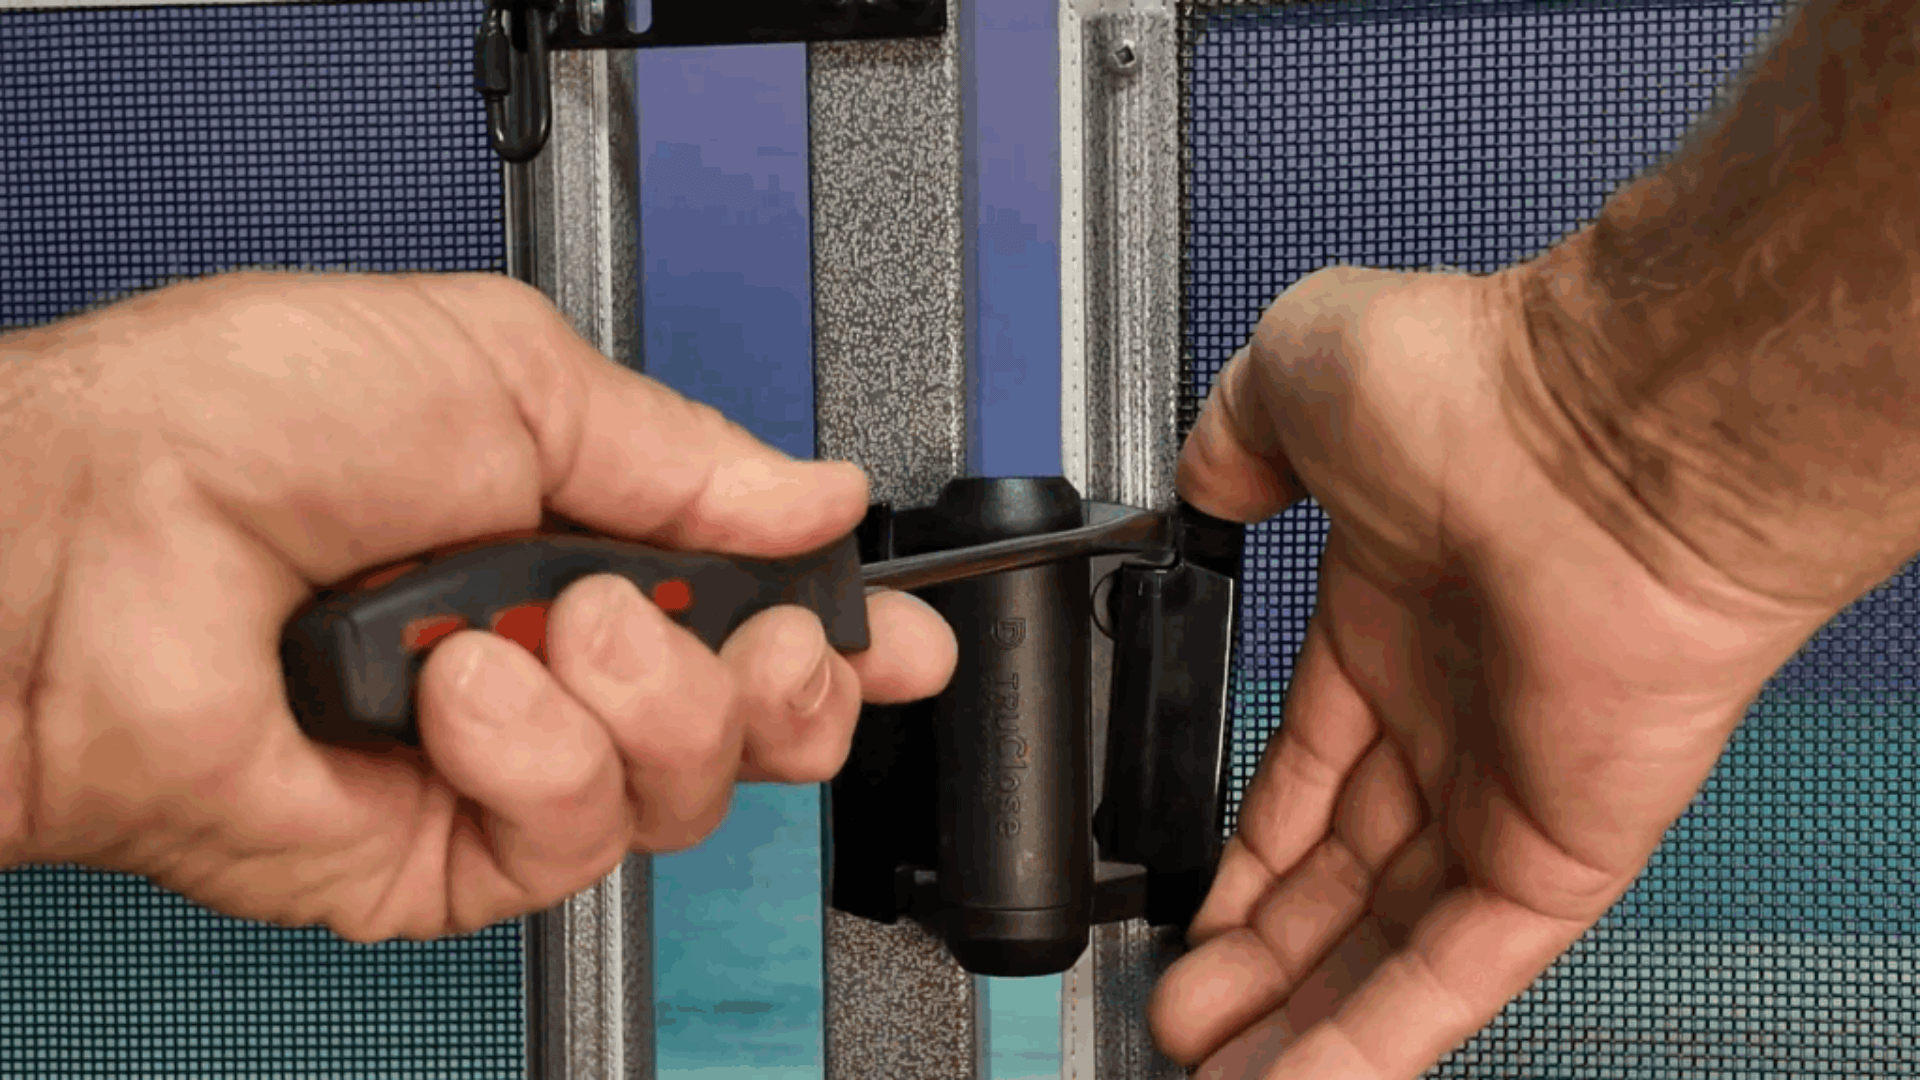
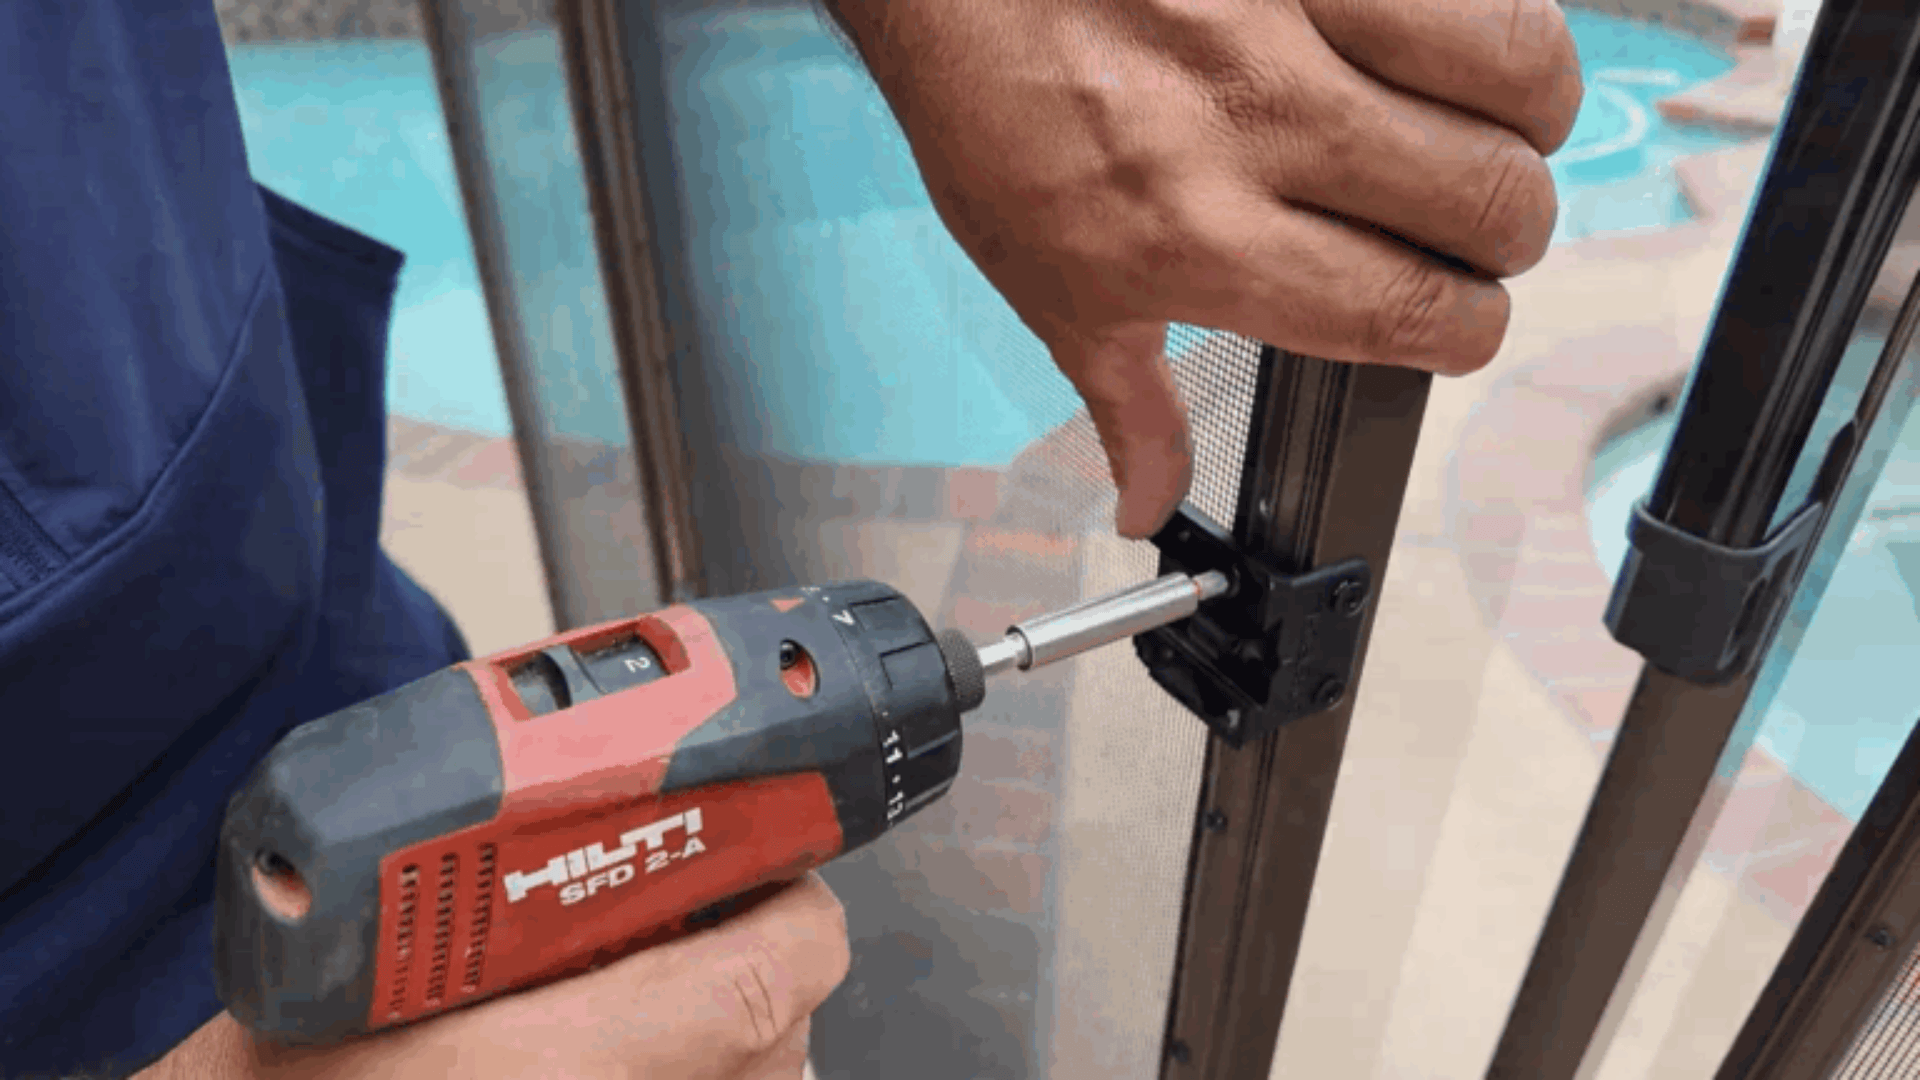
2. Remove the Hinge Cover Plate
Use a flathead screwdriver to gently pry the top of the cover and lift it off.
3. Detach the Gate from the Hinges
Start by removing the inside hinge screws, then the bottom hinge screws.
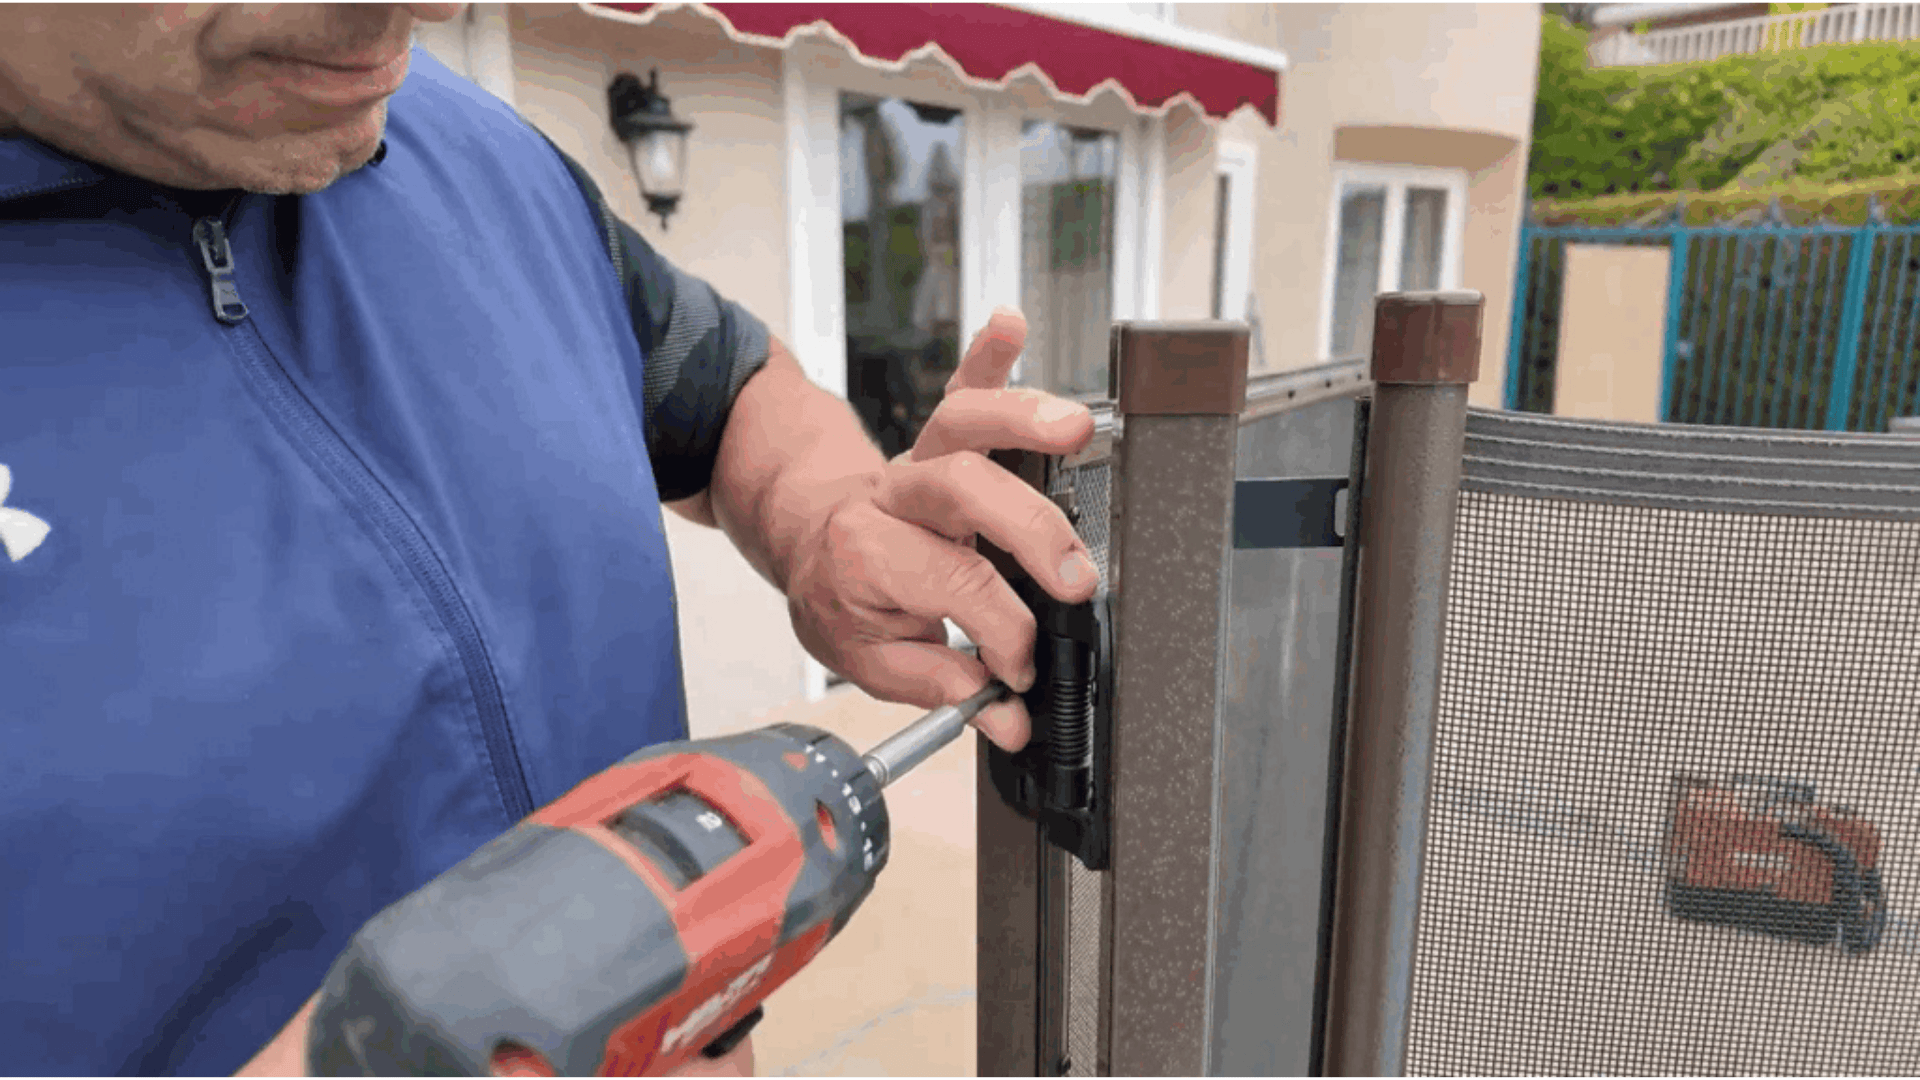

Leave the top hinge screws for last to keep the gate stable until you’re ready to remove it.
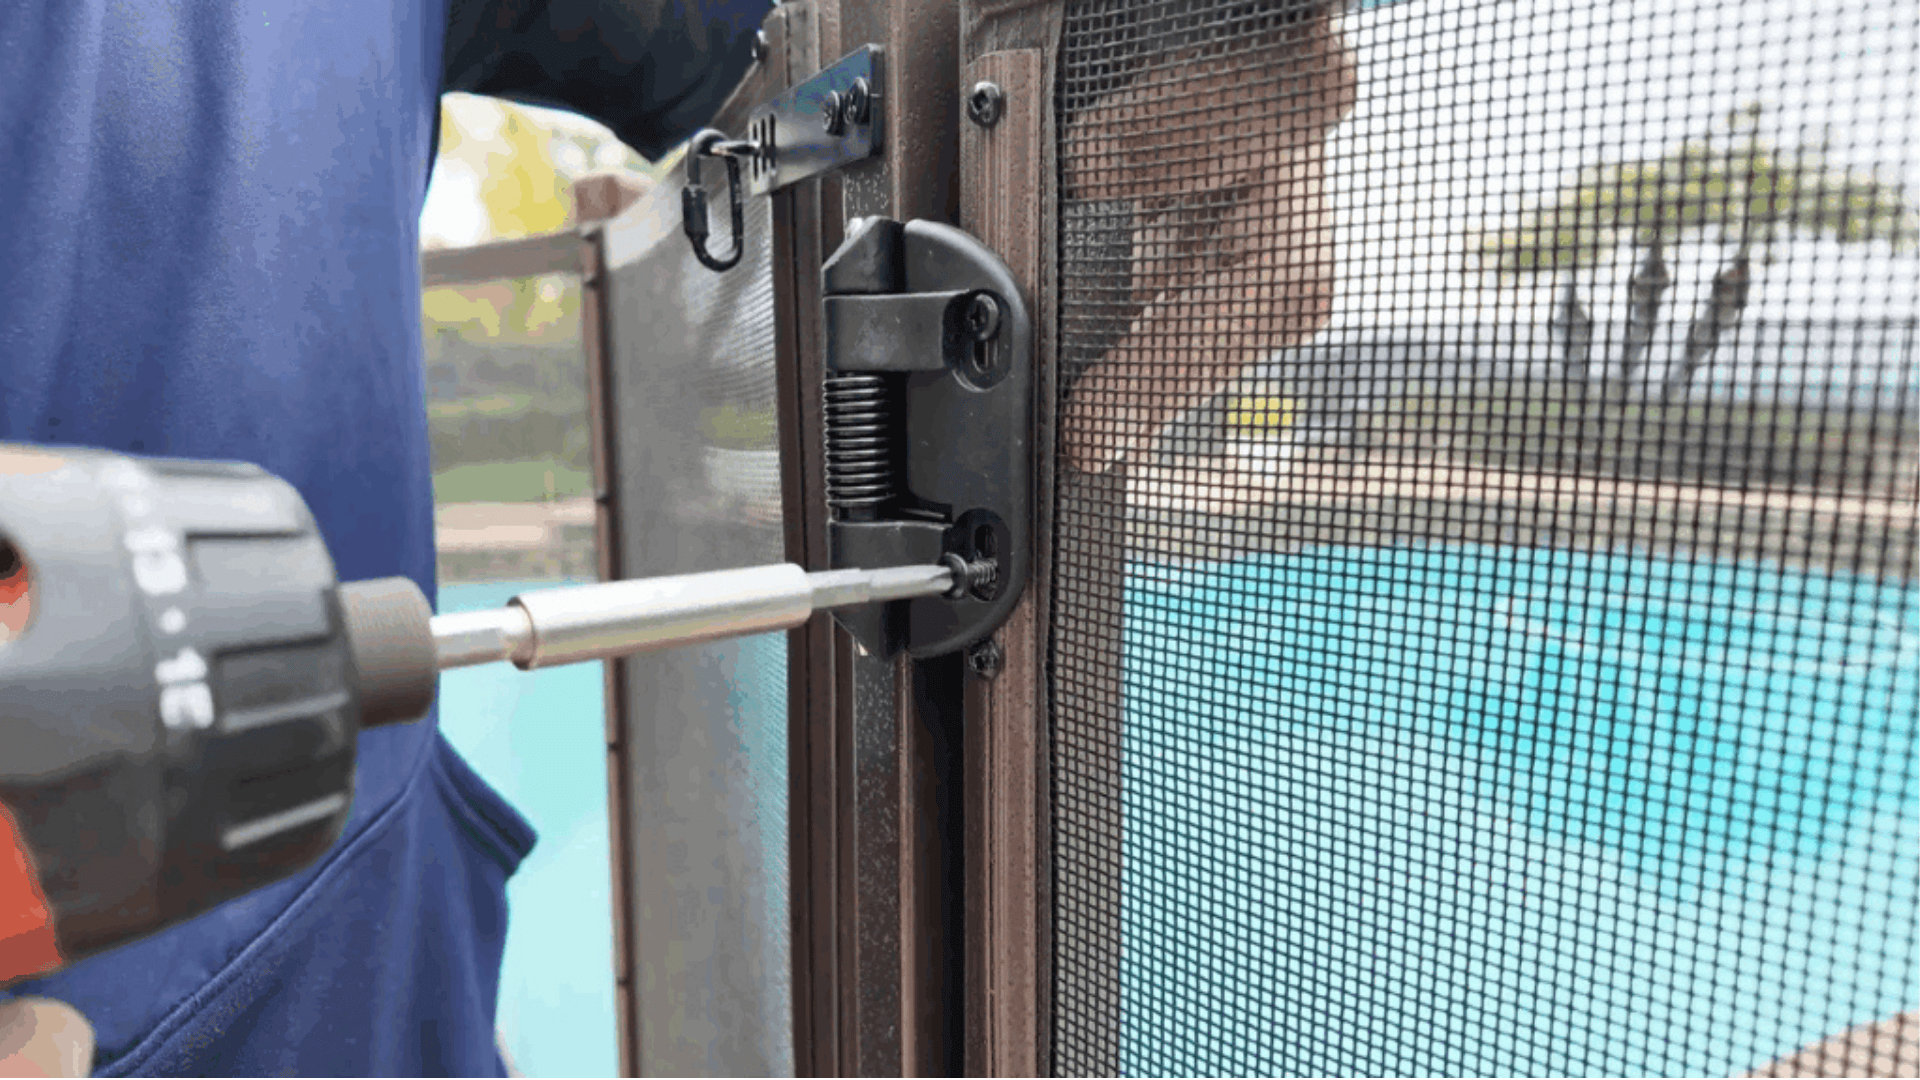
Pro Tip: Lay down cardboard or a tarp before setting the gate down to protect the finish.
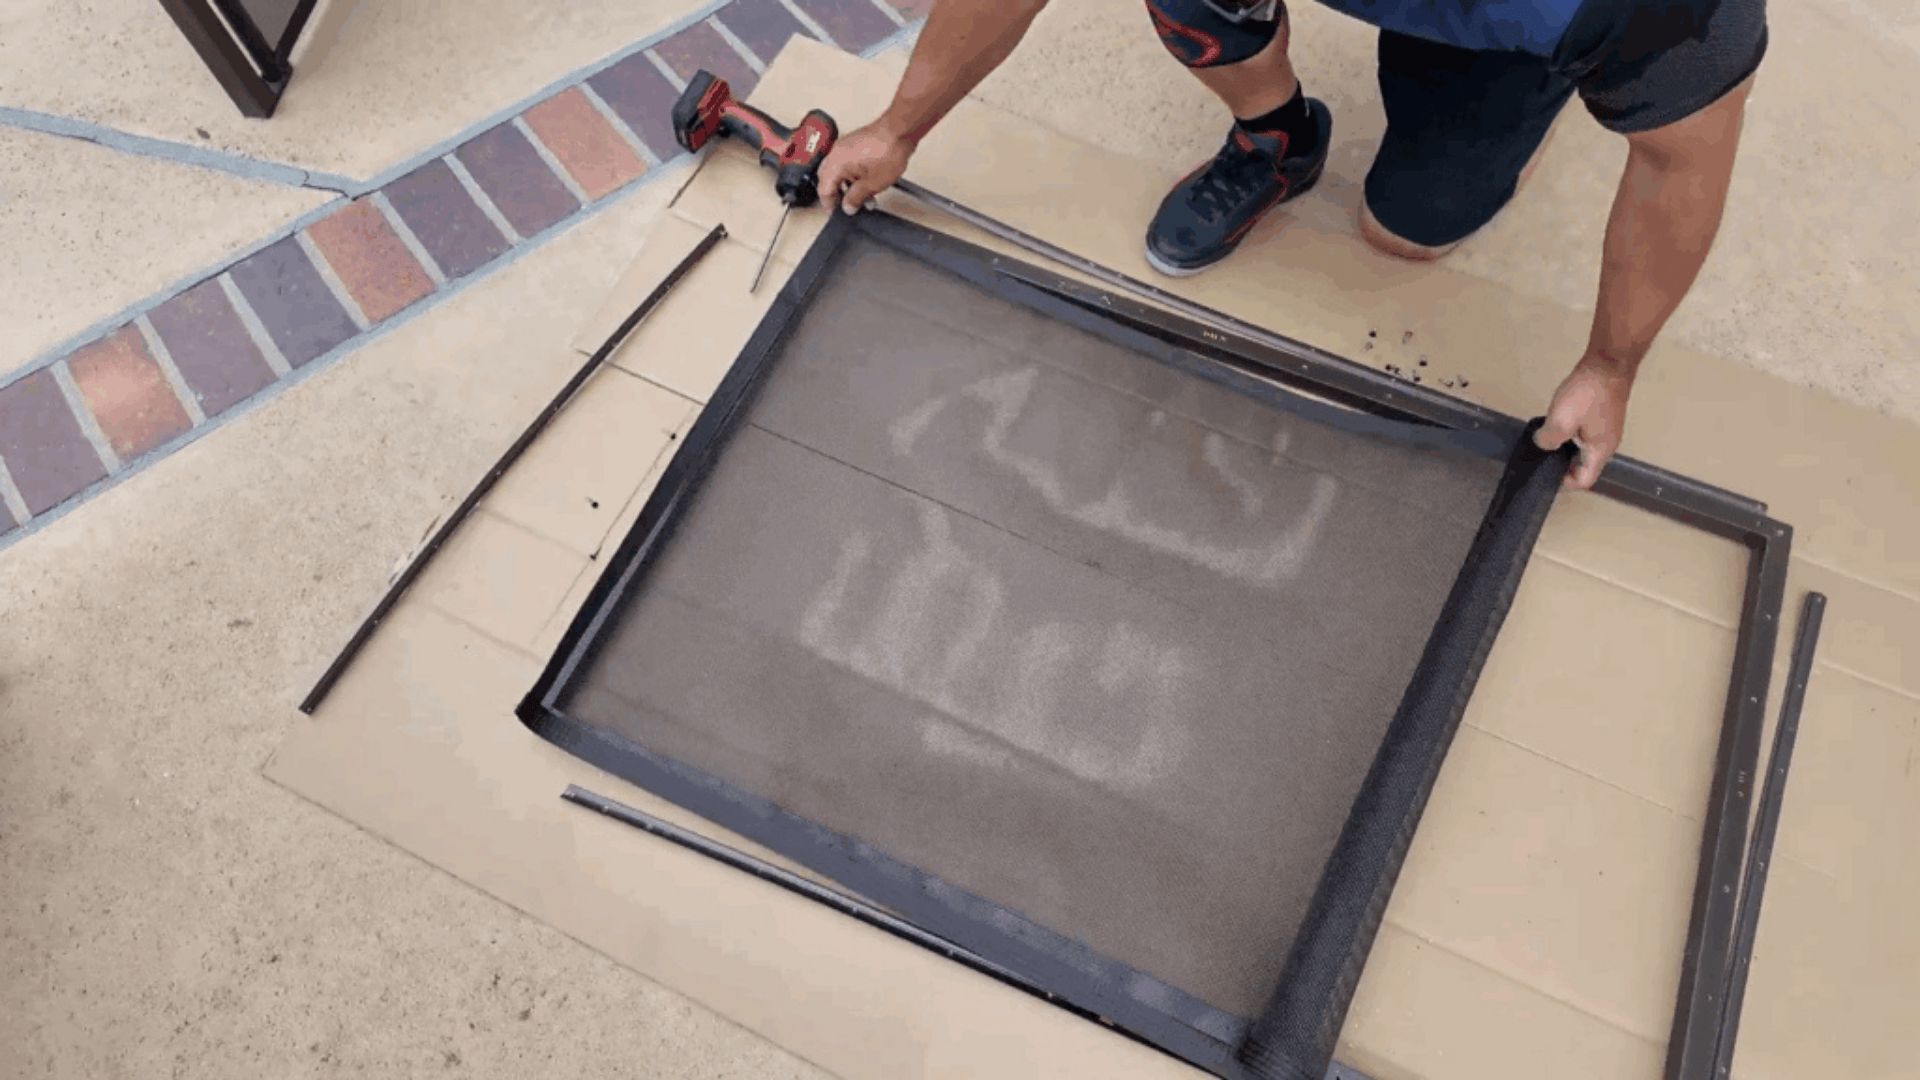
4. Remove the Molding
Unscrew and remove the top molding first.
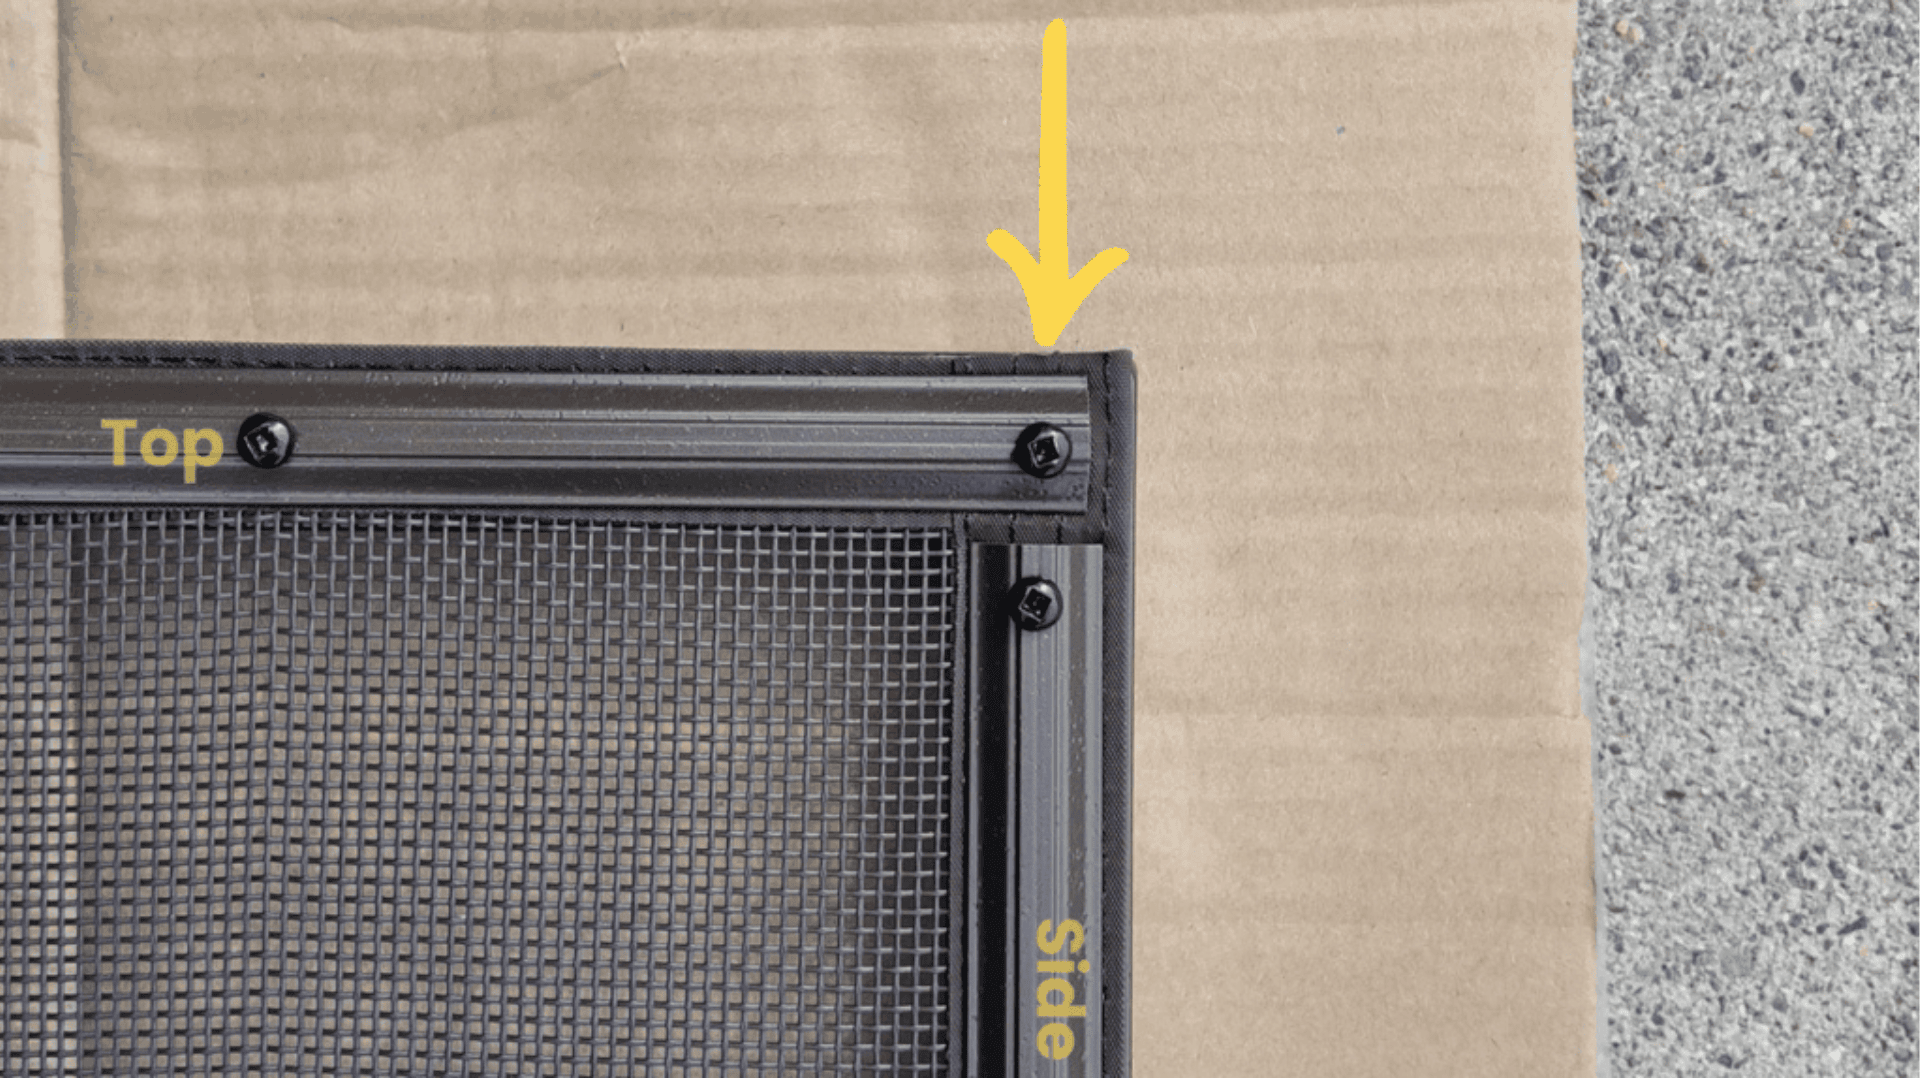
Mark both the inside of each molding and the corresponding area on the gate frame to ensure correct reinstallation.

Repeat this process for the remaining three moldings.
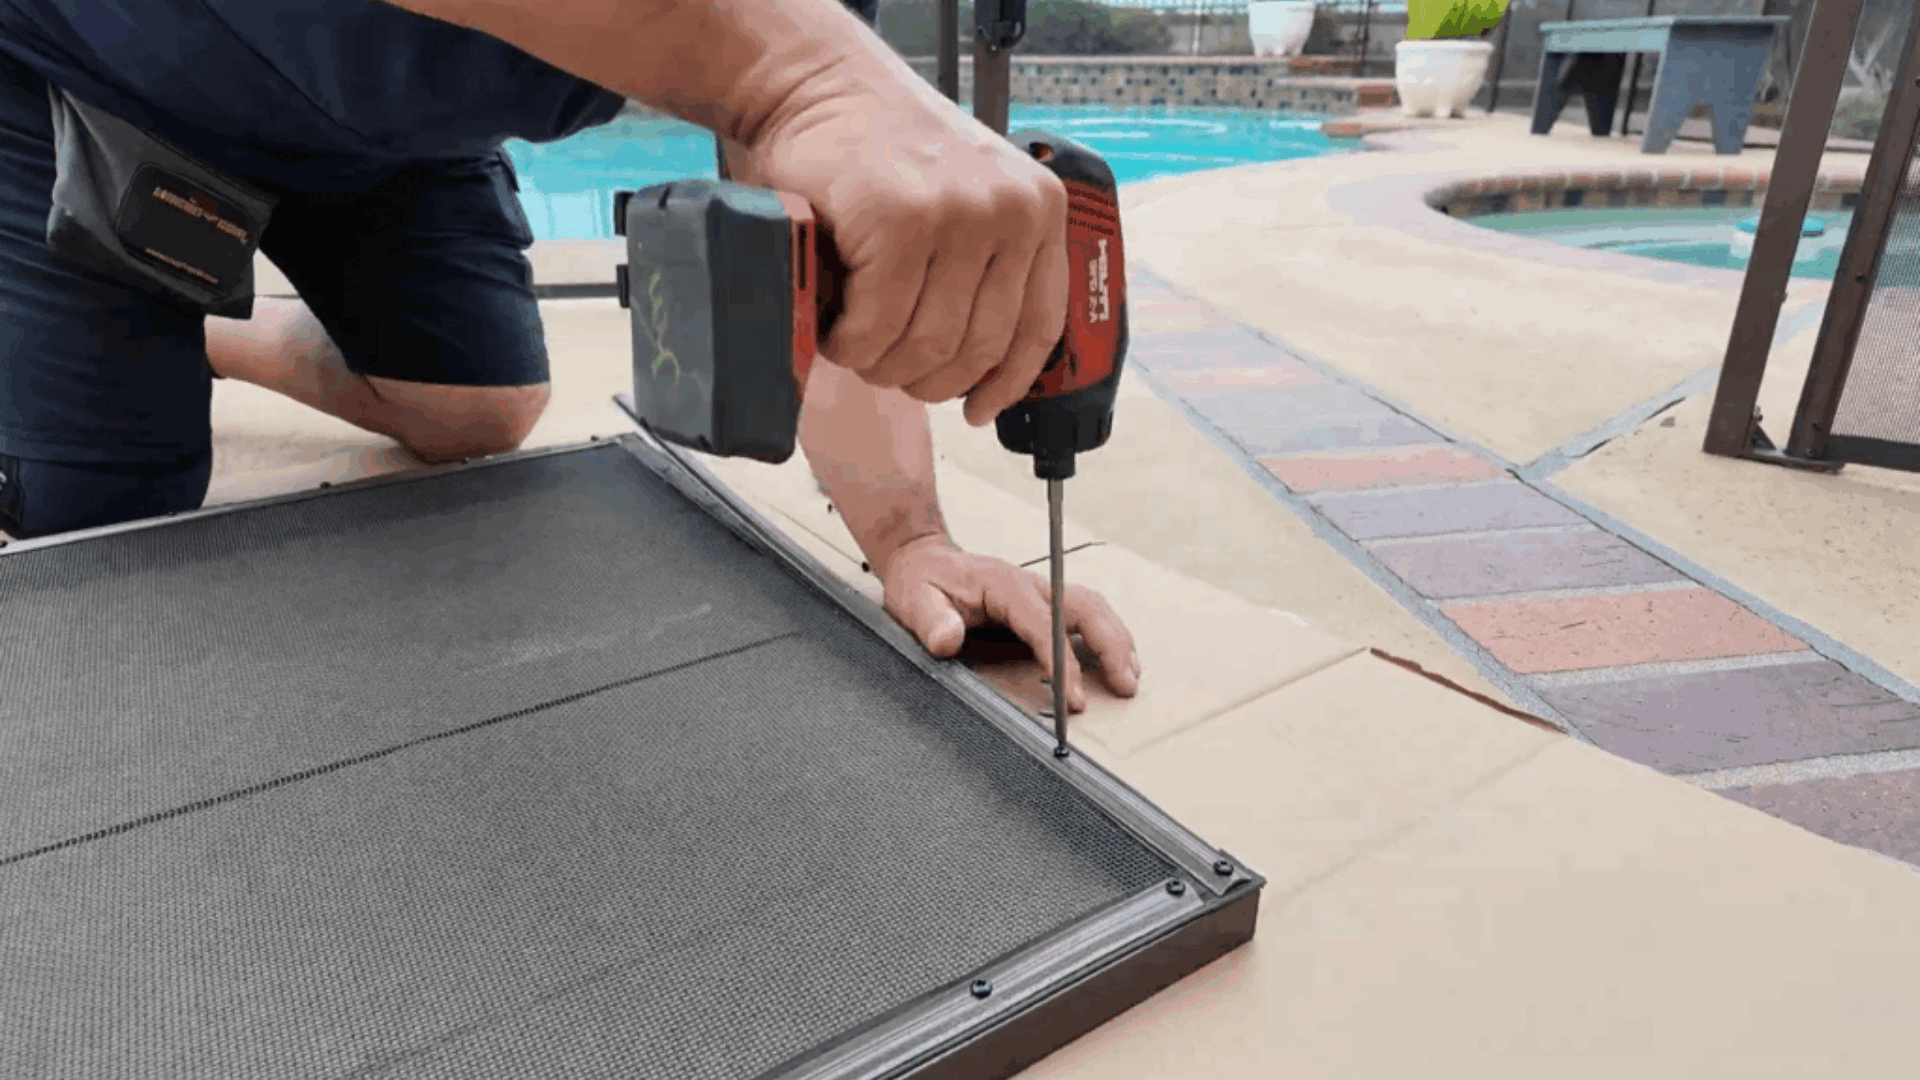
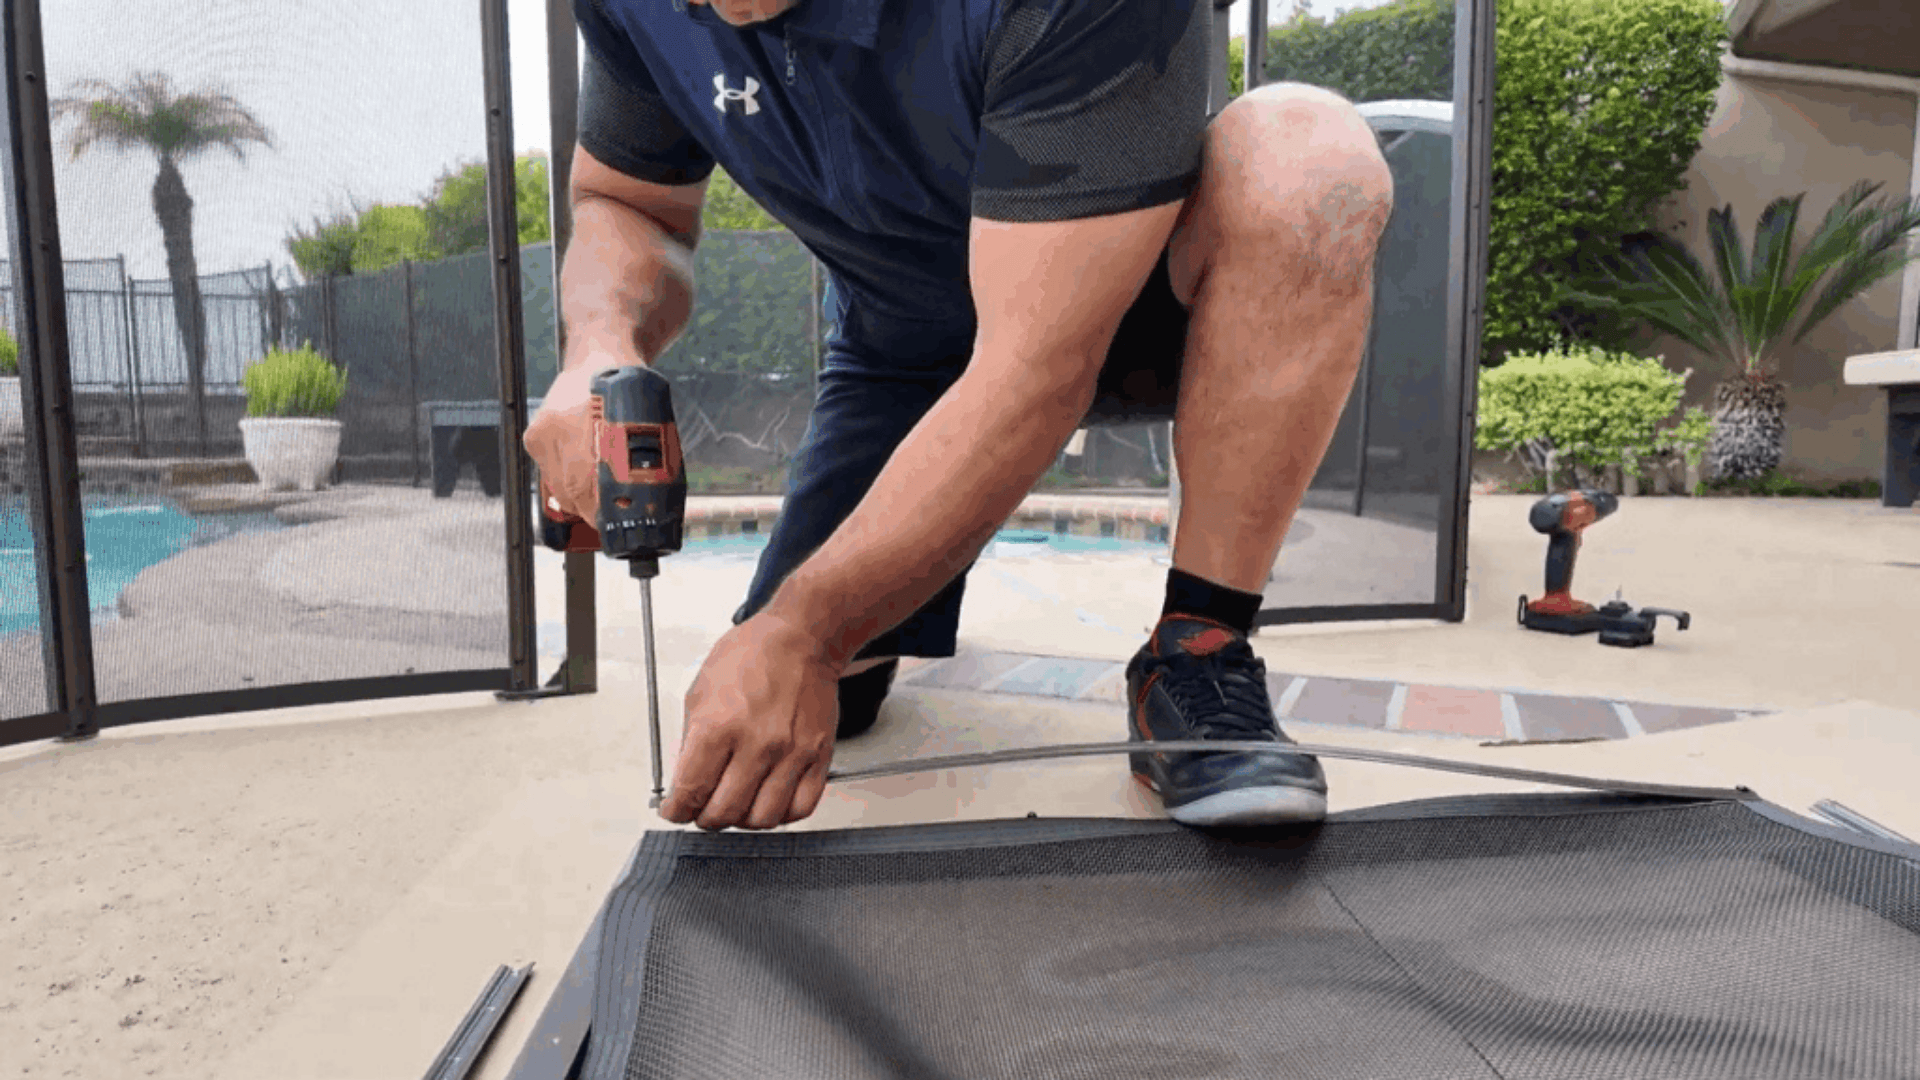
5. Install the New Mesh
Lay the new mesh over the gate frame.
Start with the top molding:
Screw through the mesh into the molding. The screw should go between the middle of the four stitches.
The outer stitch should be visible just beyond the molding edge.
Begin with one top corner. Insert your foot between the mesh and gate frame to create a slight arch and apply tension as you screw in the opposite corner.
Bottom Molding:
Insert screws at a slight downward angle.
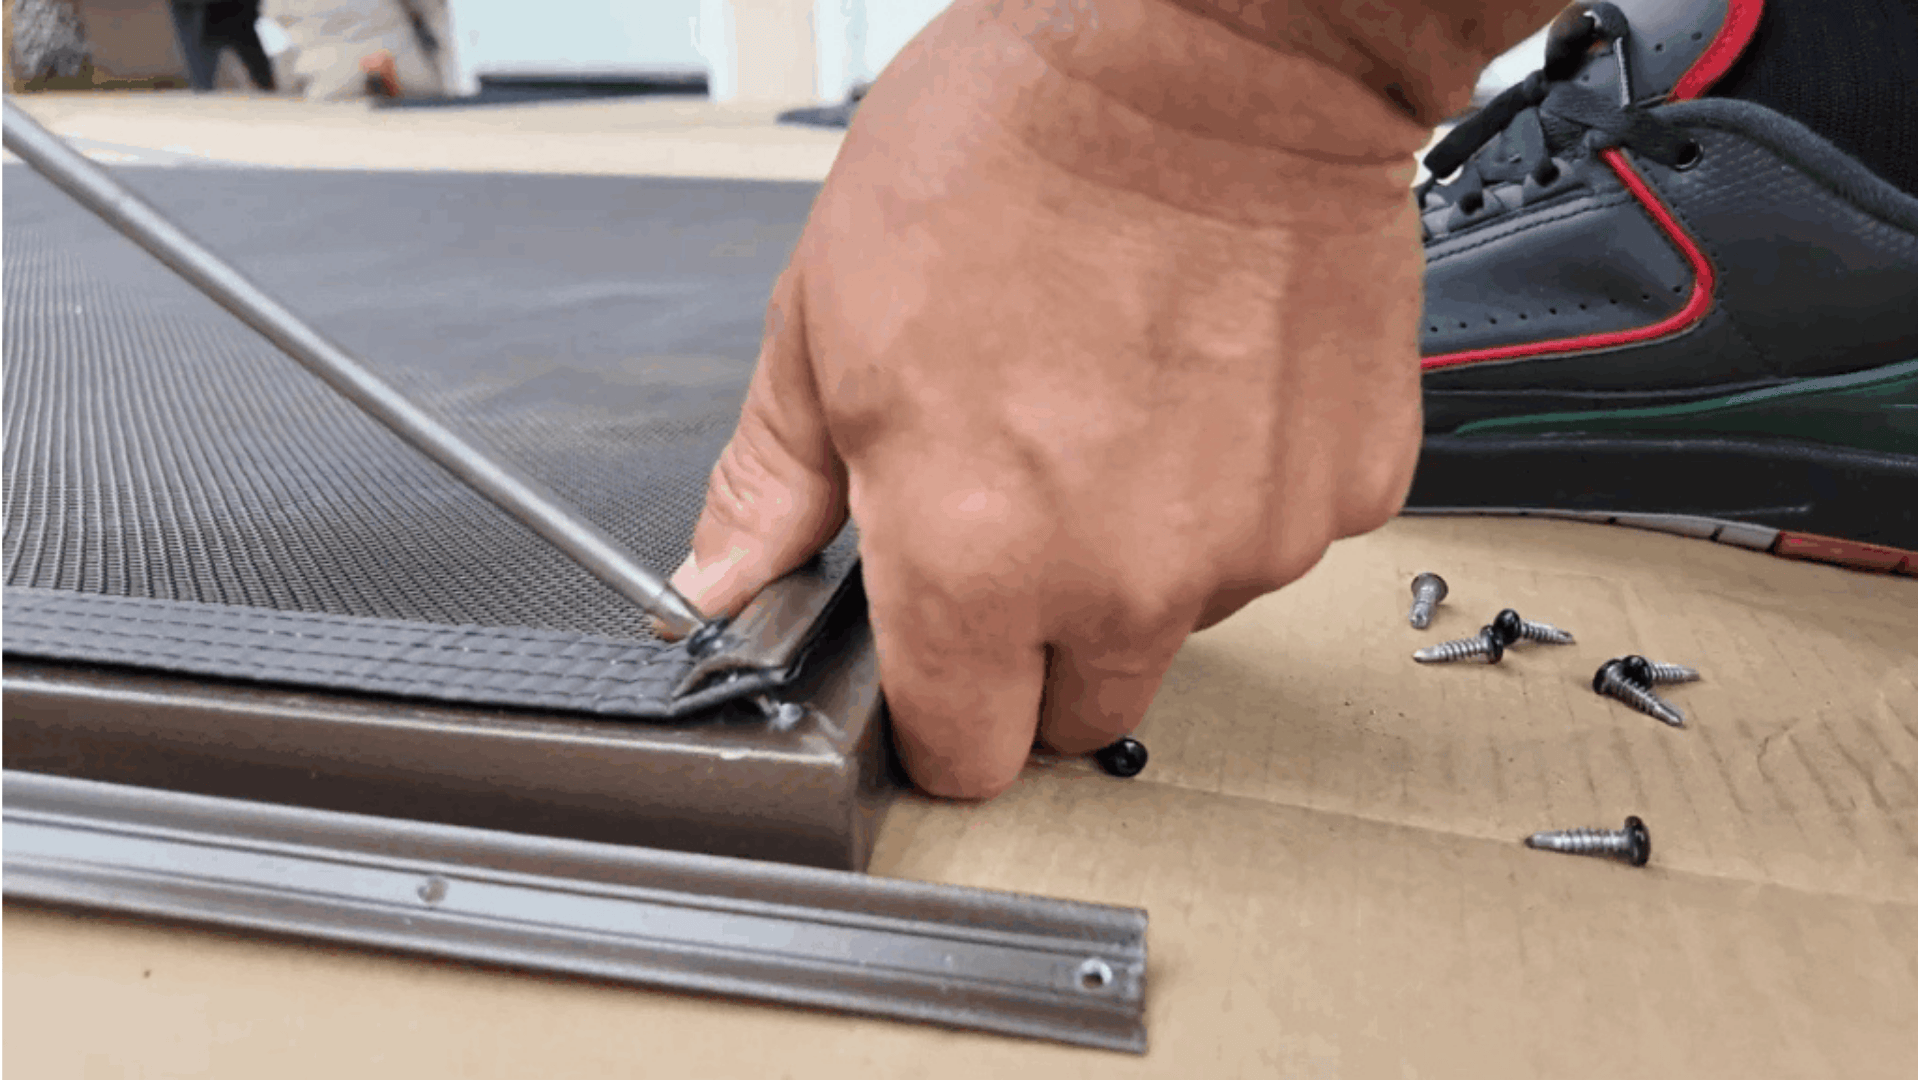
Pull the mesh taut as you screw it in to ensure a smooth, tight fit.
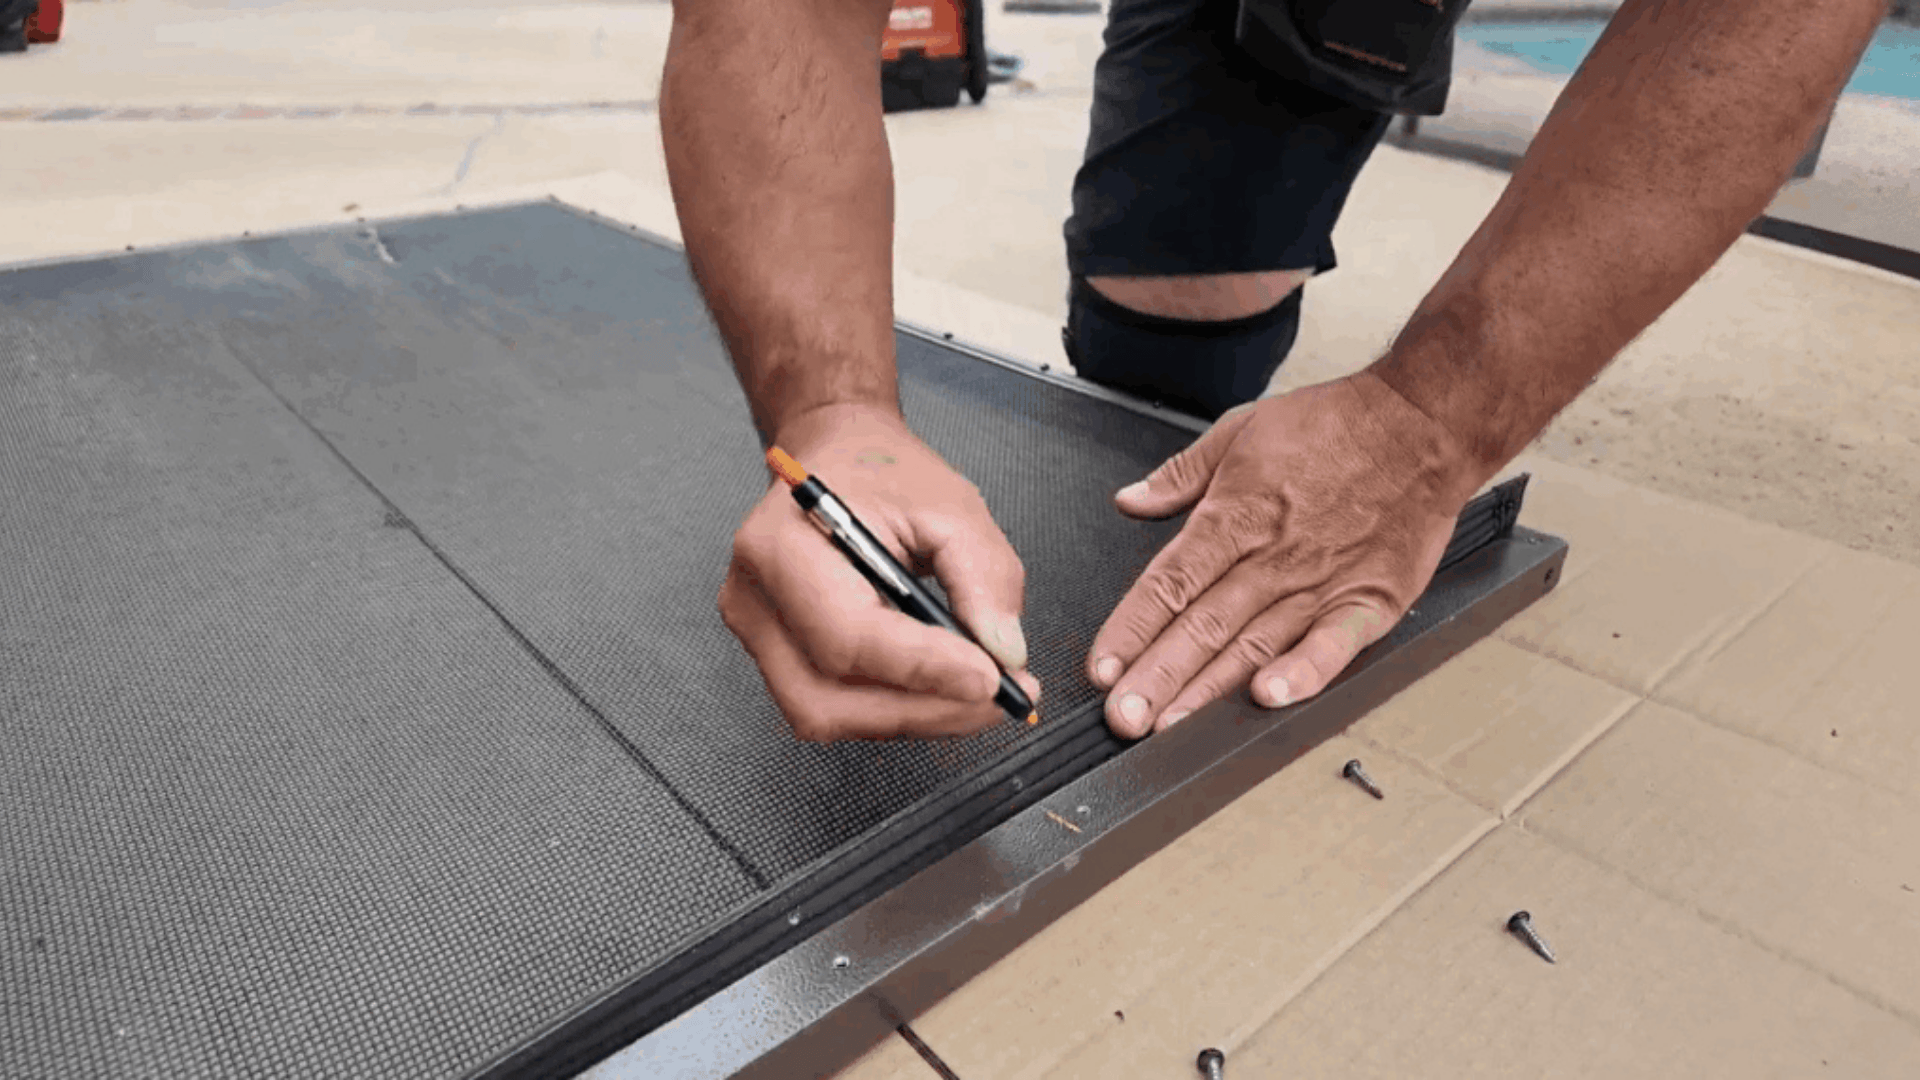
6. Reattach the Side Moldings
Only insert screws into the holes at each end of the molding initially.
Then, stretch the mesh in the center:
Use a putty knife to push the mesh outward until the outer stitch is visible past the molding edge.
Insert a screw through the molding into the gate frame.
Follow a crisscross pattern when installing the remaining screws:
Top middle → bottom middle → right middle → left middle, and repeat outward toward the corners.
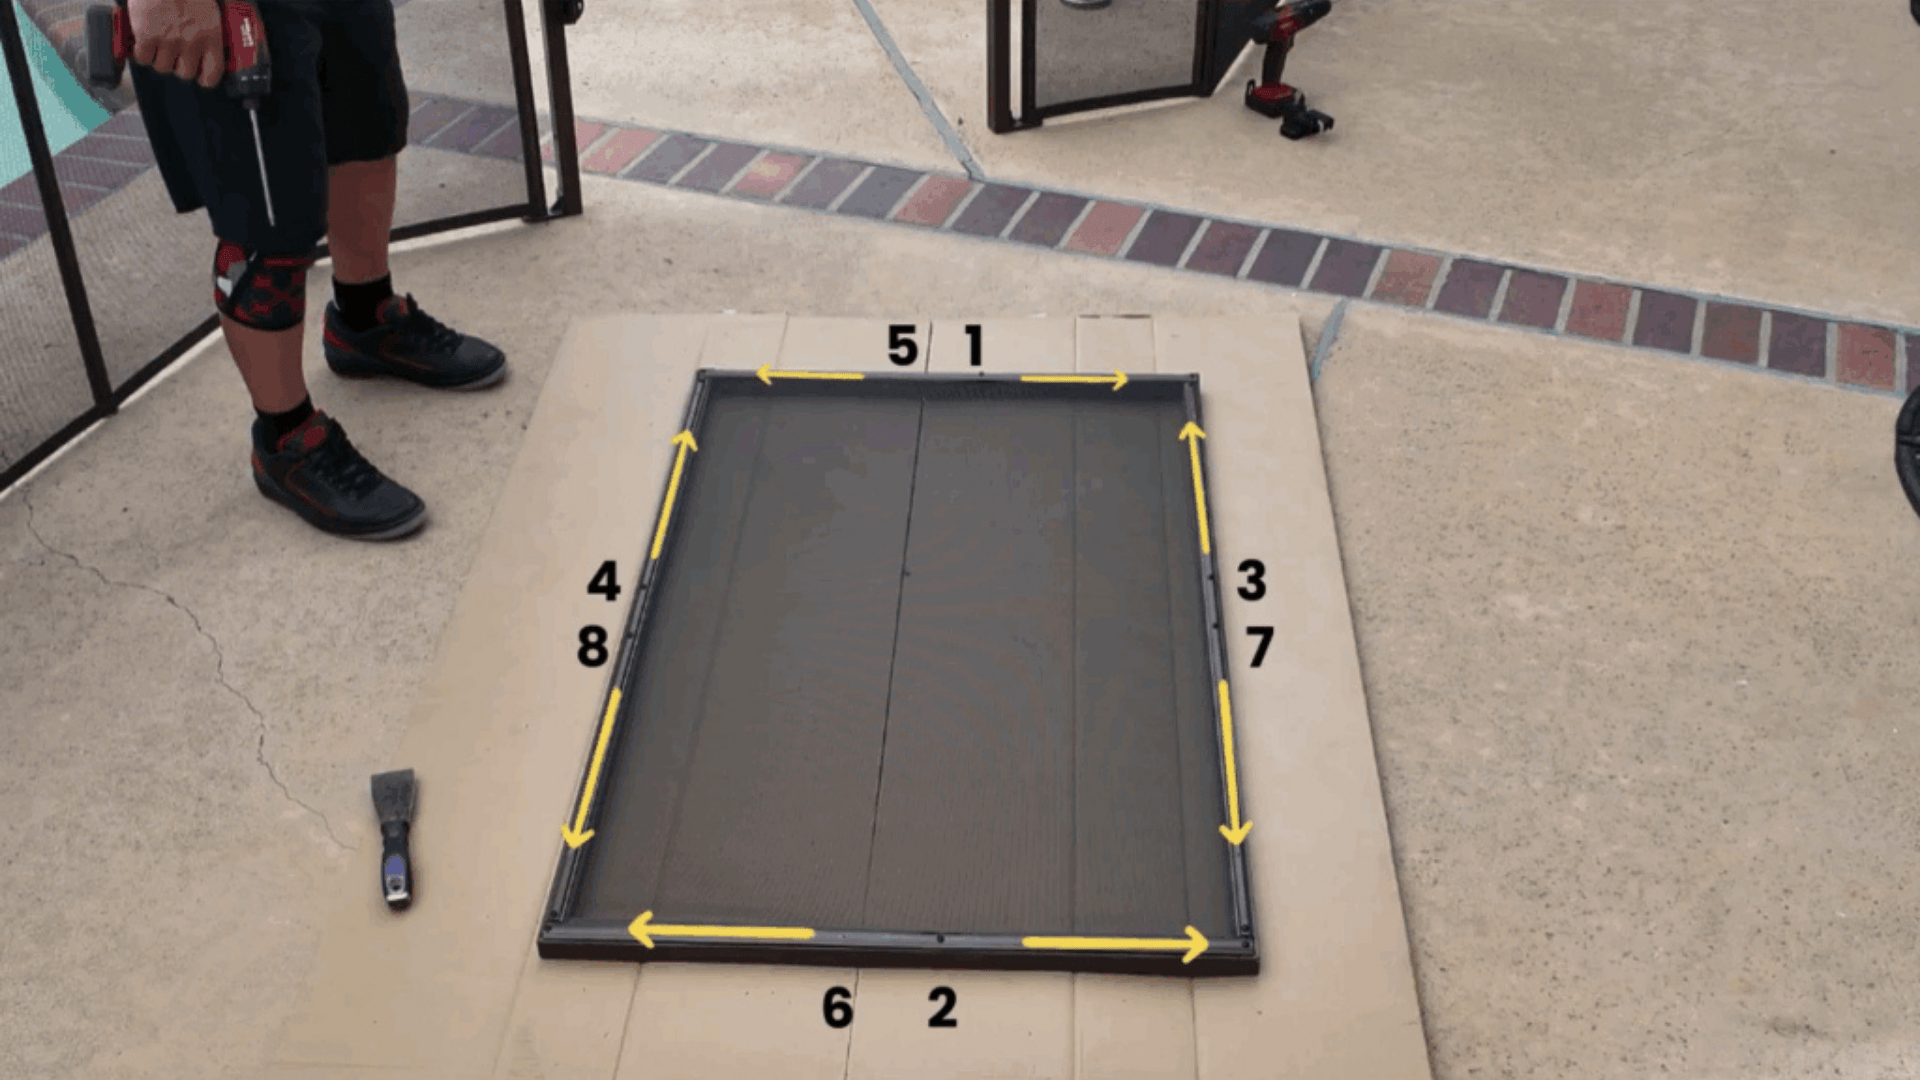
Avoid placing screws in the striker body or hinge mounting holes.
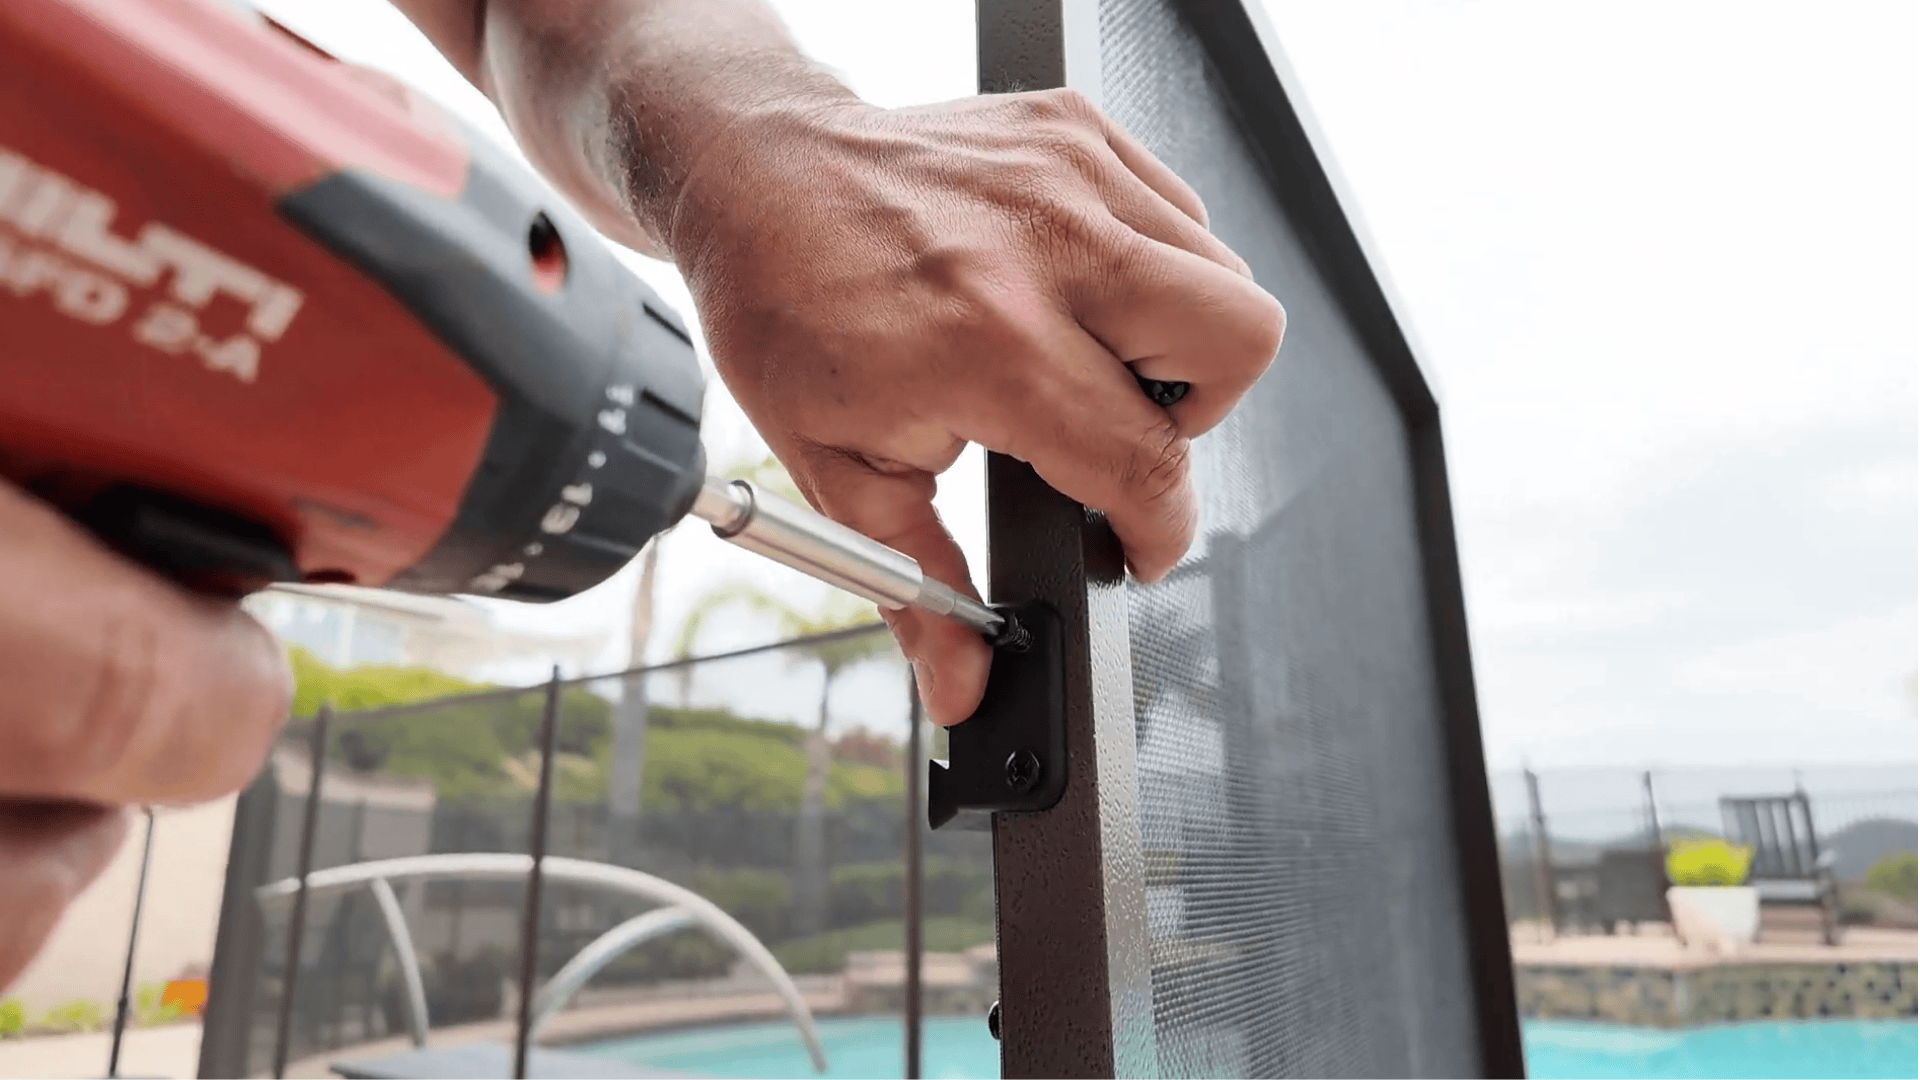
7. Reinstall the Gate
Reattach the gate frame to the hinges, starting with the top outside hinge screw.
Then insert the remaining outside screws, followed by the inside ones.
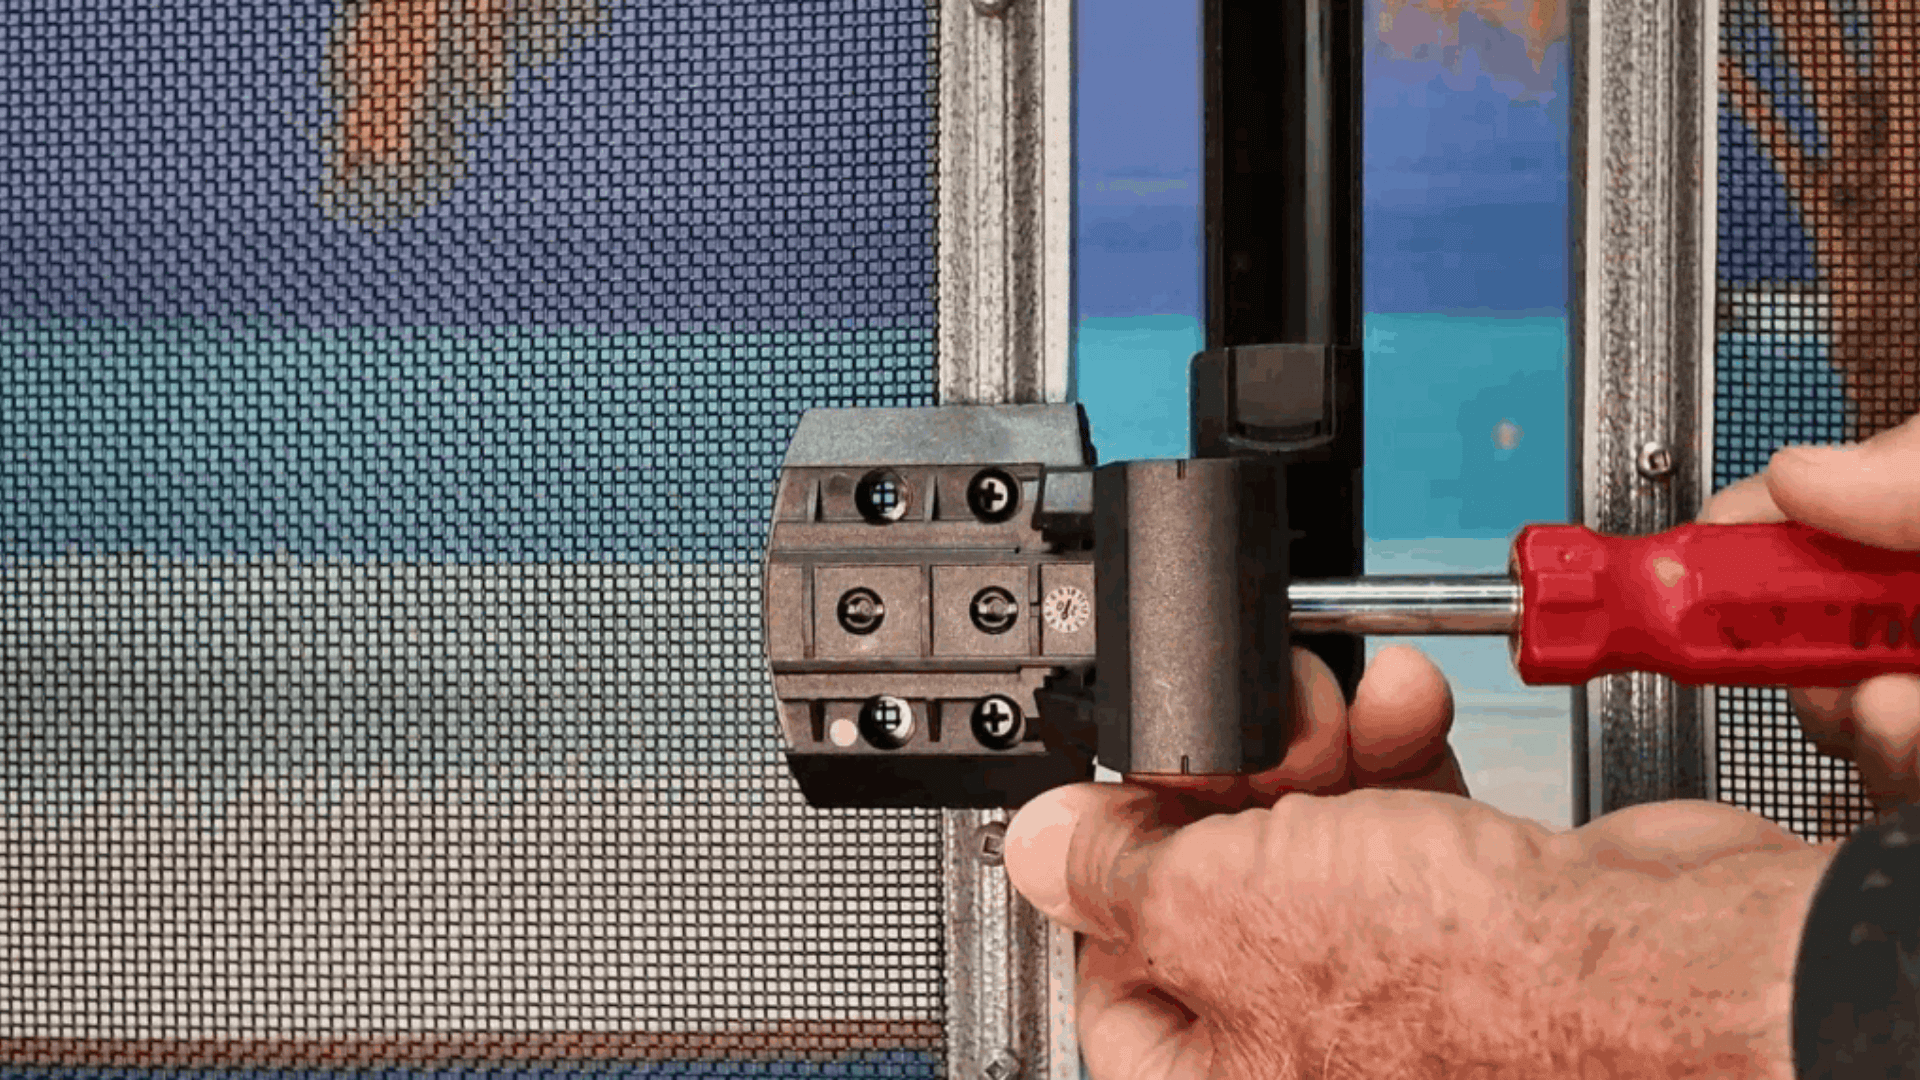
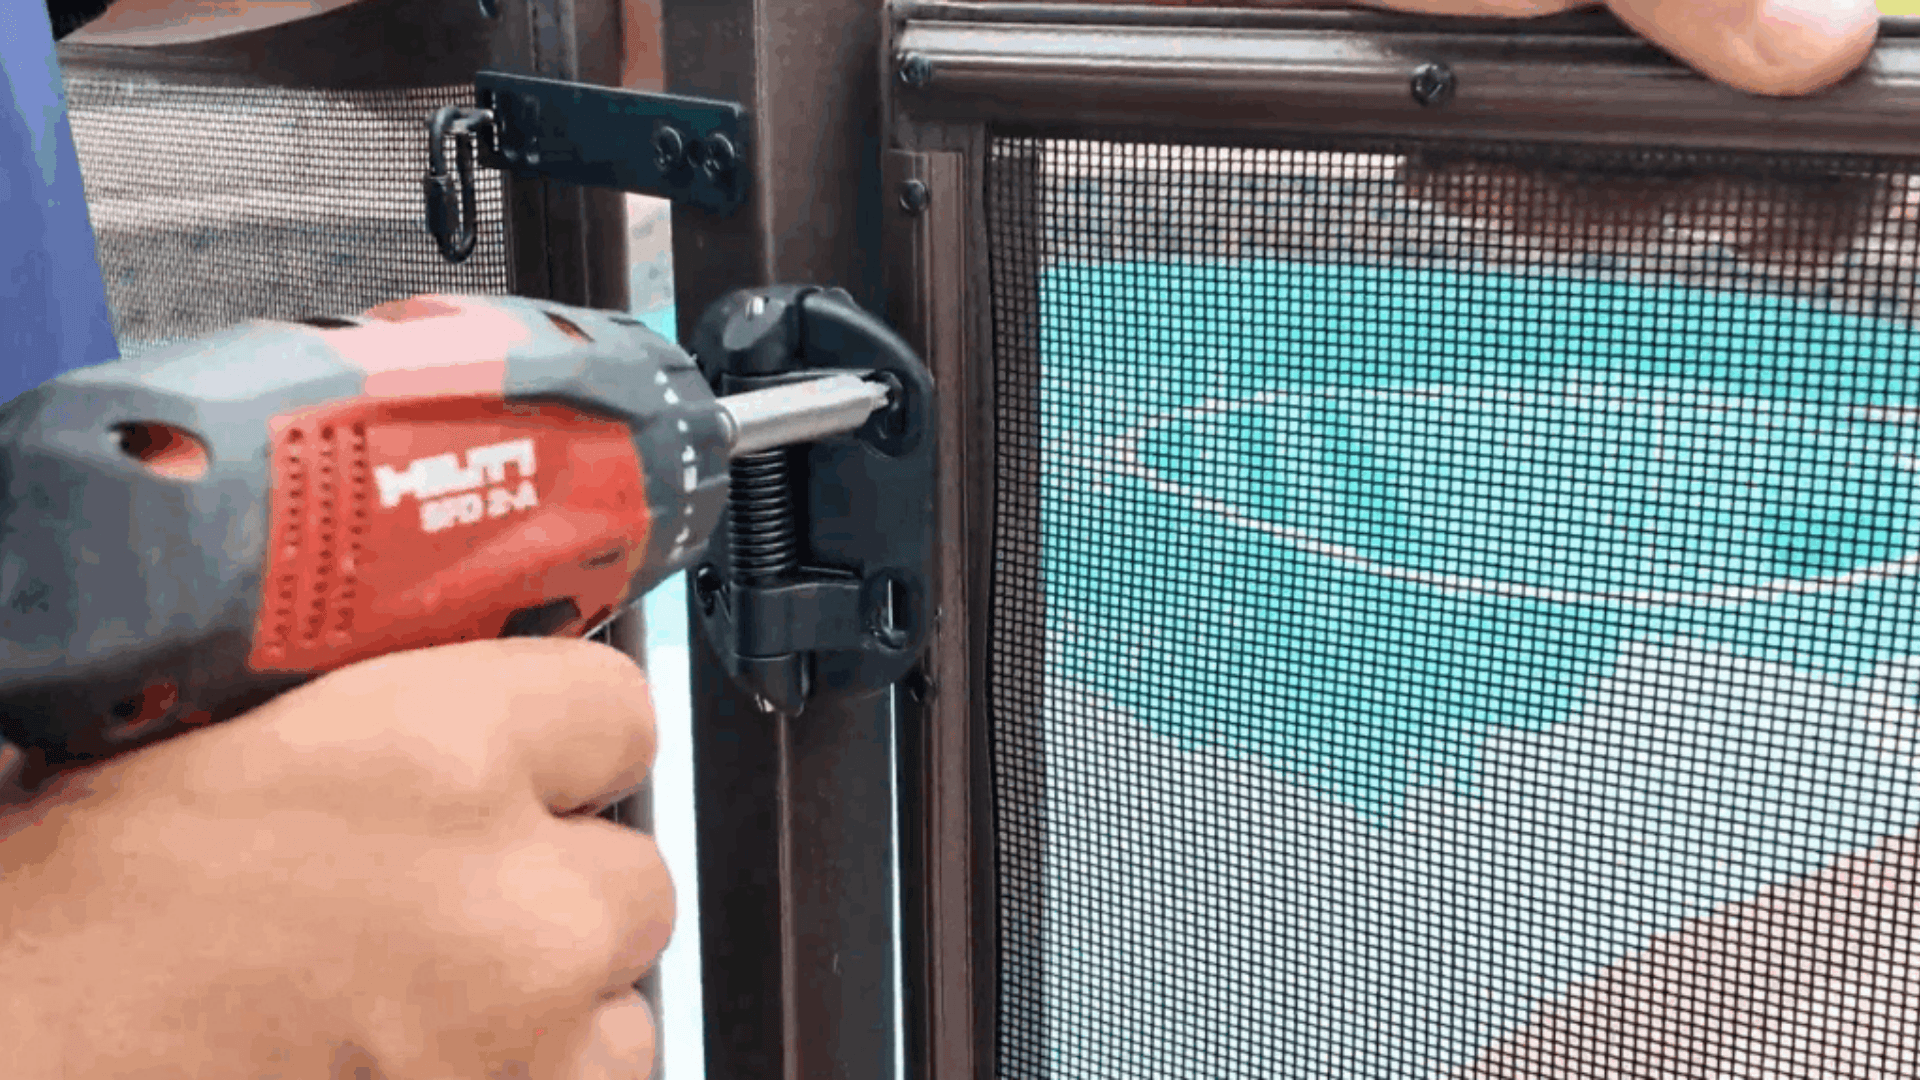
8. Reinstall the Striker Body
Screw the mounting bracket back onto the gate frame.
If you have a MagnaLatch, reinstall the cover plate.
Adjust the striker body as needed to ensure the gate latches and closes smoothly.


9. Final Check
- Make sure the gate opens, closes, and latches correctly without obstruction.
- Periodically check your gate to ensure it continues to function properly.
Shop Online
If you need replacement mesh or additional hardware, please visit All-Safe’s replacement parts section.
Related Resources
How to Replace Pool Fence Mesh – Full Sections and Cut Panel Repairs