DIY Pool Fence Tools & Accessories Every Homeowner Should Have Before Starting
DIY Pool Fence Tools & Accessories Every Homeowner Should Have Before Starting
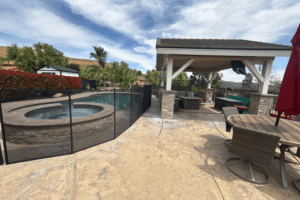
A DIY pool fence project can absolutely be a smart way to improve pool safety while staying in control of your timeline and budget. But even the best fence kit can turn into a frustrating project if you begin without the right tools, accessories, and a clear understanding of what your installation actually requires.
Before you drill a single hole, it helps to know which tools are essential, which accessories can make installation easier, and when your project may be better handled by a professional. The goal is not just getting the fence installed, but installing it cleanly, securely, and in a way that supports long-term safety around your pool.
Start With the Right DIY Plan
Before gathering tools, make sure you understand your fence system and your installation surface. All-Safe’s DIY pool fence offerings are designed around removable mesh fencing, and the tools you need may vary depending on whether you are installing into concrete, pavers, or another approved surface.
Today, we’re focused on the gear that helps you carry out the job. For the step-by-step process of choosing your layout and calculating how much fencing you need, All-Safe already provides dedicated DIY and knowledge base guidance on those topics.
That distinction matters. You do not want to guess at measurements, spacing, or gate planning while you are in the middle of installation. The right approach is to finalize your layout and materials first, then make sure you have the proper tools and accessories to complete the work correctly.
Essential Power Tools for a DIY Pool Fence
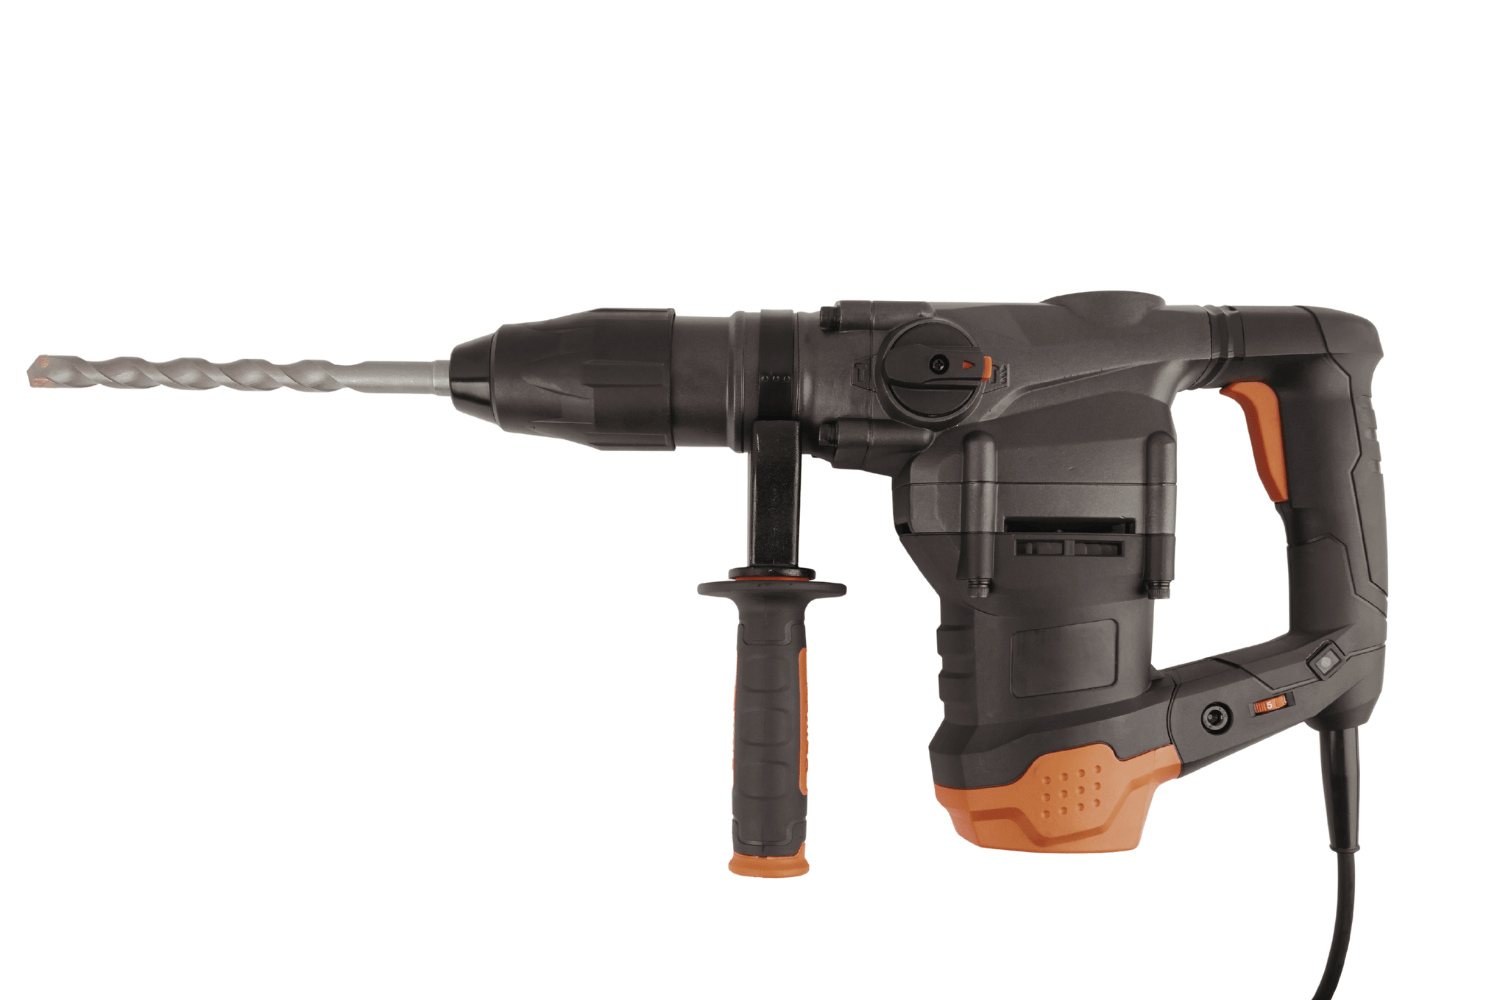
For most DIY mesh pool fence installations, the most important power tool is a hammer drill. Standard household drills usually are not designed for repeated drilling into masonry or pool deck surfaces, especially when consistency matters from hole to hole.
Hammer Drill
A hammer drill is typically the core tool for drilling into concrete or similar deck materials when installing removable mesh fencing. It provides the impact action needed to create clean, consistent holes for fence sleeves and posts.
When choosing one, look for:
A true hammer setting, not just a standard drill mode.
Enough power to handle multiple holes without bogging down.
A side handle for improved control and stability while drilling.
If you do not expect to use one again, renting a hammer drill can be a practical option for a one-time DIY project.
Correct Masonry Bit or Core Bit
Using the correct bit is just as important as having the correct drill. All-Safe’s DIY peg-pole mesh fence setup is associated with peg-pole drilling accessories, including a dedicated drill guide product, so bit size and drilling accuracy matter for proper spacing and fit.
Depending on the system and surface, homeowners may need:
A masonry bit sized for the sleeves and peg-pole setup they are using.
A core bit when a core-drilling method is appropriate for the installation surface.
The key is to follow the specifications for the fence system you are actually ordering. Close enough is not good enough when you are creating anchor points for a pool safety barrier.
Measuring and Marking Tools That Matter
Even though All-Safe already has separate guidance for layout and material calculations, there are a few basic measuring and marking tools every DIY homeowner should have ready before installation begins.
Tape Measure
A sturdy tape measure is essential for checking your prepared layout against the real-world conditions around the pool. It helps confirm distances, gate openings, and spacing as you move from planning to installation.
Marker or Pencil for Deck Marking
Once your layout is finalized, you need a reliable way to mark drilling points on the deck surface. Depending on the material, that may be a marker, grease pencil, or another visible marking tool that will not disappear too quickly as you work.
Level
A small level helps confirm that posts and gate components are positioned correctly. This is especially important for any gate section, where alignment affects how well the gate closes and latches over time.
These are not complicated tools, but they make a big difference in the finish and function of the final installation. DIY success often comes down to consistency, and measuring and marking tools are what support that consistency.
Accessories That Make Installation Easier
Many homeowners think only about the fence itself, but the accessories that support installation often determine whether the project feels manageable or frustrating.
Peg-Pole Drill Guide
All-Safe offers a drill guide for peg pole that is specifically designed to help with accurate spacing and alignment during installation.
That makes it a valuable accessory for DIY users because it helps:
Maintain consistent spacing for peg poles.
Support a cleaner, more professional-looking fence line.
Reduce the chance of misaligned holes that affect fit and appearance.
If a homeowner is new to this kind of installation, this is one of the smartest accessories to have on hand.
Sleeves and caps
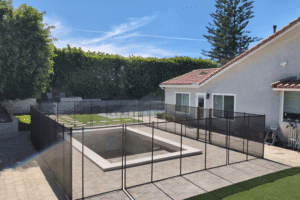
Ground sleeves and caps are easy to overlook, but they are essential to both function and finish. Sleeves support the removable fence system in the deck, while caps help cover openings when sections are removed.
These accessories help:
Protect drilled openings from debris and water exposure.
Preserve a cleaner finished look when fencing is removed.
Make it easier to maintain a removable system over time.
For homeowners replacing older sections or updating an existing system, ordering a few extra sleeves or caps can save time later.
Gate hardware and related parts
If the fence plan includes a gate, make sure all related hardware is accounted for before installation day. A gate is not just another panel; it is a critical access and safety component.
Replacement parts if you are integrating with an existing fence system.
Because gate function is so important to pool safety, this is one area where it pays to double-check every part before getting started.
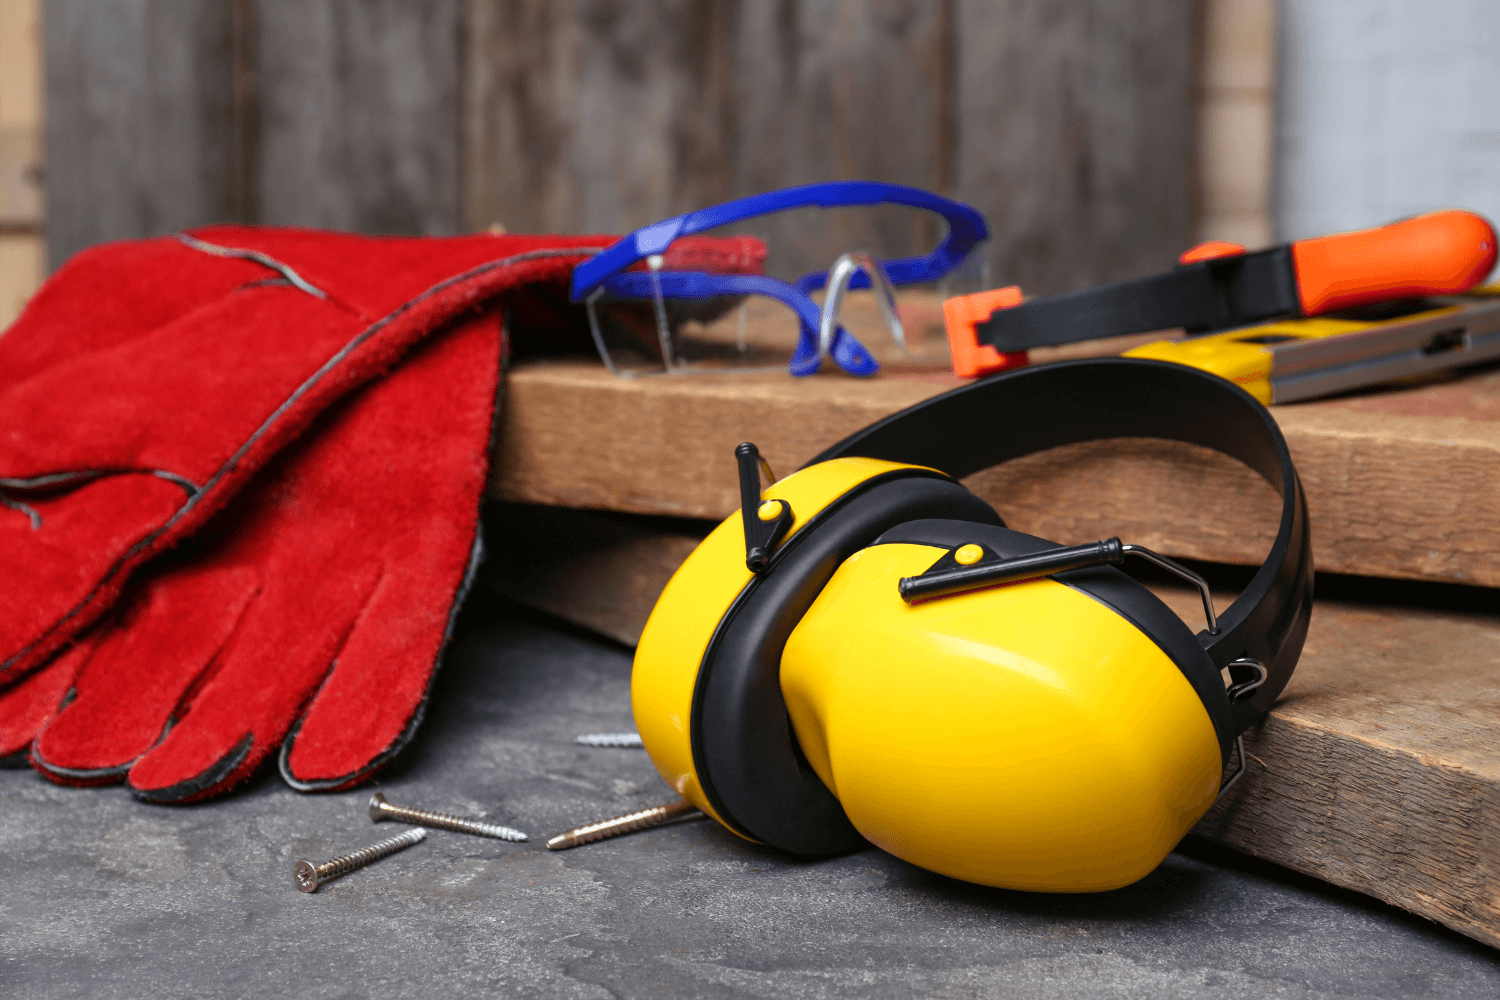
Safety Gear Is Part of the Tool List
DIY pool fence installation involves drilling, handling hardware, and working on hard outdoor surfaces near the pool. Safety gear should be treated as part of the project, not an afterthought.
At minimum, homeowners should have:
Eye protection for dust and small masonry debris.
Hearing protection for extended drilling.
Work gloves for handling posts, panels, and hardware.
Closed-toe shoes with solid traction.
This gear is simple, but it supports safer, steadier work from start to finish.
Helpful Extras for a Smoother DIY Project
Not every useful item is a specialized fence product. A few simple add-ons can make the project cleaner and easier to manage.
Helpful extras include:
An extension cord if your power source is far from the pool area.
A vacuum or blower to clear dust from drilled holes before inserting sleeves.
Towels or cleanup materials for dust and slurry, depending on the drilling method used.
Storage for removed fence sections or extra parts once installation is complete.
These may seem minor, but small conveniences can make the whole job feel more organized and less stressful.
When Your DIY Tool List Is Telling You to Call a Pro
A DIY pool fence project should feel manageable, not intimidating. If gathering tools starts to reveal that the job is more complex than expected, it may be a sign that professional installation is the smarter move.
You may want to schedule an estimate from a local installer if:
You do not have access to the right drill and bits.
Your deck material is expensive or difficult to drill cleanly.
Your pool area has unusual shapes, tight access, or elevation changes.
You are not confident working with layout marks, drilling points, and gate alignment.
There is nothing wrong with choosing professional help. In many cases, the best DIY decision is knowing when not to force a project that needs more experience or specialized equipment.
Prepare First, Then Install With Confidence
A successful DIY pool fence project starts long before the first hole is drilled. When homeowners take time to confirm their layout, gather the proper tools, and order the right accessories, installation becomes more straightforward and the finished result is more secure.
Before getting started, browse All-Safe’s full selection of pool safety equipment to find DIY-friendly fence systems, drill templates, sleeves, caps, and replacement parts that fit your project. If you would rather have expert help, you can also schedule an estimate with a local installer and get recommendations tailored to your pool and deck layout. And if you are already committed to DIY, All-Safe makes it easy to order the parts and accessories you need online.
When your backyard is used for playtime, parties, and pets, pool safety gets more complicated. Learn how to create a safer multi-use backyard with the right pool fence layout, smart traffic flow, and layered safety features.
Building a new pool or planning a major backyard remodel is the best time to think through pool fence placement. Learn how to plan your fence early so your design stays safe, code-conscious, and easy to use for your family.
Listing your home or guest house with a pool can boost bookings, but it also raises your responsibility. Learn how short‑term rental hosts can use pool fences, clear rules, and simple routines to keep guests safer and reduce risk.