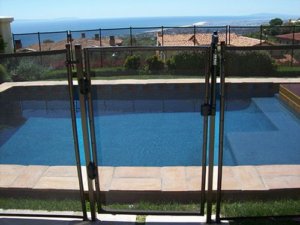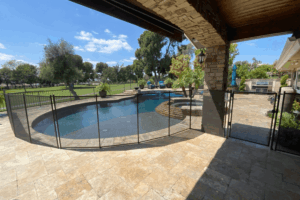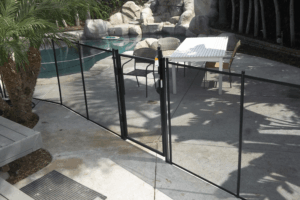
Pool owners have made All-Safe Pool Fence & Covers as their #1 choice for pool fence for over the past 20 years. Our removable mesh pool fences are assembled at our manufacturing facilities in Orange County California. Send us an email or give us a call anytime to set up a time to have one of our safety experts meet with you to discuss your options for pool fence installation, answer your questions and provide you with a FREE quote.
A Guide For DIY Pool Fence Installation
There are many benefits of pool fence installation in your home. It will help in isolating your pool from your home and protect your children and pets. Pool fencing can also help in improving your home’s looks and improves its value. Because it is quite easy to install them, you can fix them yourself. It is a cost effective solution and you can save a lot of money that would otherwise be spent on professional labor and installation charges.
This guide will make your pool fence installation project easier and quick. Besides, there are some valuable tips that can help you get the best results.
1. Dig the Post Holes
Start by clearing and cleaning the area around the pool. Make sure all the foliage is removed. Then run the string line on the ground while marketing the spots where the holes have to be made. The spots can be marked using one of the fence panels. Use a power auger to dig the holes. The size will usually depend on the size of the poles, but usually a hole is around 20cm in diameter and 60cm in depth.
Now run a string line for the top of the posts, while allowing a gap of 10cm below and 5cm above the panel. Make sure that the latch post is 30cm higher than the gate. Now you have reached the stage in the pool fence installation process where you can put the posts in the holes. Then fill up the holes with concrete. Make sure that the surface is sloped down outwards to allow runoff.
2. The Panels
If the fencing requires an angle different from 90 degrees, you will have to cut the panel rail ends. This can be done using an angle grinder and cutoff wheel. The cut ends can be smoothed out using paint.
3. Fix the Gate
Now you can fix the self-closing hinges on the gate with screws. They should be 8cm from top rails and at the same level as the base rail. You should be careful about the following:
- The gate is evenly spaced
- The gate should be leveled (use a torpedo level for the purpose)
- When it comes to pool fence installation, the gates should be installed in a way that they open away from your pool
Once the gate is fixed in place, you will have to fix the latch. Make sure it is at 150cm or higher than the ground. Now put the post caps and fix springs on the gate hinges so that the gate closes automatically whenever opened.
Tips to Follow
You should also follow these tips to ensure that the pool fence and gates work effectively:
- The gate’s vertical wires must face outwards
- Used the hinge having fixed pin on the top of the post. The bottom hinge should be slotted in
- The hinge on the top should be fixed firmly. The bottom hinge should be left loose until you install the gate
- You can also use butt hinges
Once the pool fence installation process is complete wait for 24 hours after the concrete is poured. The top locating rail can then be removed. You can also remove any kind of protective covering. You should be careful about the spring adjustment. The instructions can be found on the gate. Similarly, gates come with the instructions for maintenance.


