10 Questions to Ask Before Buying a Pool Safety Fence
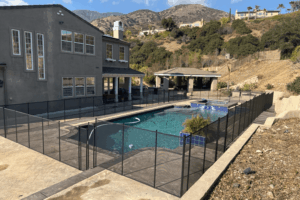
Don’t buy a pool safety fence without asking these essential questions. This buyer’s guide helps you evaluate height, compliance, materials, installation, and more.

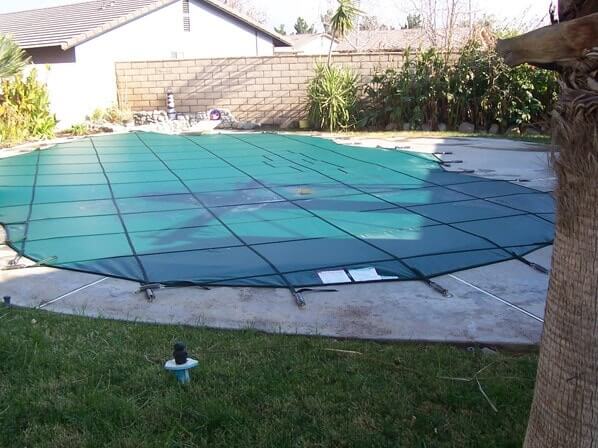
With the best time of year (swim season!) upon us, the All-Safe team wants to make sure to give you all of the tools necessary to protect your pool cover for winter.
Why is it so important to follow these steps? Well, you could just remove the cover, roll it up and toss it in your garage or shed if you wanted to. But the cover has been exposed to elements all winter, and wherever it’s stored is likely exposed to rodents & creatures throughout the summer. Our primary interest is in helping you protect your pool cover for winter so that it’s not something you have to continuously spend money on year after year!
It should only require about 30 minutes of your time, excluding the amount of time needed for the pool cover to dry in the sun. There are a few specific steps you’ll need to take, and we don’t recommend attempting the entire process alone.
The very first step you’ll want to take in this pool cover storage process is to clean the top of the cover completely. This is to avoid any sort of debris being caught in the cover when it’s removed and potentially causing tears & holes. You don’t need any special chemicals to clean the cover, you can just grab a garden hose and spray it clean!
You’ll likely need a second person to help assist with the next few steps. Assuming that you’ve purchased a mesh pool cover, you’ll need to remove the cover springs and screw down anchors before you can move the cover at all. You should have received a rod & hex key during installation – This should help assist in removing the springs and getting those anchors down. Make sure to not skip this important step, because you could end up with unwanted tears in the cover if it snags on an anchor while you’re removing it.
This is the step you’ll want to make sure you have a helping hand for. You’ll start at one end and fold the pool cover accordion style in very small sections, and carry it over to a flat surface (pool deck or yard) and lay the cover out flat. While this is a simple task, you’ll want to be as careful as possible to ensure it doesn’t get caught on anything.
Another important step in the pool cover storage process! The side of the cover that was facing the pool water will need to be thoroughly cleaned. Again, no harsh chemicals needed, just mild soap and water. If you notice a lot of grime, you might need to use a scrubbing brush, but you shouldn’t need anything beyond that.
Once you’ve soaped and scrubbed, rinse the cover and leave it laying flat to completely dry. This shouldn’t take too long, so we’d recommend checking on it frequently. If you’ve laid it out on your lawn to dry, you’ll want to remove it as soon as you can feel that it’s dry. If you leave the pool cover on the grass for an extended period of time, it could damage your lawn. Make sure you don’t skip this step though, or you could run into issues with mold & mildew.
Once your pool cover is dry, look it over to make sure there aren’t any small holes or tears that you might have missed. We recommend making any repairs before putting your pool cover in storage.
The final step for proper pool cover storage – You likely received a bag when you first purchased your pool cover, but if you didn’t, we recommend purchasing a protective bag or hard plastic storage container (rubbermaid, for example).
Fold your pool cover in half multiple times, until you can’t anymore. Place it inside your bag or box and seal completely. This will ensure any rodents or critters steer clear of your investment. Once it’s sealed, store it away and go enjoy your pool!
Our mesh pool covers are the best option for keeping your pool area safe during winter months, and keeping debris out of your pool to reduce the maintenance and cleaning needed come summertime.
If you’d like to learn more tips & tricks on using your pool cover, head over to our blog and browse all of our informative articles. If you still need assistance or can’t find what you’re looking for, contact us!
If you haven’t yet purchased pool safety equipment and you’d like to learn more about the best option for your backyard, complete the free quote form to find a local dealer, and they’ll have a pool safety professional come out to discuss your needs and help you make the best choice.

Don’t buy a pool safety fence without asking these essential questions. This buyer’s guide helps you evaluate height, compliance, materials, installation, and more.

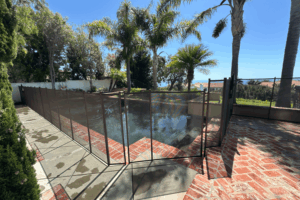
Understand how local pool fence codes work and what to check before installation. This beginner’s guide simplifies requirements so your safety barrier complies and protects effectively.

Learn the truth behind common pool safety myths and make better decisions to protect your family with fact‑based guidance on fences, barriers, and maintenance.
Enter your zip code to locate an independent installer in your area
Enter your zip code to locate an independent installer in your area

Due to the many variations in monitors, phones, and browsers, color samples and product examples may appear different on different screens. Computers and mobile devices are not all calibrated equally and color reproduction on the Internet is not precise. The same is true for printed items such as brochures and other sales literature.
In addition, the colors of our products photograph differently under different lighting conditions. For example, photos taken in full sunlight will vary from photos taken on a cloudy or overcast day. Similarly, shadows from nearby objects can affect the color and transparency of our products. If a precise color or specific shade is important, please inspect the actual color of your product prior to installation.
Many of our products’ materials are not available through typical stores and vendors and therefore must be custom manufactured specifically for our use. In order to control costs and provide you with the best value possible, our raw materials are produced in large batches and can often take several months to receive. The colors of our materials can, and often do, vary slightly from batch to batch. Although we make every effort to minimize color variations, we cannot be responsible for these differences when they occur. If a precise color or specific shade is important, please inspect the actual color of your product prior to installation.
For example, we use the name “putty” to describe some of our products. Your idea of the color “putty” may be different than someone else’s idea of “putty”. In addition, products may have the same color name but may not be the exact same color. For example, we have different shades of “black”. Please do not order using color names as your only guide. If a precise color or specific shade is important, please inspect the actual color of your product prior to installation.
If it is important that your product be an exact color or shade, it is highly recommended that you inspect the actual product prior to its installation and address any concerns with your local independent installer. Most independent installers do not offer refunds or accept returns due to color variations.