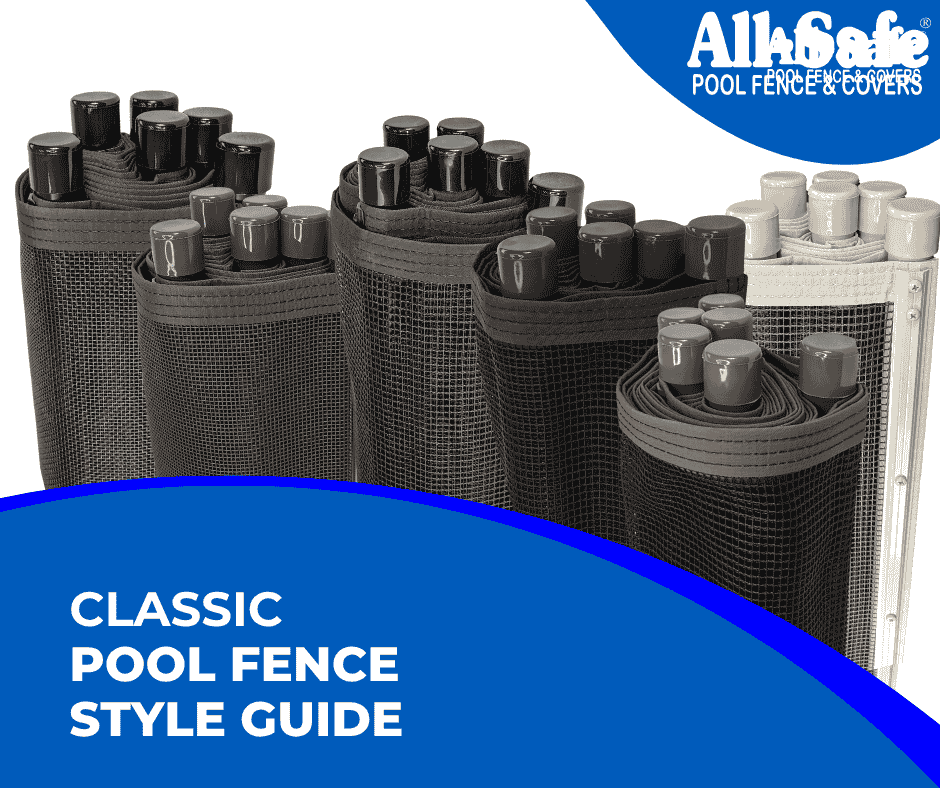
Explore the Classic Pool Fence series, including Combo E and Combo H — both featuring smooth-painted poles and a variety of mesh and color configurations. Learn how these dependable fence styles can be customized to fit your pool and safety needs.
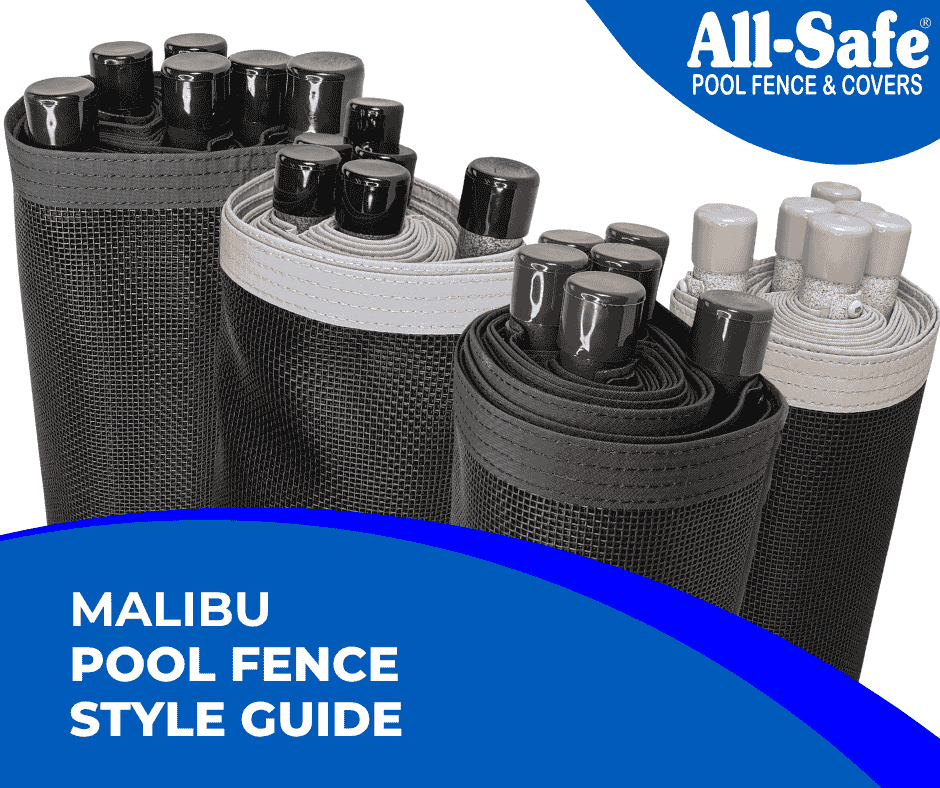
Discover the Malibu Pool Fence — our most popular fence style featuring a modern 10×10 mesh weave, Ultra-finished poles, and coordinated trim. This guide covers color combinations, available section sizes, and matching components to help you design a sleek, secure pool fence that fits your space and style.
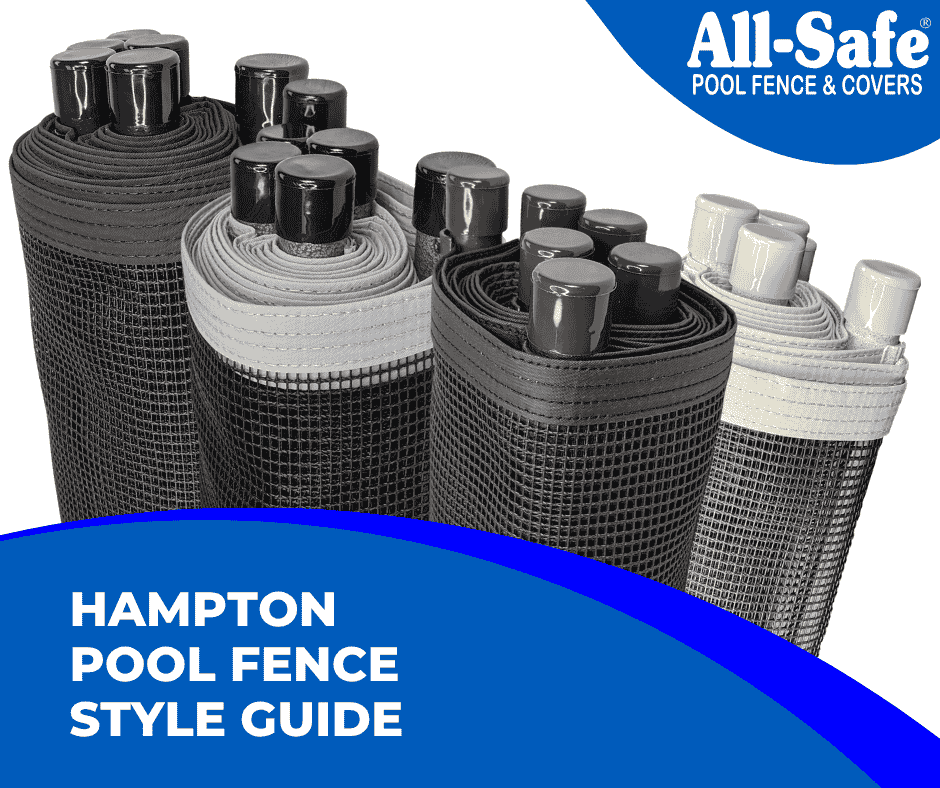
Looking for a modern, secure, and stylish pool fence?
The Hampton Pool Fence combines 5×7 premium mesh with durable Ultra textured poles to create a sleek, reliable barrier that blends into any backyard. Available in multiple color combinations like All Black, Gray Black, Tan Brown, and All Brown, the Hampton is one of All-Safe’s most popular style for good reason. In this guide, we’ll walk you through everything you need to know—from color options to sizing—to help you choose the perfect fence for your pool.

Learn how to replace damaged pool fence mesh using All-Safe’s durable Hampton or Malibu mesh. This guide covers full 15-foot section replacements and how to repair smaller cut panels using the right tools, measurements, and installation techniques for a factory-fresh finish.
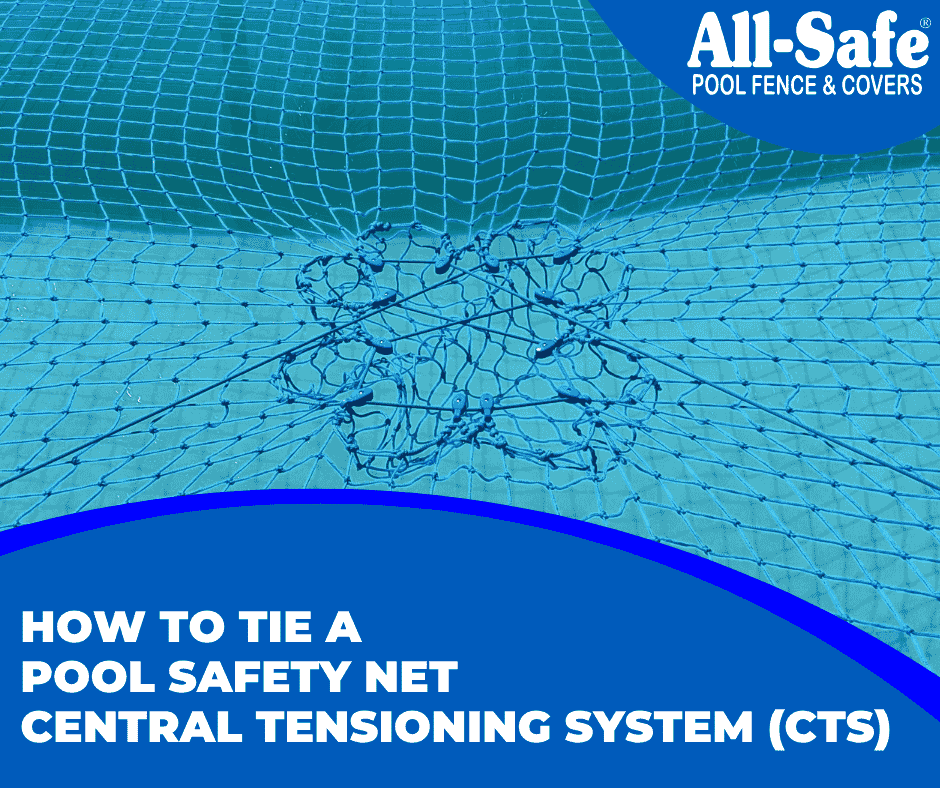
Learn how to tie a Central Tension System (CTS) into a pool safety net using this step-by-step guide. This advanced tutorial walks experienced installers through marking the net, tying pulley string, installing pulleys, and finishing with a secure tension loop. Ideal for pros assembling All-Safe safety nets in the field.
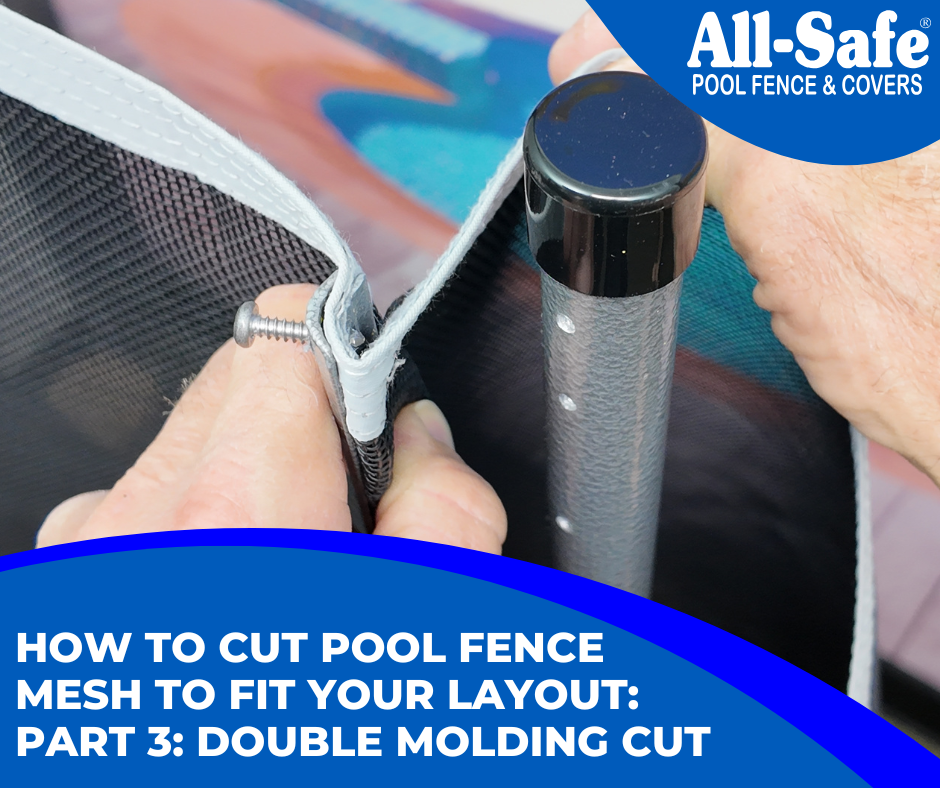
The Double Molding Cut is the strongest and most professional method for cutting mesh pool fencing. This technique sandwiches the mesh between two moldings for a secure, long-lasting finish—perfect for DIYers or pros making clean cuts at termination points or custom layouts.
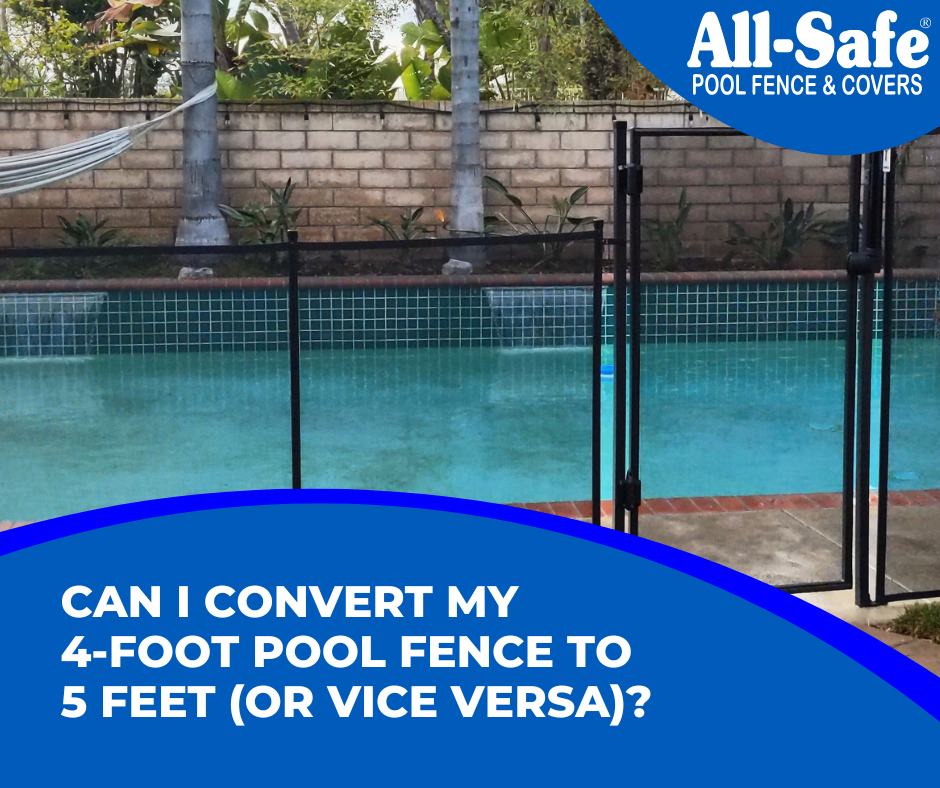
Quick Answer: No, there is no adapter or conversion kit to change the height of a pool fence. To go from 4 feet to 5 feet — or the other way around — you’ll need to purchase a new fence at the correct height. Why There’s No Adapter: Pool fence height isn’t just about the […]
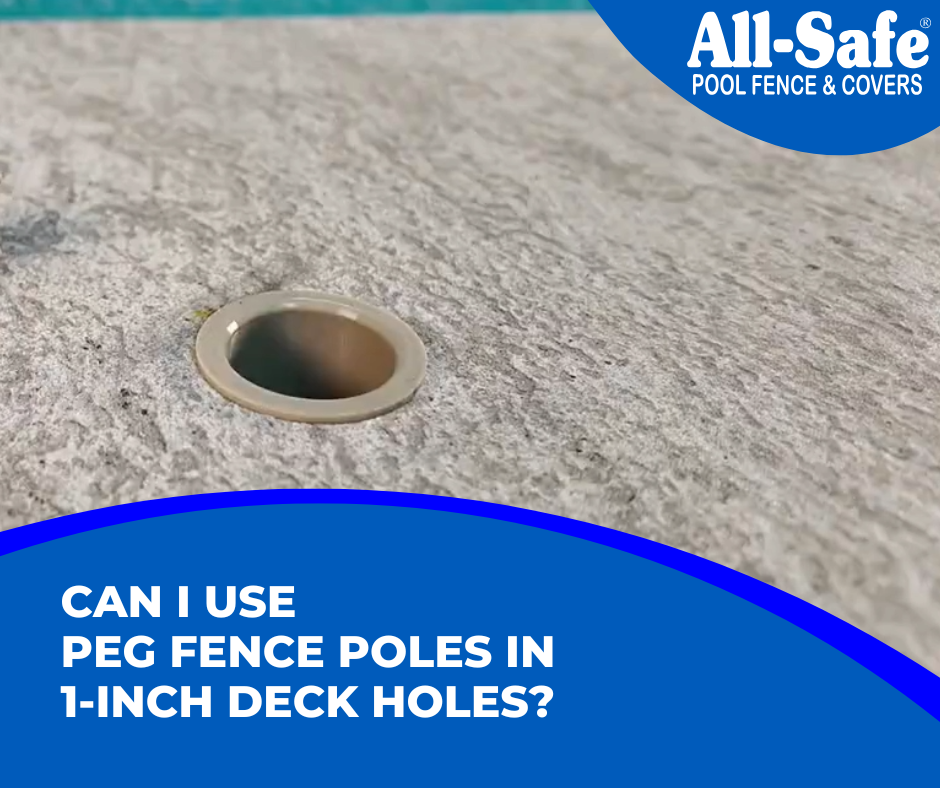
Quick Answer: No. We do not currently offer an adapter that allows ½” peg poles to fit securely in 1-inch deck holes. If your deck has 1-inch holes, you’ll need to switch to 1-inch poles. More Details: If you purchased a pool fence with peg-style poles (½-inch stainless steel rod inserts at the base) and […]
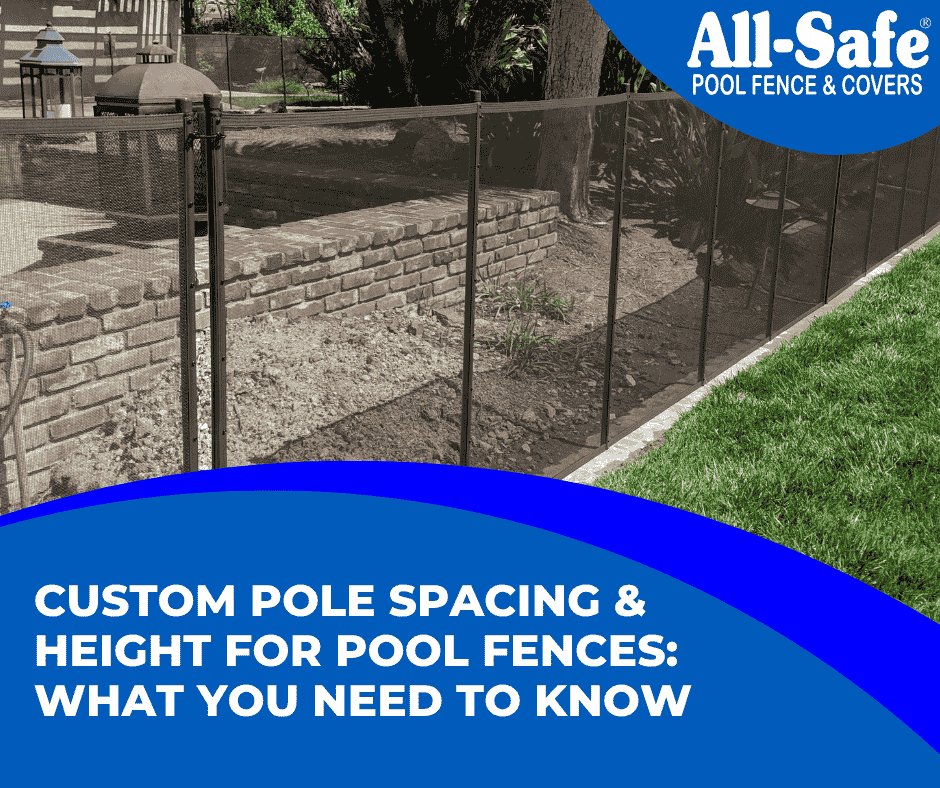
Learn how to customize your pool fence with custom pole spacing or added height for unique layouts. This guide covers what’s possible with All-Safe components, how to plan your setup, and where to shop for parts.

DIY Method 2: Border Trim & Tape is a clean, durable way to shorten your mesh pool fence while giving it a finished, professional look. This step-by-step guide walks you through how to cut the mesh, apply new border with tape or staples, and reinstall the section for a wrinkle-free, secure fit. Great for both DIYers and pros, this method strikes the perfect balance between ease and polish.

Learn how to trim pool fence mesh to fit your layout using simple tools and no extra materials. This step-by-step guide walks you through the “Trim to Fit” method for a clean, tensioned finish—perfect for quick installs or layout adjustments.
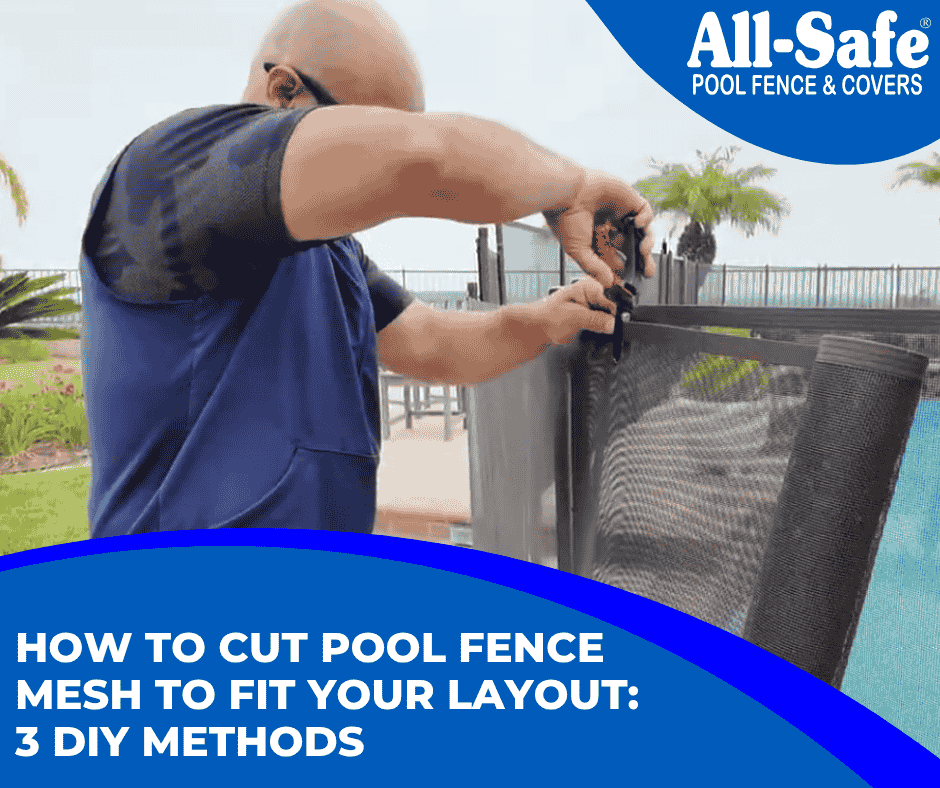
Whether you’re working with a mesh roll or cutting down a pre-assembled fence section, this guide walks you through three DIY methods to get the perfect fit and finish — no matter your experience level.

