
DIY Method 2: Border Trim & Tape is a clean, durable way to shorten your mesh pool fence while giving it a finished, professional look. This step-by-step guide walks you through how to cut the mesh, apply new border with tape or staples, and reinstall the section for a wrinkle-free, secure fit. Great for both DIYers and pros, this method strikes the perfect balance between ease and polish.

Learn how to trim pool fence mesh to fit your layout using simple tools and no extra materials. This step-by-step guide walks you through the “Trim to Fit” method for a clean, tensioned finish—perfect for quick installs or layout adjustments.
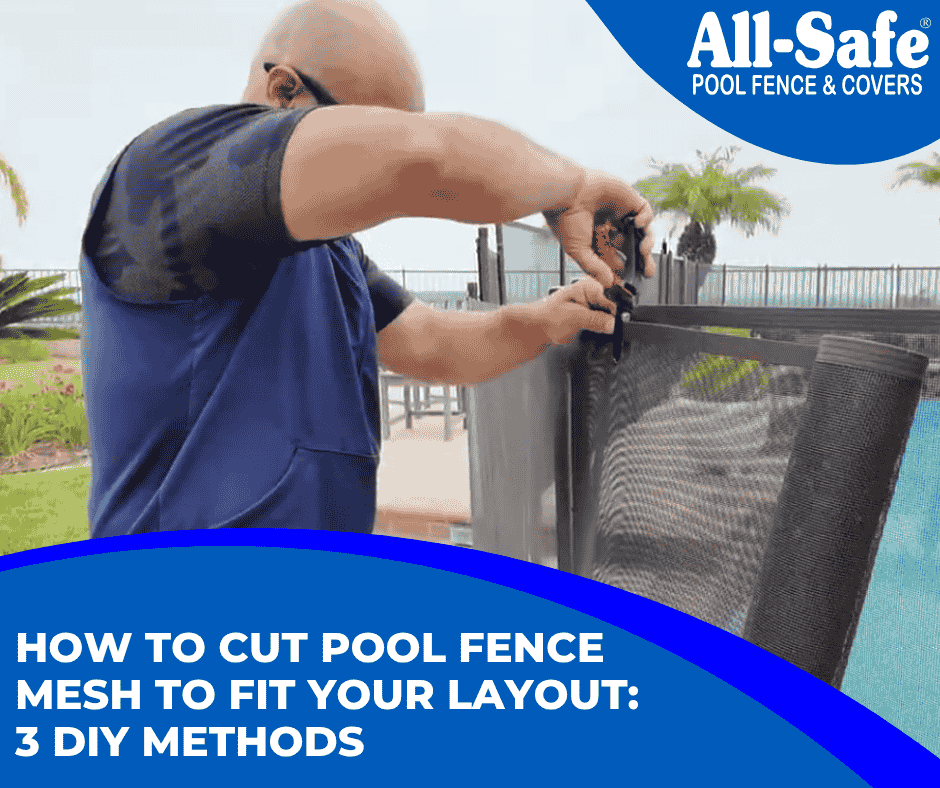
Whether you’re working with a mesh roll or cutting down a pre-assembled fence section, this guide walks you through three DIY methods to get the perfect fit and finish — no matter your experience level.

Are you considering installing a pool fence but unsure about ASTM standards? While many homeowners aren’t legally required to comply with ASTM F2286, understanding these guidelines can significantly enhance safety for your loved ones. From the materials used to the installation specifics, ensuring your fence meets these standards can make a difference. Discover what makes a fence ASTM compliant, the situations where compliance is necessary, and how to navigate local regulations. Whether you’re a DIY enthusiast or working with a professional, we’re here to guide you through the process of creating a safe pool environment.
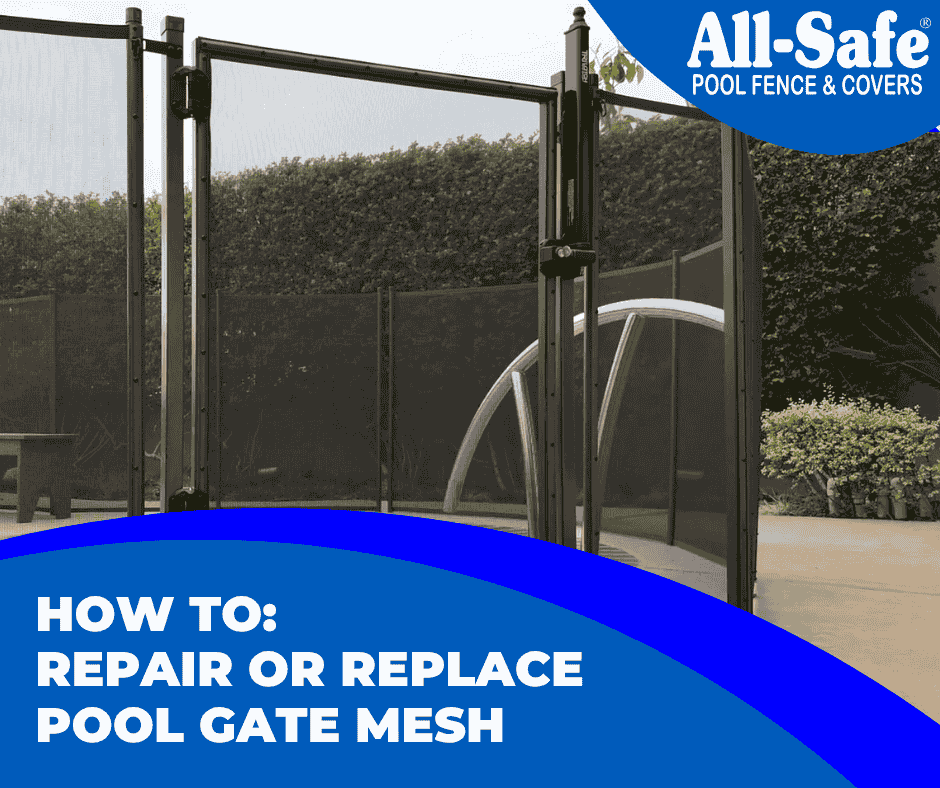
If your pool fence gate mesh has been damaged—whether by pets, weather, or wear and tear—you can replace it yourself with just a few tools and some patience. Follow the instructions below to remove and replace the gate mesh safely and correctly. Tools Required: Step-by-Step Instructions: 1. Remove the Striker Body TriLatch: Unscrew the striker […]
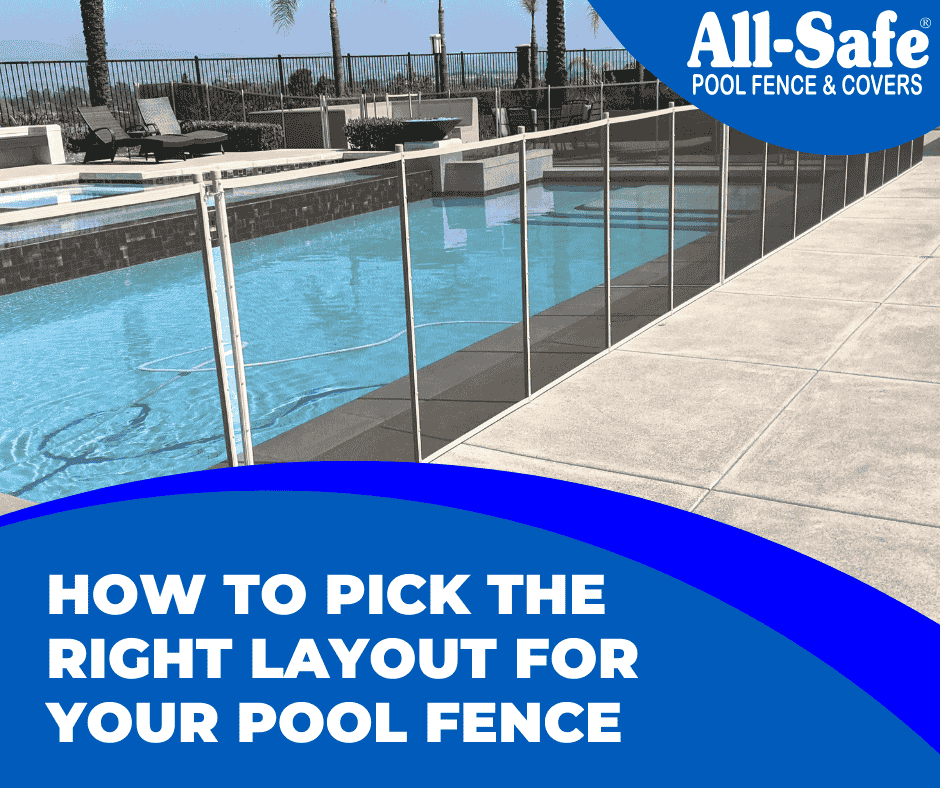
Planning your pool fence layout is one of the first steps when preparing for a pool fence installation. Most homeowners begin planning their layout before ordering materials or while getting estimates from a local installer. Taking time to think through your fence layout will help you: Whether you’re installing the fence yourself or working with […]
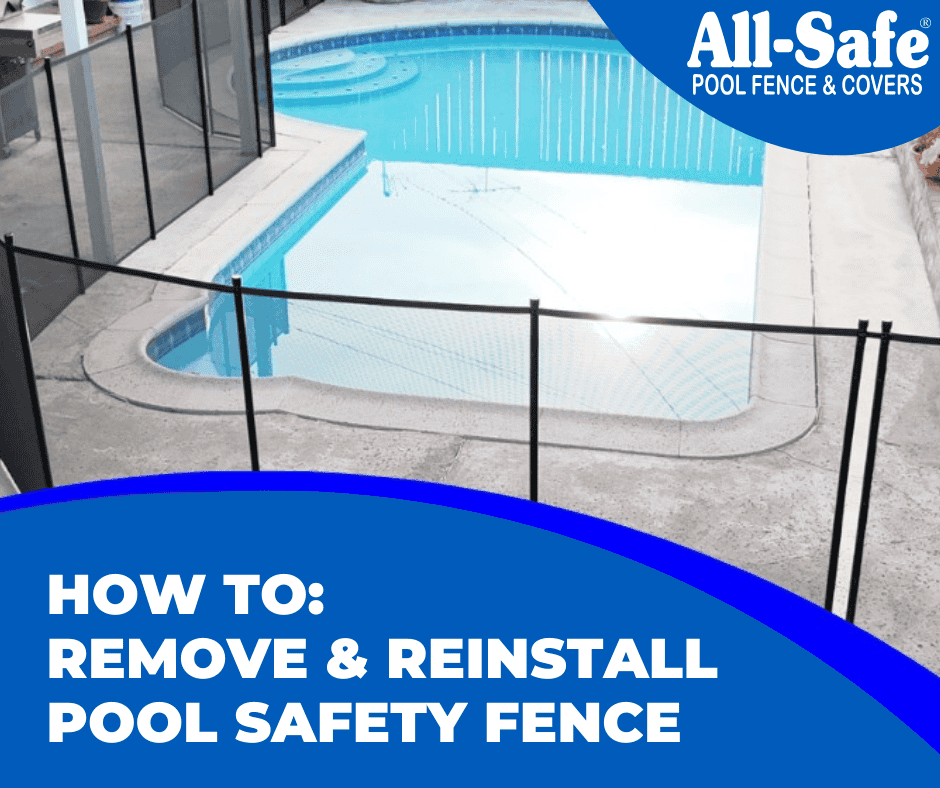
Are you looking to temporarily remove your pool fence for maintenance or storage? Our step-by-step guide makes the process simple and efficient! From safely detaching the gate to properly storing your fence sections, we cover everything you need to know. Plus, learn how to reinstall your fence with ease, ensuring optimal security for your pool area. Don’t let the task overwhelm you—follow our expert tips and enjoy peace of mind knowing your pool is safe. Dive into our guide and discover how to manage your pool fence like a pro!
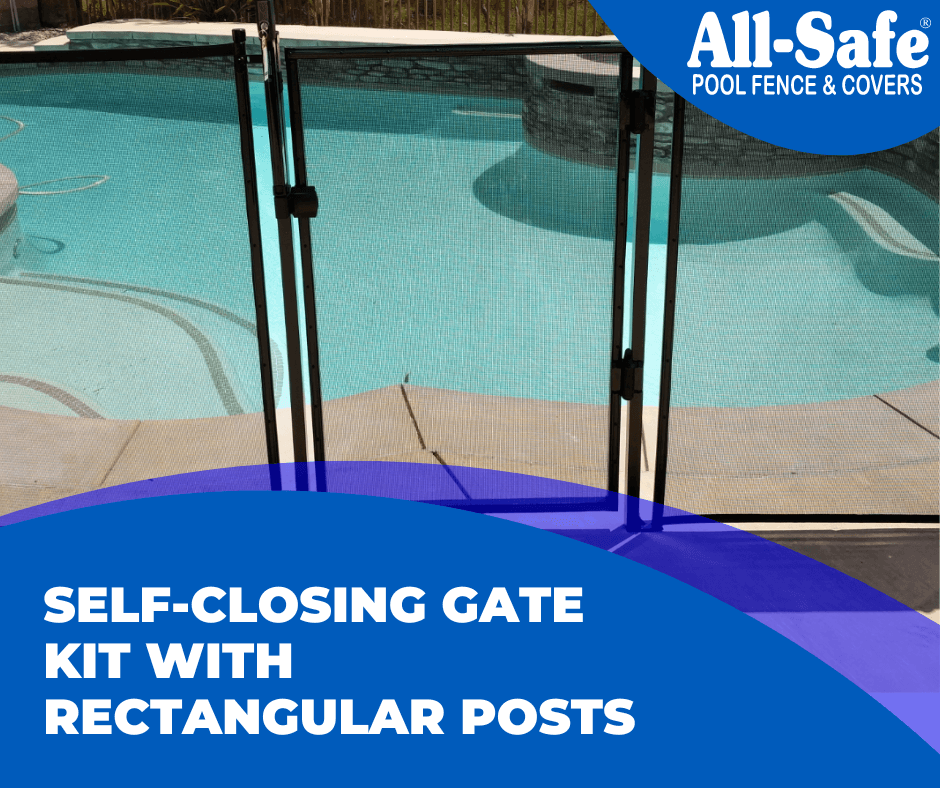
The Rectangular Post Gate Kit features components like flanges, deck sleeves, and hinges, and is available in 4-foot and 5-foot heights, with color customization options. The installation process involves five key steps: flange installation, post and fence positioning, bracket attachment, hinge placement, and the Trilatch gate latch system setup. The kit is complemented by detailed instructions and video guides.
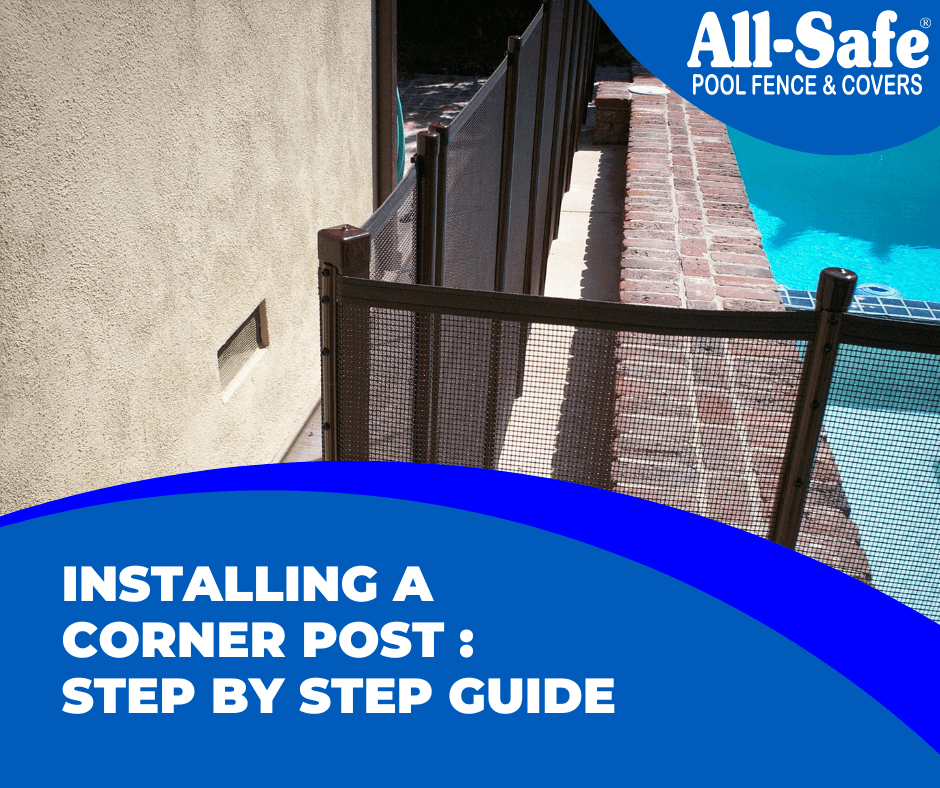
Tools and Materials Needed Step 1: Preparing for Installation Before you begin, ensure your deck is clear and clean. Gather all necessary tools and materials, including the All Safe Corner Post, and measure your work area carefully. Step 2: Marking the Layout Step 3: Measuring for Accurate Placement Step 4: Drilling and Setting the Post […]
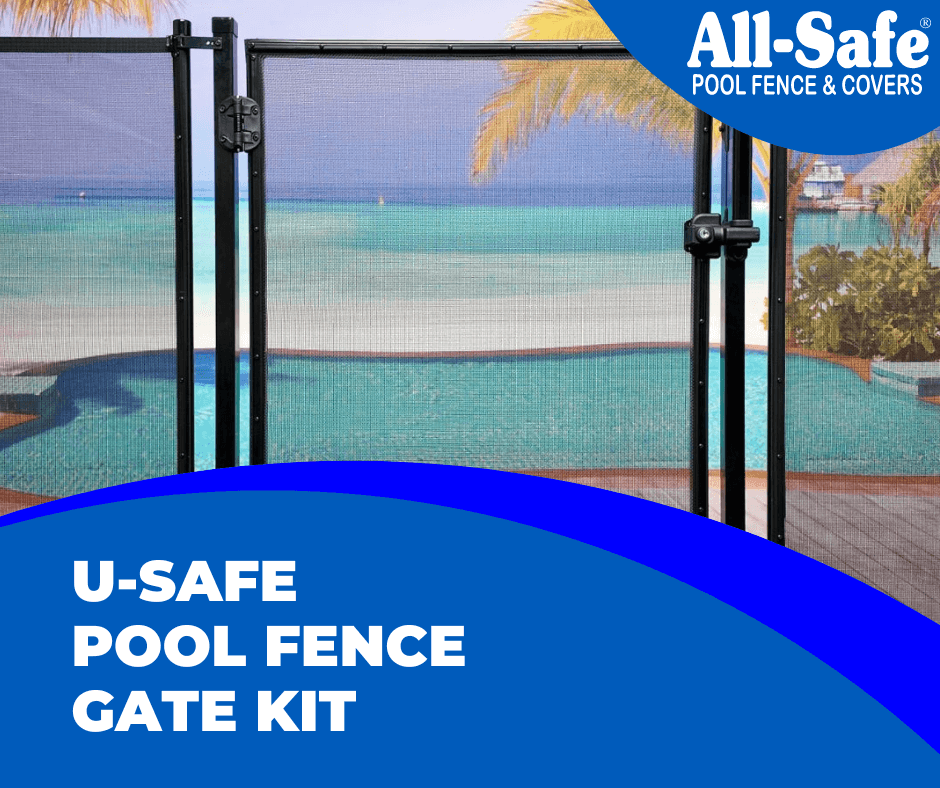
Introduction The U-Safe Gate is All Safe’s latest innovation in the pool safety industry. Designed primarily for the DIY market, the U-Safe Gate is by far the easiest gate to install. Right from the box, the U-Safe Gate comes with hinges and latch already installed, radically simplifying the overall installation process. The U-Safe Gate has […]
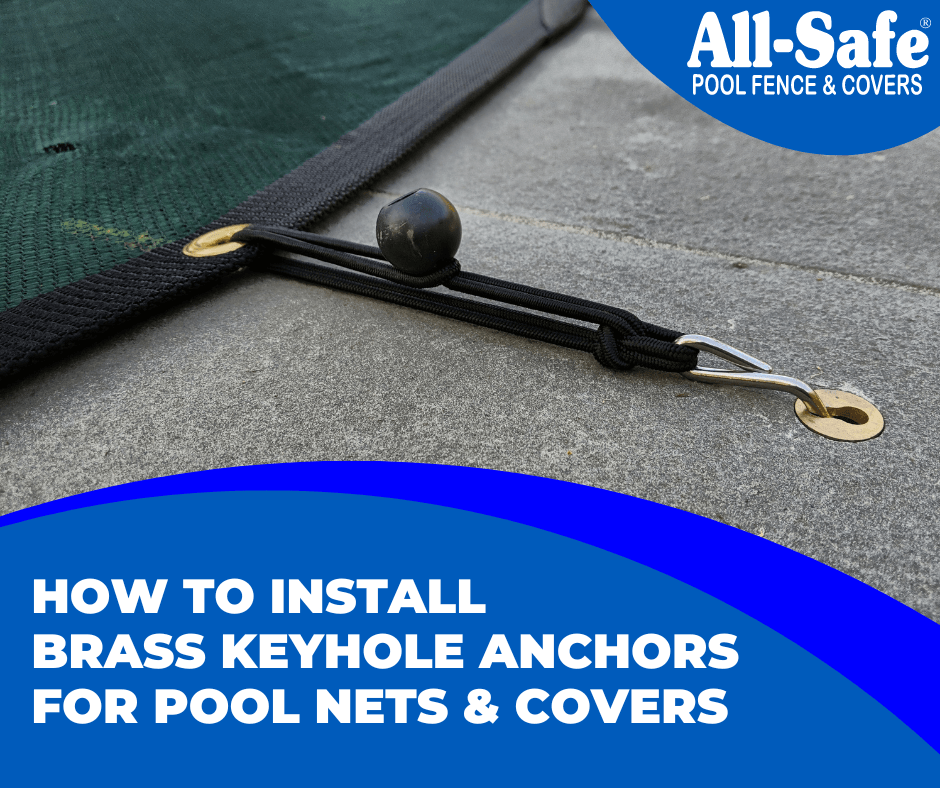
When installing a net on a pool or spa, use the Brass Keyhole Anchor, the industry standard. Start by deciding the layout and anchor placement. Drill the deck with a 3/4 inch hammer drill or core drill. Insert the anchor ensuring the correct orientation. Use different keyhole sizes based on the drill bit’s wear.
