Why More Homeowners Are Choosing DIY Pool Fence Kits
Why More Homeowners Are Choosing DIY Pool Fence Kits
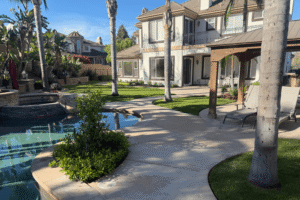
For many homeowners, pool safety traditionally meant hiring a contractor, navigating permits, and waiting weeks for installation. While professional options are still a great fit for many families, a growing number of people are choosing to install their own pool fence. DIY kits, like those offered by All‑Safe, deliver the same trusted safety features with added flexibility, cost savings, and the ability to install on your own timeline.
Here’s why the trend is growing and what you should know if you’re considering going DIY.
What’s Driving DIY Pool Fence Popularity
1. Significant Cost Savings
For many homeowners, it really comes down to the savings. By installing the pool fence yourself, you avoid the labor costs associated with hiring a pro.
That means you can put more of your budget toward high-quality materials, upgraded safety features, or even a few backyard extras.
2. Greater Control and Flexibility
When you go DIY, you pick your schedule, materials, and layout. Kits from All‑Safe include planning tools, parts lists, and detailed resources so you’re empowered rather than locked in.
You might prefer to install in one weekend, add self‑closing gates, or match your backyard aesthetic, all without relying on your installer’s timeline.
3. Confidence in Safety Compliance
DIY doesn’t have to mean compromising on safety. A well‑made kit meets code requirements for fence height, gate closure, mesh integrity, and more.
Is a DIY Pool Fence Kit Right for You?
Before purchasing and installing a DIY pool fence, there are a few practical considerations to evaluate.
Skill Level & Time Commitment:
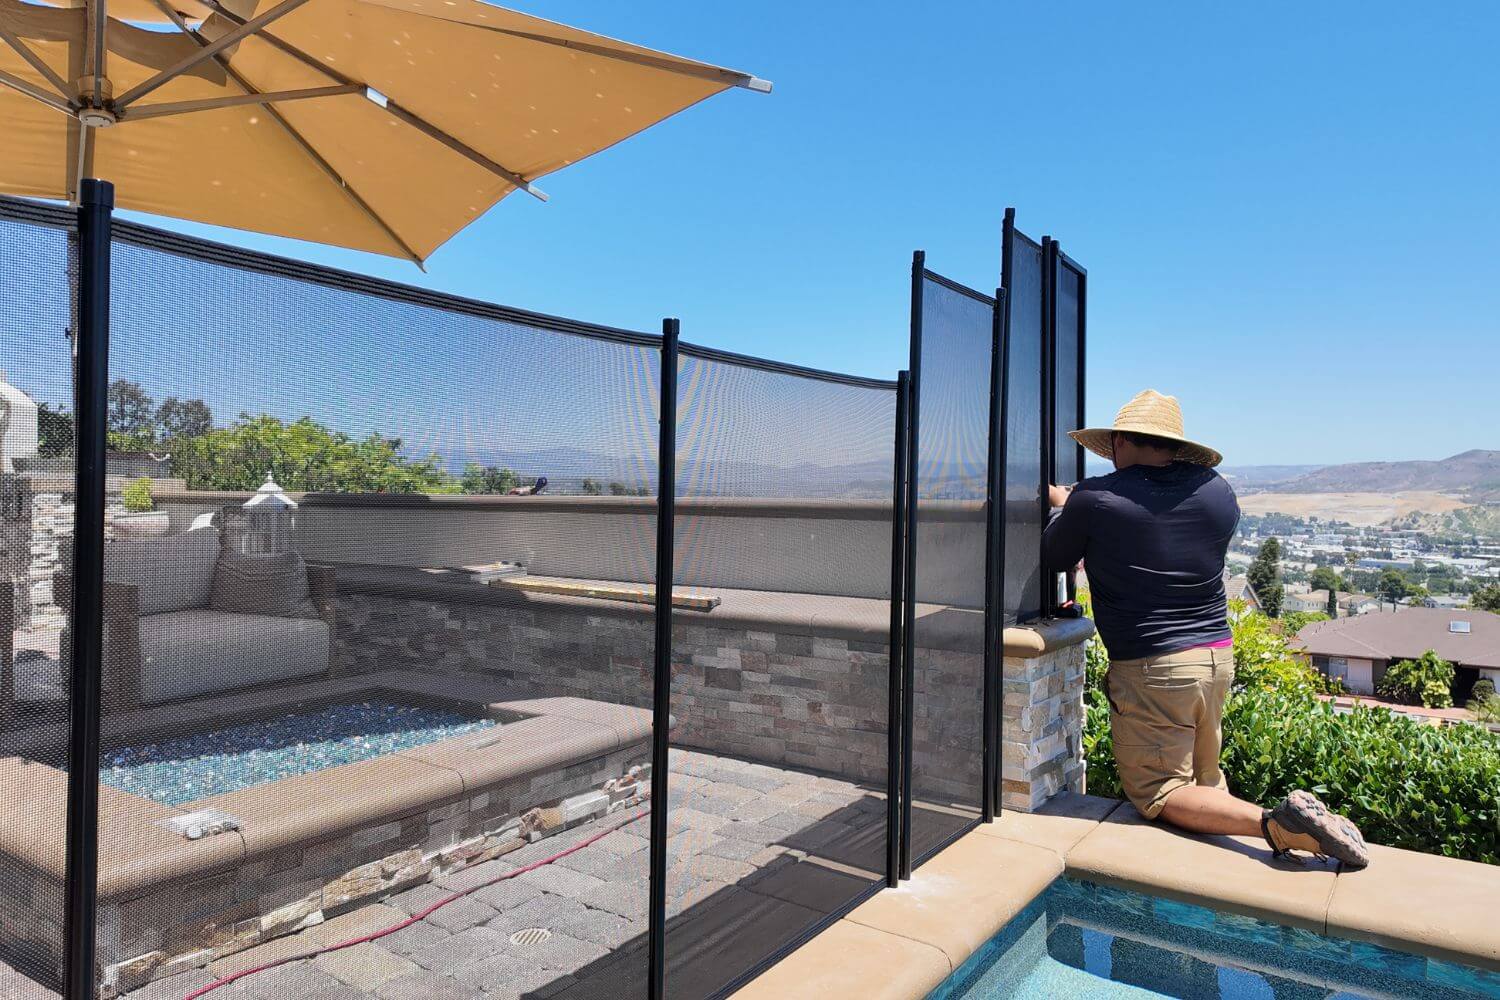
Although DIY kits are designed with homeowners in mind, having some hands-on experience, such as measuring, drilling, and using a level, makes the process smoother. Installing your own pool fence can save money, but it’s essential to understand the steps involved to ensure the barrier is safe, secure, and up to code.
Pool Layout & Surfaces:
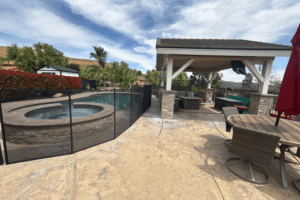
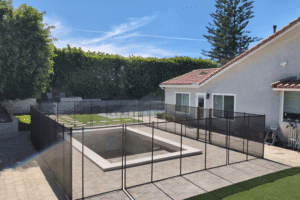
DIY kits assume relatively standard pool perimeters. If your pool has complex shapes, slopes, or unusual terrain, installation may take more effort or require custom hardware.
Local Regulations:
Check your jurisdiction’s safety barrier requirements: height minimums, gate self‑closing/latching specs, and gap limits. This should be done before you place your order to ensure you’ve got the necessary parts.
Hardware and materials tailored to your pool measurements.
Clear installation guides, videos, and support.
Ability to handle installation yourself, reducing costs while maintaining professional‑level safety.
Common Concerns & How They’re Addressed
“Will it truly meet code?”
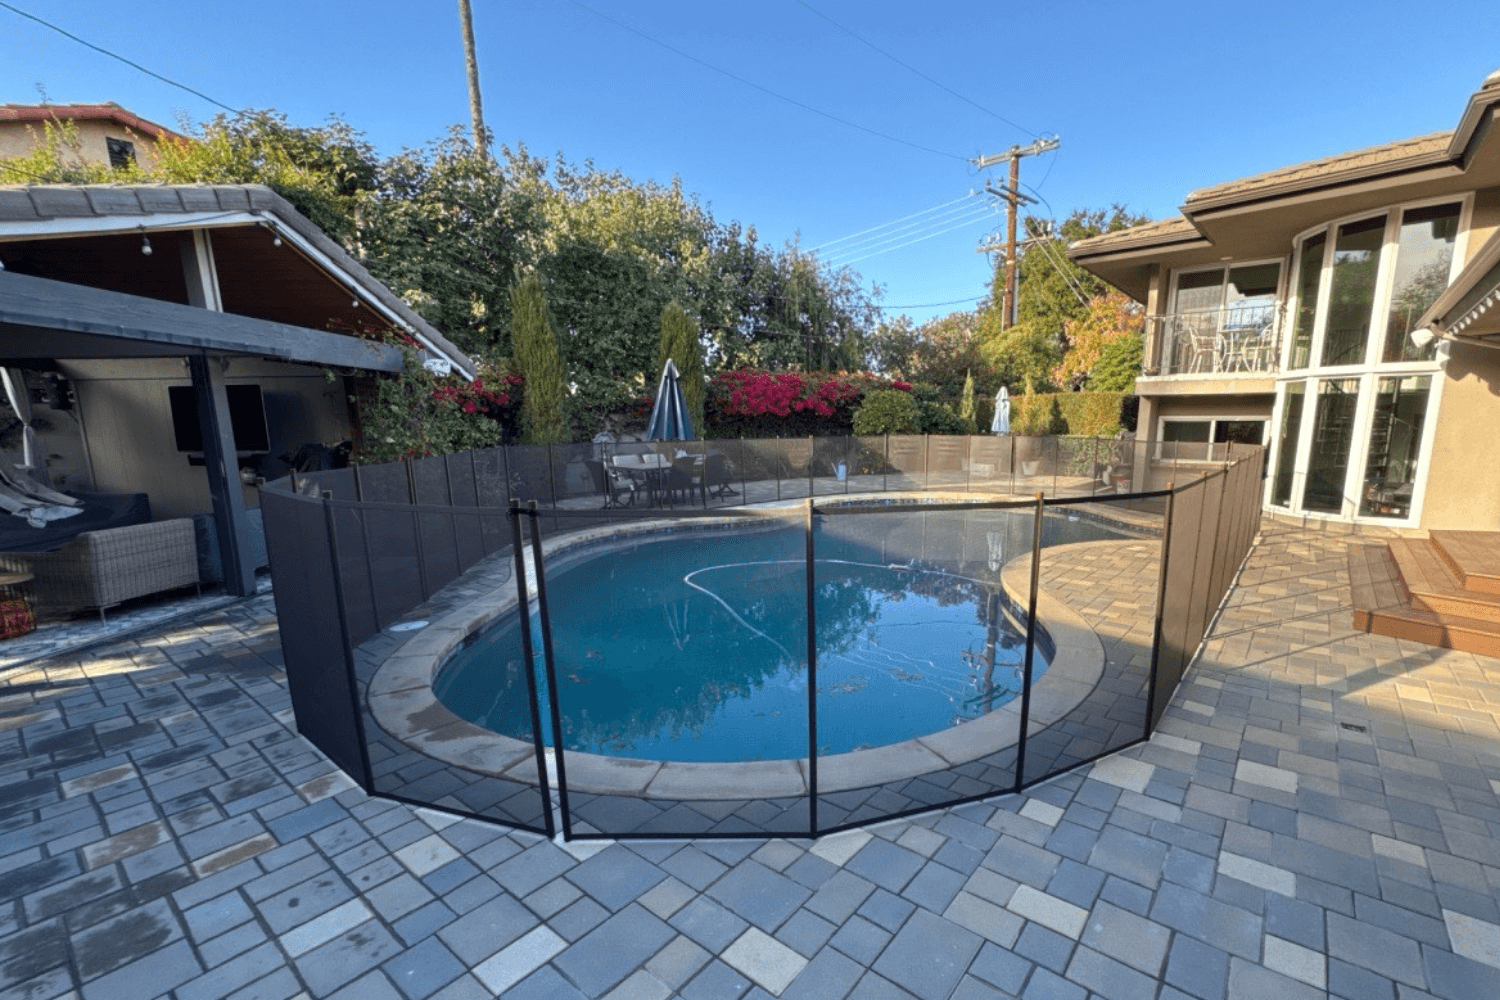
Yes, especially if you follow the instructions carefully. All-Safe DIY pool fence kits meet standard code criteria: 48‑inch height, no gaps larger than 4 inches, self‑closing/self‑latching gates, etc.
“Is installation too complicated?”
All-Safe’s DIY mesh pool fence kits are built for confident homeowners and designed for straightforward, weekend installation. With clear instructions, planning tools, and access to support resources, most users find the process manageable.
“What if I mess up?”
With DIY, you’re in control, but you also own the outcome. That’s why reputable companies (like All‑Safe) offer good support, replacement parts, and guidance to help you avoid common mistakes (e.g., mis‑measuring, uneven posts).
How to Get Started with Your DIY Pool Fence
Start by measuring your pool perimeter and any existing barriers.
Check your local code: height, gate specs, clearance, legacy barriers.
Order your kit, review the online installation guide, and the tools list.
Install posts, stretch mesh, install gate hardware, and test self‑closing/latching gate.
Inspect your work. Walk around the pool, test gate behavior, and look for any gaps or weak points.
Why DIY Can Be a Smart, Safe Choice
DIY pool fence kits have emerged as a trusted option, not just for budget‑conscious homeowners but for anyone who wants control, customization, and proven safety. When you choose a kit that meets code, offers detailed support, and matches your pool layout, you can feel confident in your barrier and your decision.
If you’re ready to explore DIY today, All‑Safe offers removable mesh pool fence kits and a full line of replacement parts designed for capable homeowners. For nets and covers, professional installation ensures the highest level of safety and performance. Your pool should bring joy, and your barrier should bring peace of mind.
When your backyard is used for playtime, parties, and pets, pool safety gets more complicated. Learn how to create a safer multi-use backyard with the right pool fence layout, smart traffic flow, and layered safety features.
Building a new pool or planning a major backyard remodel is the best time to think through pool fence placement. Learn how to plan your fence early so your design stays safe, code-conscious, and easy to use for your family.
Listing your home or guest house with a pool can boost bookings, but it also raises your responsibility. Learn how short‑term rental hosts can use pool fences, clear rules, and simple routines to keep guests safer and reduce risk.