Pool Area Maintenance Tasks You Shouldn’t Skip
Even diligent pool owners miss key maintenance steps. Use this checklist to catch commonly forgotten tasks and keep your pool area safer and more efficient year-round.

It’s almost time to open your pool up for the spring, and that means knowing how to clean the pool cover that protected it from freezing temperatures and store it safely until fall. Winter swimming pool safety covers are easy to clean, and pool cover storage can be a snap, but only if you do the job right. Improper cleaning and storage can damage your cover, leading to earlier-than-expected repair or replacement costs while leaving your pool at a heightened risk of damage. We’re ready to help you save money and create a safer swimming pool by walking you through the proper cleaning and storage techniques.

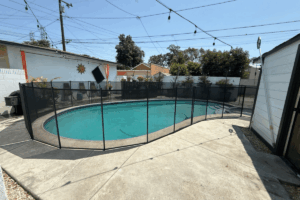
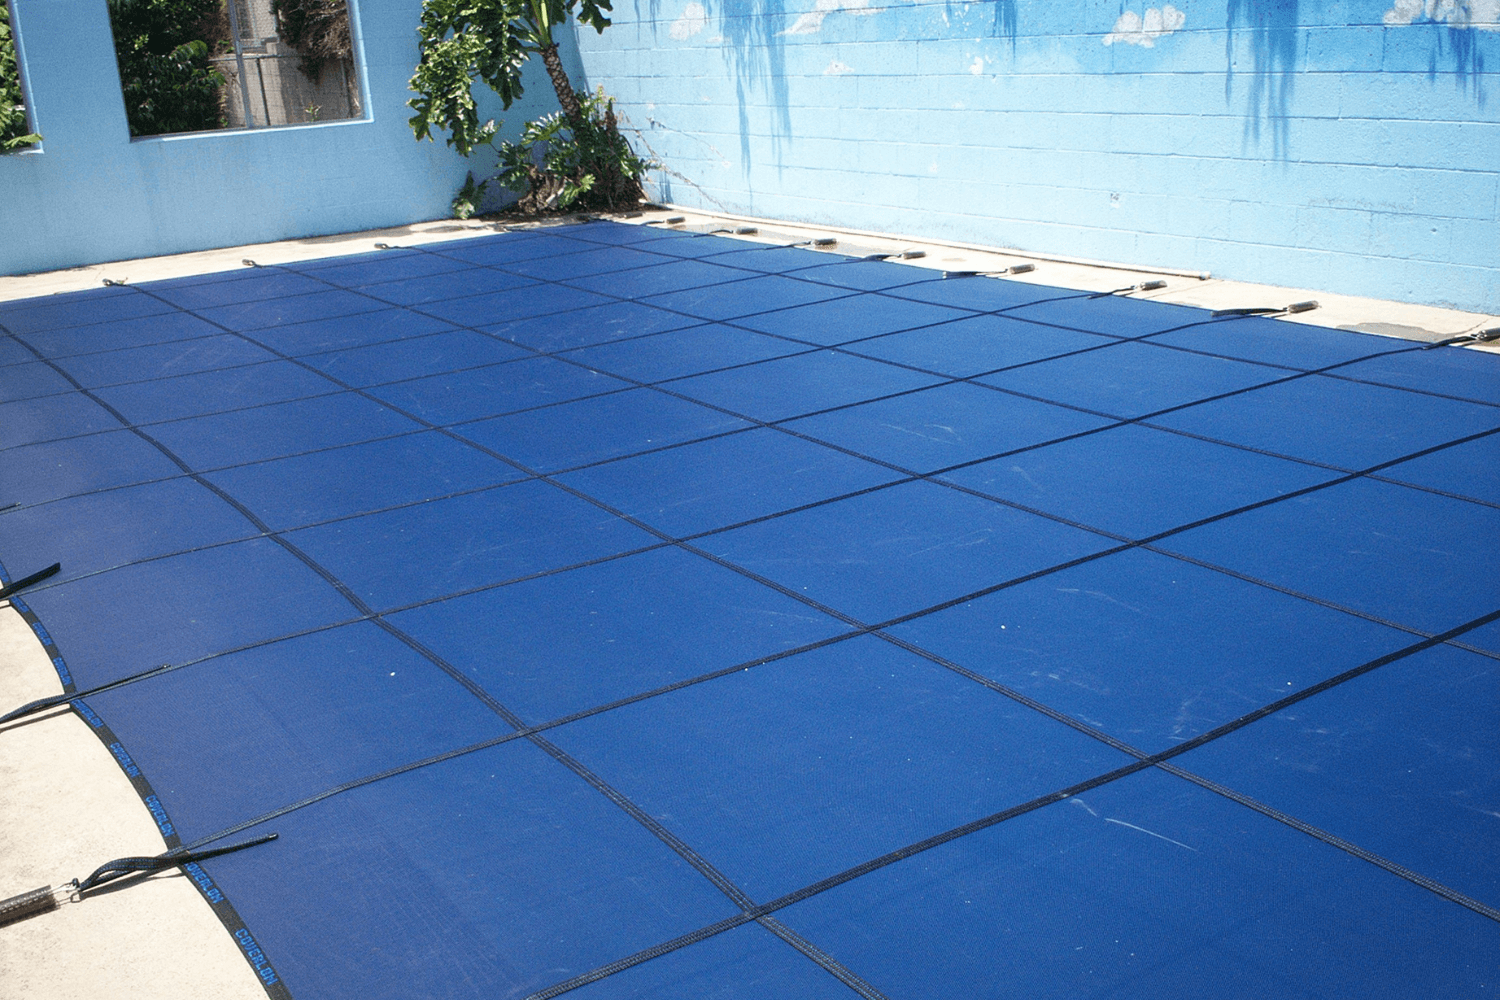
Your winter pool cover is intentionally engineered for use over the winter months to help shield your pool from freezing temperatures that can damage its shell, tiles, or other structures. Trying to use it as a year-round pool cover is inconvenient and may subject it to more wear and increased risk of damage. Swimming pool safety covers for swim season use are lighter weight and installed quickly and easily, while pool net leaf covers are a user-friendly option for preventing leaves and other debris from contaminating your pool during warmer months.
In addition to better pool protection options being available when the pool will be used frequently, knowing how to clean a pool cover, inspect it for damage, and safely store it ensures it’s ready to go when temperatures drop again. This gives you the whole swim season to make repairs, plan for a replacement, or just enjoy your pool knowing your cover is maintained and safe. It’s added peace of mind for your pool and pocketbook.
While we’re focusing on cleaning winter pool covers and their storage, these handy tips will help you come fall when it’s time to clean and store your swimming pool safety net or swimming pool safety cover.
Use a broom, brush, or blower to clear debris from your pool cover before attempting to remove it. This ensures that as little dirt or culminating material falls into the pool as possible. For safety winter pool covers, sweeping debris to the edge for removal is easy and straightforward. For non-safety covers, use a device that extends to move the material to the edge of the cover where you can safely reach it.
Carefully uninstall your cover. Keep it from dipping into the pool because even with large debris removed, it is still covered with a layer of dust and detritus. Pull it over to the side of the pool or into the yard, where you can stretch it out as flat as possible. Choose an area free of rocks, sticks, or landscaping that may puncture or rip your pool cover.
A gentle detergent, a soft brush, and plenty of elbow grease are how to clean your pool cover effectively before storage. Diluted Dawn dish detergent provides the gentle cleansing effect needed to loosen dirt without harming the pool cover fabric. Scrub one side, and then turn the pool cover over to scrub the other. Rinse both sides with plenty of water to remove the detergent and any remaining dirt.
Before putting your pool cover into storage, it needs to dry completely. Wet pool covers can lead to mold, mildew, or rot. Stretched flat on a sunny day–even if temperatures are still a little chilly–each side can dry in under an hour. Just be sure to weight your pool cover down with something unlikely to rip it if there is any chance of wind.
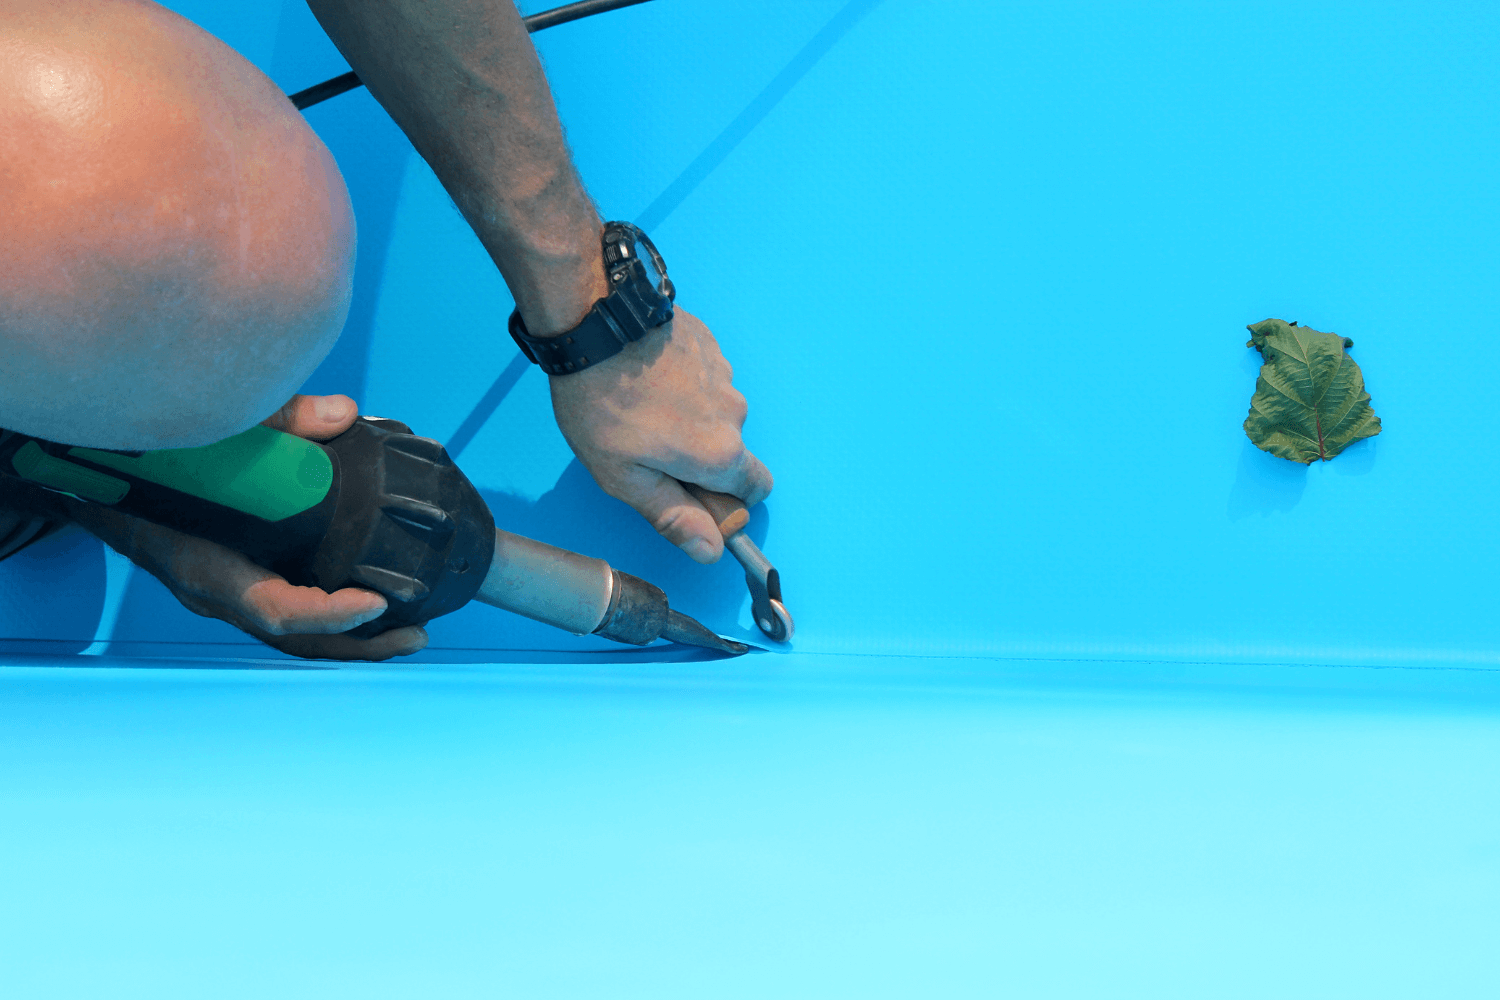
After it’s clean and dry, go over the cover inch-by-inch, looking for signs of damage. Pay close attention to seams, borders, and straps. Remove anchor springs and clips as you go in preparation for pool cover storage, checking their function and condition in the process. You want to make sure you identify any issues before they put your loved ones at risk.
If possible, repair your pool cover before storing it. After all, it’s already out, accessible, and clean. If that’s not practically possible, continue with the storage instructions and order your OEM pool cover parts and accessories. Once they arrive, the cover can be repaired and returned to storage.
Fan-folding your pool cover is how to keep it clean and ensure moisture isn’t trapped during storage. Starting along one long edge of the cover, fold approximately 18” over across the full length of the side. Gripping the two layers together tightly, pull them over, creating another 18” fold. Continue the process until you have a long 18” wide folded pool cover. This can now be folded by taking one edge to the middle and then the other edge to the middle. One more fold at the middle should give you a pool cover that’s folded tightly enough for pool cover storage but also open across its full length on each side to prevent the formation of mold or mildew.
Store your pool cover in a dedicated pool cover storage bag that can be suspended in a shed or garage to prevent damage from rodents and pests. Alternatively, plastic tubs or trash cans with secure lids can be used to store your pool cover on the ground or on any shelf that has the size and appropriate weight capacity.
If you need help installing or fixing your swimming pool safety cover, winter safety cover, swimming pool safety net, or any other pool cover, your local independent pool safety contractor is your go-to expert. They’re dedicated to keeping the pools in your community safe. Contact them for a consultation or to schedule a service visit. Keep your pool cover clean and safe with All-Safe Pool.
Even diligent pool owners miss key maintenance steps. Use this checklist to catch commonly forgotten tasks and keep your pool area safer and more efficient year-round.

Learn the most common pool winterizing mistakes and how to avoid them for a safer, cleaner backyard during the off-season.
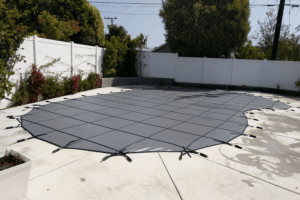
Mesh pool covers offer reliable winter protection by keeping out debris and preventing accidents. Learn why they’re a smart choice for safety and peace of mind.