Draining a pool may not be an everyday occurrence you face as a pool owner, but it’s an important process. Knowing how to drain a pool safely and effectively will get the process over with faster, help you keep your pool safer throughout the process, and limit your risk of damaging your pool or its equipment. It can be a lot of work and preparation, but in the end, doing the job will save you time, money, and grief. We’ll walk you through the steps so you can keep your property and loved ones protected the whole way.
Why Would I Need to Drain the Pool
Unless you’re a truly avid skateboarder, you probably didn’t stop to think about emptying out your pool. Instead, you were more concerned with swimming, entertaining friends, or just floating away the day–all of which rely on your backyard oasis being filled with water. Unfortunately, there are several key reasons you may need to know how to drain your pool.
Repair – When your pool or liner gets damaged, workers may need the pool drained in order to get to the area that needs to be repaired.
Deep Cleaning – Sure, you clean your pool regularly, but even with proper cleaning, you may need to drain the pool and give it an acid bath every five to ten years to remove buildup–especially if you’re in an area with poor water quality. It also may be necessary after an algae bloom leaves you with green water.
Complete Water Replacement – If you’re an applied chemistry master, you may have your pool’s chemical balance dialed in, but over time those chemicals can build up and begin to turn into solid particulate that doesn’t protect your water. When your total dissolved solids (TDS) levels get too high, your upkeep costs rise as you try to stay on target, eventually necessitating a complete change to restore your water condition to day zero.
Before Draining Your Pool
Draining a pool isn’t as straightforward as hooking a hose to your pump’s drain plug and letting her rip. That’s a good way to overheat your pump motor, earn a citation from your municipal authorities, and ensure your pool needs more repair after the process than it required when you started researching how to drain a pool in the first place. The first thing you want to do is find out from your local government the requirements for draining a pool legally.
Swimming pools are filled with a large volume of chemically treated water that requires special handling for public safety. Some jurisdictions will allow you to drain the pool into storm runoff drains that line city streets, while others require you to drain it into your sewer cleanout so the pool water is routed to the wastewater treatment plant. You definitely don’t want to let it run out on the ground near your house or your neighbors because it can easily flood the soil, potentially damaging landscaping and foundations while putting your pool at a greater risk. Some jurisdictions also have set times during which you can drain a pool to avoid over-taxing your local sewer system or may require you to neutralize the chlorine in your pool water before draining it.
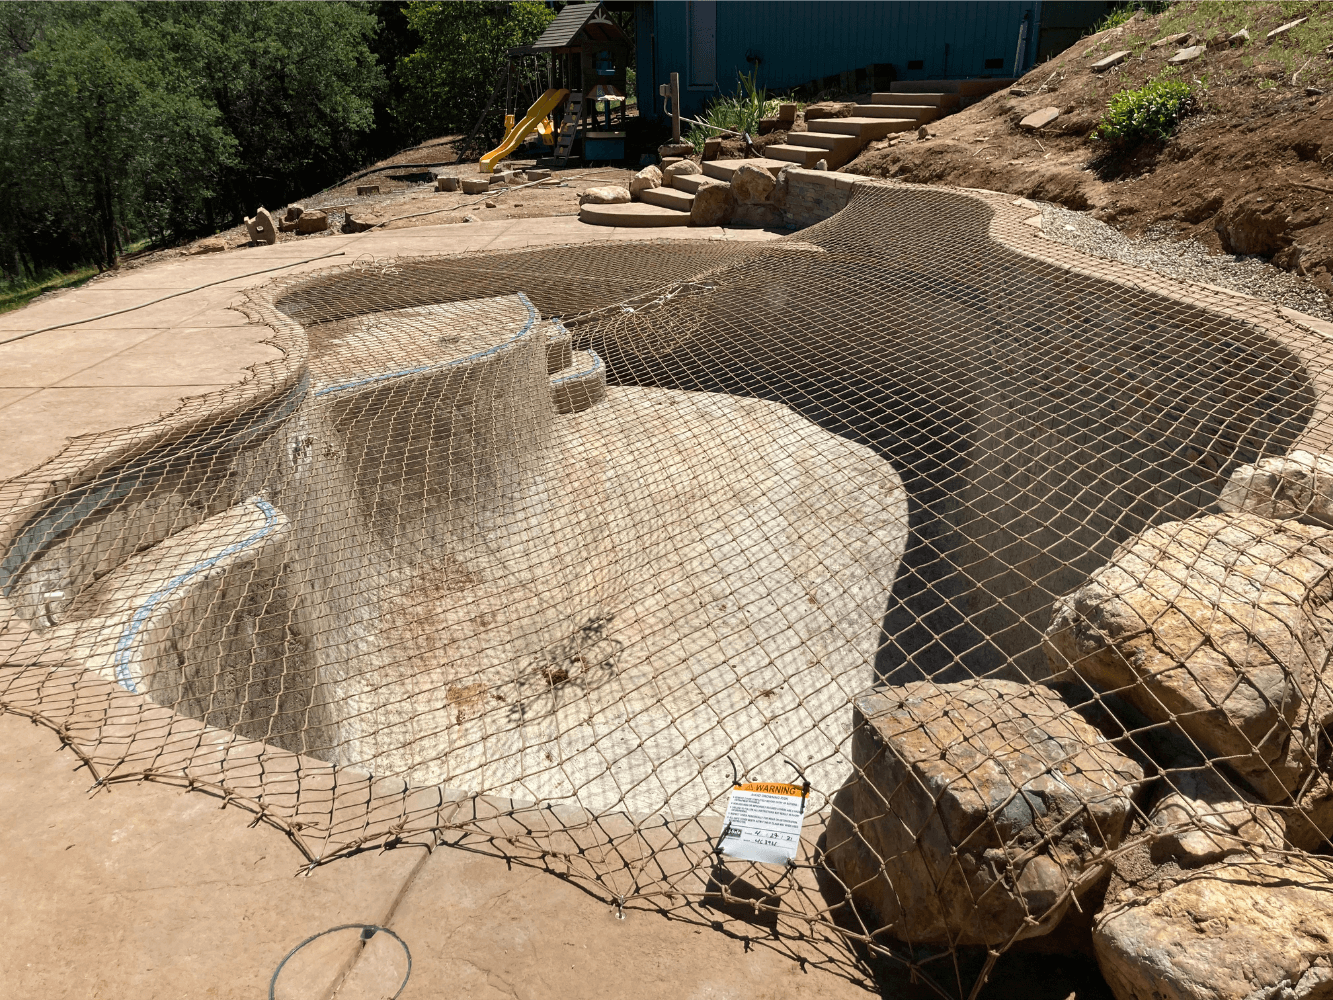
Next, you’ll want to take the weather into account. Most pools and pool liners aren’t meant to be exposed to the elements. Hail, debris, and even simple UV rays from the sun can damage the plaster or liner of an empty swimming pool. Finally, draining a pool right after a long period of sustained rain can be risky. Water-saturated soil is incredibly heavy and drawn downward by gravity. Without the counterweight of water that usually fills a pool, this soil can force the pool up and out of the ground in a condition known as “pool pop,” likely damaging your pool further and requiring re-excavation and plenty of repair work to restore it to its proper place.
Lastly, you’ll want to gather your tools. The last thing you want is to get most of the way finished and find out you’re missing something vital to the process, leaving your pool vulnerable even longer. Start by buying or renting a submersible sump pump that has a cord long enough to reach the nearest GCFI outlet from the bottom of the pool. You’ll also need a hose long enough to reach your destination drain from the submerged pump. You’ll be removing and replacing your in-ground pool’s hydrostatic plugs, so be sure you have extra on hand as well as the hammer, chisel, and pliers that may be needed to remove the old ones. Since the pool will be empty anyway, it’s a great time to make sure you have the cleaning tools on hand for a deep clean before refilling your pool.
How to Drain Your Pool
Turn off Your Pool Equipment and Accessories – Heaters, filters, and pumps designed to keep your pool clean and comfortable or to run features often rely on the water moving through them to avoid overheating. Make sure to cut off, unplug, or lock out all powered equipment that’s not required for draining a pool.
Position Your Sump Pump and Hose – The pump should be submerged at the deepest point of the pool where it can still reach a GCFI outlet. To avoid an increased risk of electric shock, never use extension cords for any powered pool equipment. The hose should be attached to the pump, possibly by an adapter, and the far end should be positioned and secured to drain the water into the appropriate collection area.
Start Pumping – Plug the pump in and ensure water is flowing properly through the hose and into its drainage entry point. Check on the water periodically as it drains. If you’re repairing damage that doesn’t require the pool to be fully drained, this lets you avoid wasting as little water as possible, but it also lets you make sure you’re ready to act when the sump flow begins to drop as the pool empties.
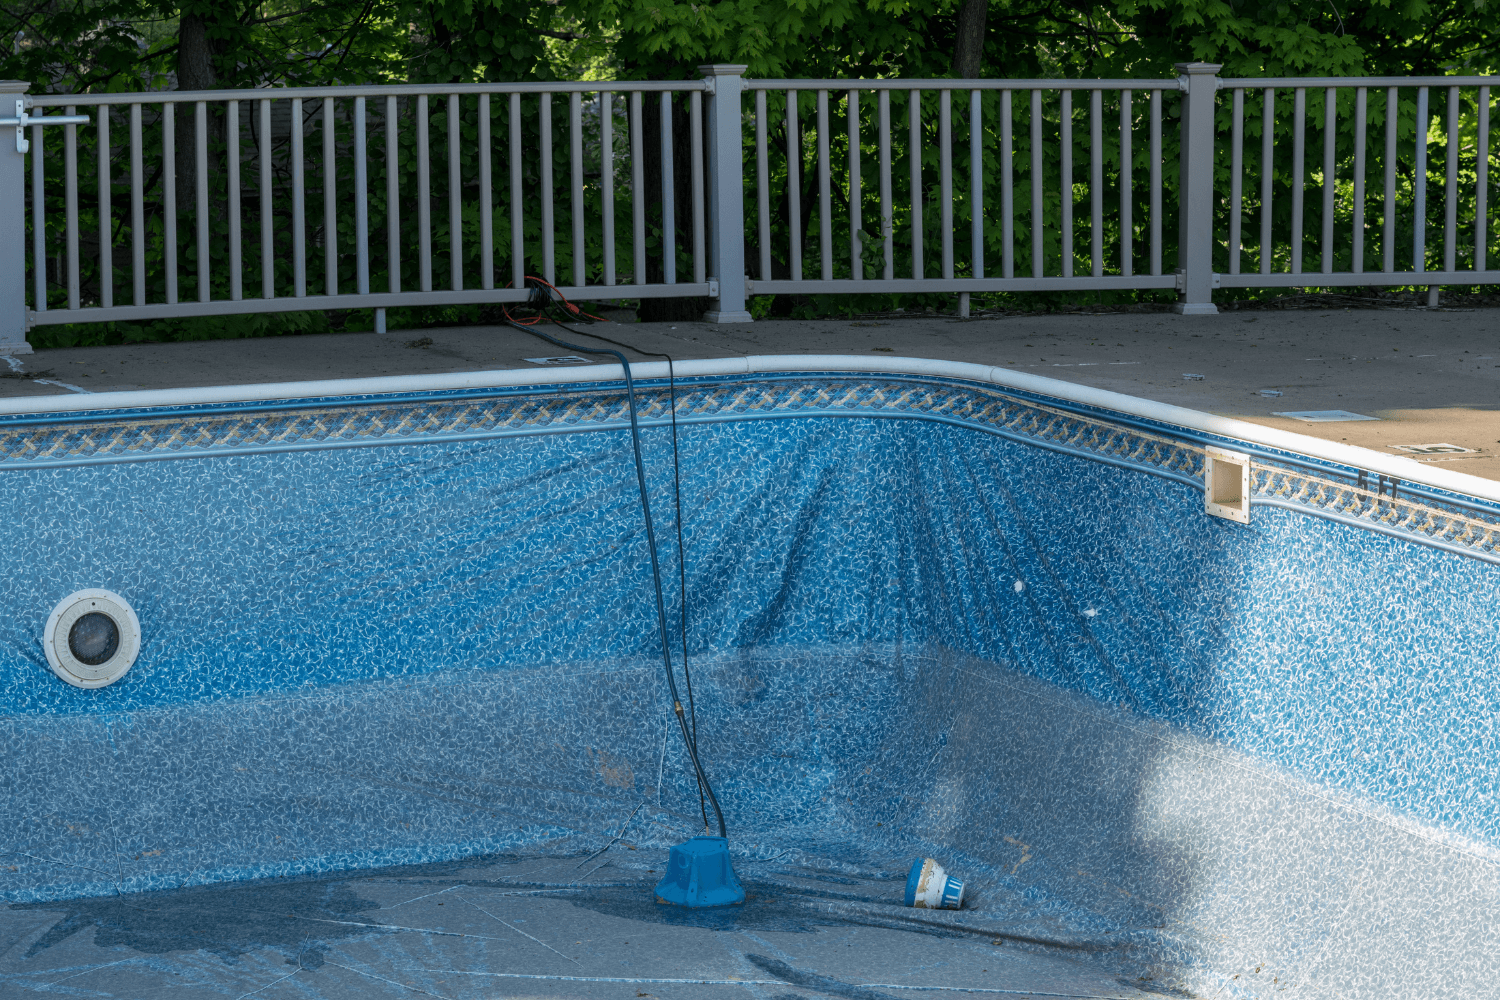
Remove the Hydrostatic Plugs – Use the hammer, chisel, and pliers to remove the plugs in the bottom of your pool, starting with the plug at the lowest point, if possible. This will allow the water from the surrounding soil to flow into the pool, which may seem counterproductive but helps keep your pool safer. This flow can be pretty forceful at first, so be prepared and don’t panic. This is how to drain a pool while relieving the pressure that causes pool pop. Your sump will work on draining it back out, and the now-lighter soil won’t start lifting your pool out of the ground.
Get to Work – Whether it’s time for repair work, deep cleaning, or all of the above, make sure you keep your pool covered and protected from the sun as much as possible and get it refilled as soon as you can.
Keeping Safety First
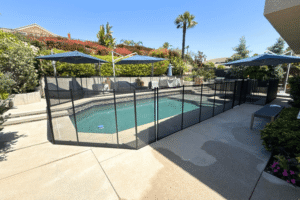
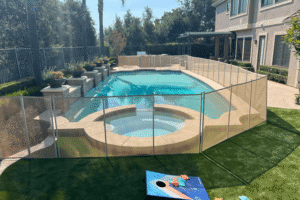
Even though you may be draining your pool, you still need to make safety a priority. An accidental drowning can happen in as little as two inches of water. Your pool safety barriers are still effective forms of protection, even as the water level falls. Hoses can be routed over your removable mesh pool fence until you’re able to supervise the last of the water being drained with a gate open. While the holes in our pool safety nets are too small for a child to slip through, at 3½”, a hose will slip through easily, allowing you to pump out your pool water without compromising safety. Even a pool cover will allow a hose to be passed under its edge in most circumstances.
Get Your Free Pool Safety Estimate
Your local independent All-Safe Pool professional is ready to help you protect your pool. They’ll talk to you about your pool lifestyle, take measurements, and give you a no-obligation written estimate that lays out your pool protection options. Protect your friends, family, and pets with safety barriers from All-Safe Pool today.
A pool can be a selling point or a concern. Learn what buyers notice first, which safety details build confidence, and how to prepare your pool area so it feels secure, well managed, and ready for showings.
HOA approval can delay pool fence projects. This guide explains what to include in your request, how to avoid common rejections, and how to move forward faster once approved.
A pool fence may not always lower premiums, but it can influence coverage requirements and reduce liability risk. Learn what insurers typically look for and what to ask your agent before making safety upgrades.