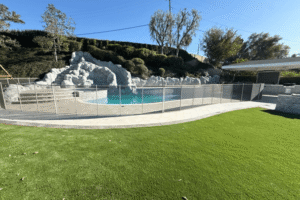
Before the pool parties, cannonballs, and long summer evenings begin, there’s one essential task every pool owner should check off: the pool fence inspection.
It’s more than just a quick once-over; it’s your chance to make sure your barrier is doing its job to protect kids, pets, and guests. According to the U.S. Consumer Product Safety Commission, a significant number of home pool-related child drownings occur due to inadequate or faulty fencing. Most of these tragedies are preventable with a barrier that meets code and is regularly maintained.
Over time, even high-quality fences can suffer from wear and tear. Harsh sunlight can fade and weaken mesh, moisture can corrode metal parts, and ground movement or frequent gate use can loosen critical components. That’s why setting aside time each spring for a detailed inspection is one of the smartest things a pool owner can do.
How to Prepare for Your Pool Fence Inspection
Before you begin, gather a few basic tools that will help you assess and address any minor issues right away:
Tape measure
Phillips-head screwdriver
Stainless steel replacement screws
Silicone spray lubricant
Spirit level or bubble level
Smartphone or camera for documenting conditions
Having these items on hand means you won’t have to stop halfway through to run back to the garage or hardware store. It also ensures you can make small fixes immediately, before they become big problems.
Your Step-by-Step Pool Fence Compliance Checklist
Use the following pool fence compliance checklist to guide your inspection. These checks are based on ASTM and local safety standards:
Fence Height All sections of your fence should stand at least 48 inches tall. Anything lower could make it easier for a child to climb over or bypass the barrier.
Bottom Gap Clearance Check that the space beneath each section of the fence doesn’t exceed 2 inches from the ground. Larger gaps could allow pets or small children to slip underneath.
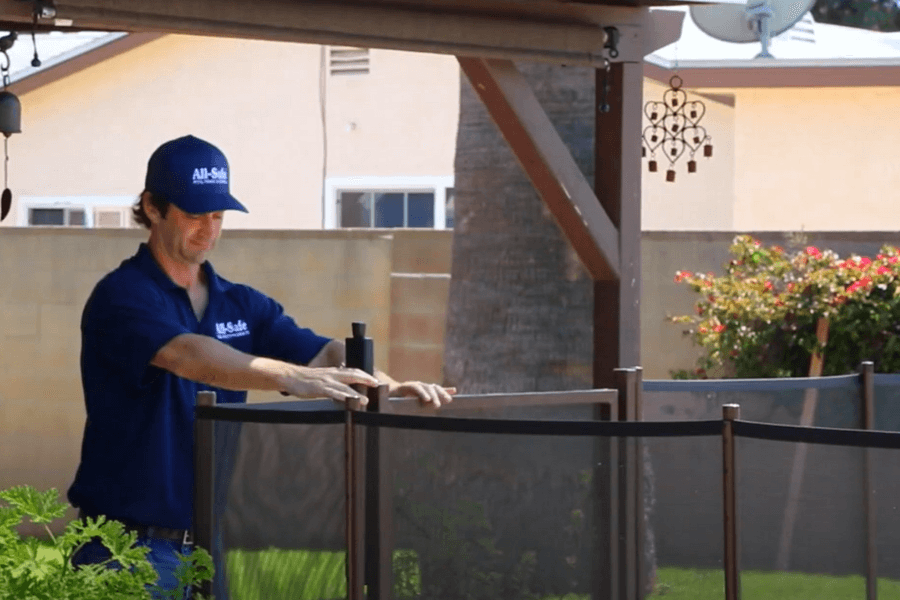
Pole Stability Gently shake each vertical pole. If it shifts more than half an inch, the pole sleeves may be loose or the surrounding material has eroded, reducing its stability.
Mesh Integrity Inspect the entire mesh surface for frayed areas, holes, UV fading, or brittleness. Mesh that has become stiff, brittle, or discolored may be compromised and should be replaced.
Edge Moldings and Fasteners The edges of the mesh should be tightly secured by moldings or fasteners that run the full length of each section. Look for missing or loose pieces.
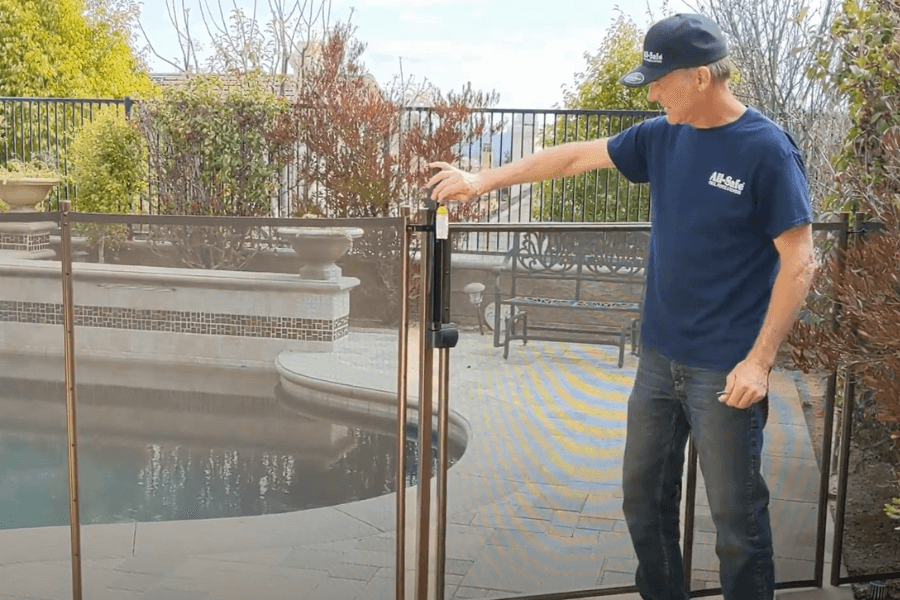
Gate Functionality Open the gate a few inches and let go. It should swing closed and latch automatically without needing a push. This is a key test of safety performance.
Latch Height and Security The gate latch must be located at least 54 inches above the ground to prevent access by young children. Also, check that the latch mechanism is tight and not corroded.
Screw and Hardware Check Look at every screw and bolt. Replace any that are rusted, stripped, or missing. Use stainless steel hardware to prevent future corrosion.
Lubricate Hinges and Moving Parts A quick spray of silicone lubricant will keep hinges working smoothly and help prevent squeaking, sticking, or jamming.
Document Fence Condition Take a photo of each fence section and gate. This creates a visual record you can refer to next year, or share with a professional if you spot problems you’re not sure how to fix.
What to Do If You Find an Issue
Some problems, like a small tear or a loose screw, are easy to fix on the spot. Others, such as multiple leaning poles, widespread rust, or a gate that won’t latch properly, could indicate deeper issues with your installation or the materials themselves.
If you’re unsure about the severity of what you’ve found, don’t guess. Reach out to the team at All-Safe for a professional evaluation. We offer DIY solutions and work with a network of local resellers who have the tools and training to restore your pool barrier to full compliance.
Make Pool Safety a Habit, Not Just a Project
While your annual pool fence inspection is a major step in ensuring safety, small routines throughout the season can go a long way:
After storms, do a quick walk-around to check for debris or shifted panels.
Keep bushes and trees trimmed to prevent branches from leaning against the fence.
Brush off algae or buildup at the base of the fence monthly to prevent slippage or corrosion.
Reinforce gate habits with family and guests to ensure it’s always latched when the pool is unattended.
These small efforts help extend the life of your fence and maintain its effectiveness between major inspections.
Know When to Call in the Pros
Even if you’re a handy homeowner, there are times when a trained eye makes all the difference. If your gate drags, poles lean noticeably, or sections feel unstable, a professional inspection may be necessary. All-Safe’s technicians come equipped with tools that allow us to fix issues quickly and ensure full compliance with ASTM safety standards.
Whether you’re concerned about a particular part of your fence or simply want peace of mind before summer, we’re here to help.
Start Your Inspection This Weekend
A safer pool season starts with a fence that’s code-compliant and well-maintained. Use this pool fence compliance checklist to guide your inspection, fix what you can, and call in the experts if you need backup.Still have questions? Reach out to the All-Safe team anytime. We’re here to support you and your family every step of the way.
Before installing a removable pool fence, confirm your surface is stable. This guide covers what to know about pavers, concrete, and wood decking, plus planning tips that help your fence and gate perform reliably long term.
Need a flexible pool barrier for guests, projects, or short-term safety? This guide explains when temporary pool fencing works best and what to consider when choosing a removable pool fence that stays secure in daily use.
Supervision matters, but it is not a system. Learn why a pool fence helps prevent unsupervised access, where supervision breaks down in real life, and what to do next once you decide a barrier is right for your home.