

Our patented Quick Lock Latch is redefining the industry standard—this revolutionary solution makes your fence safer, and easier to use, and it’s only available from All-Safe!
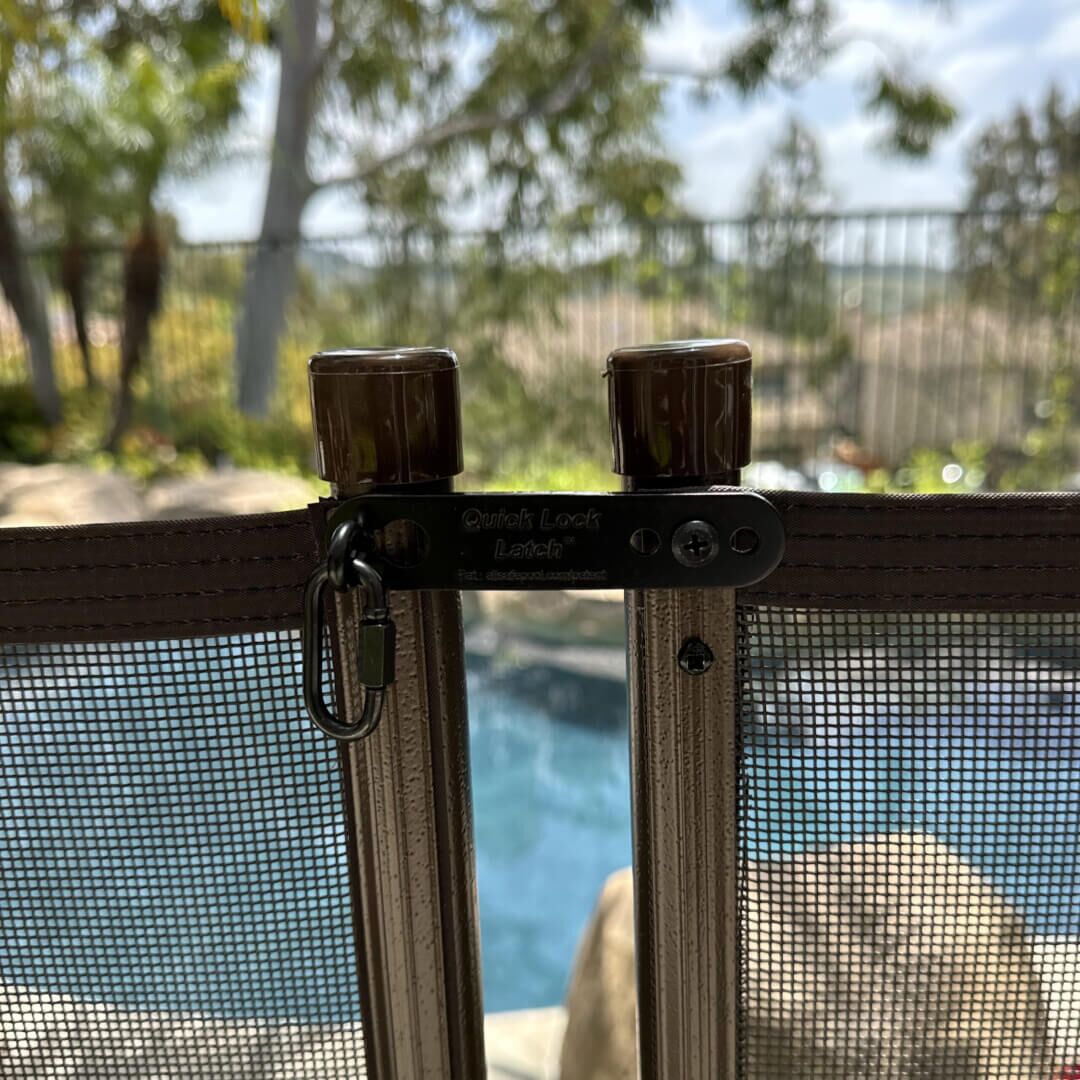
Effortlessly connecting fence sections. Designed to replace cumbersome spring-loaded latches, the Quick Lock Latch offers fast, easy, and secure connectivity with adjustable tension settings for a safer and sleeker installation.
$8.02
In stock
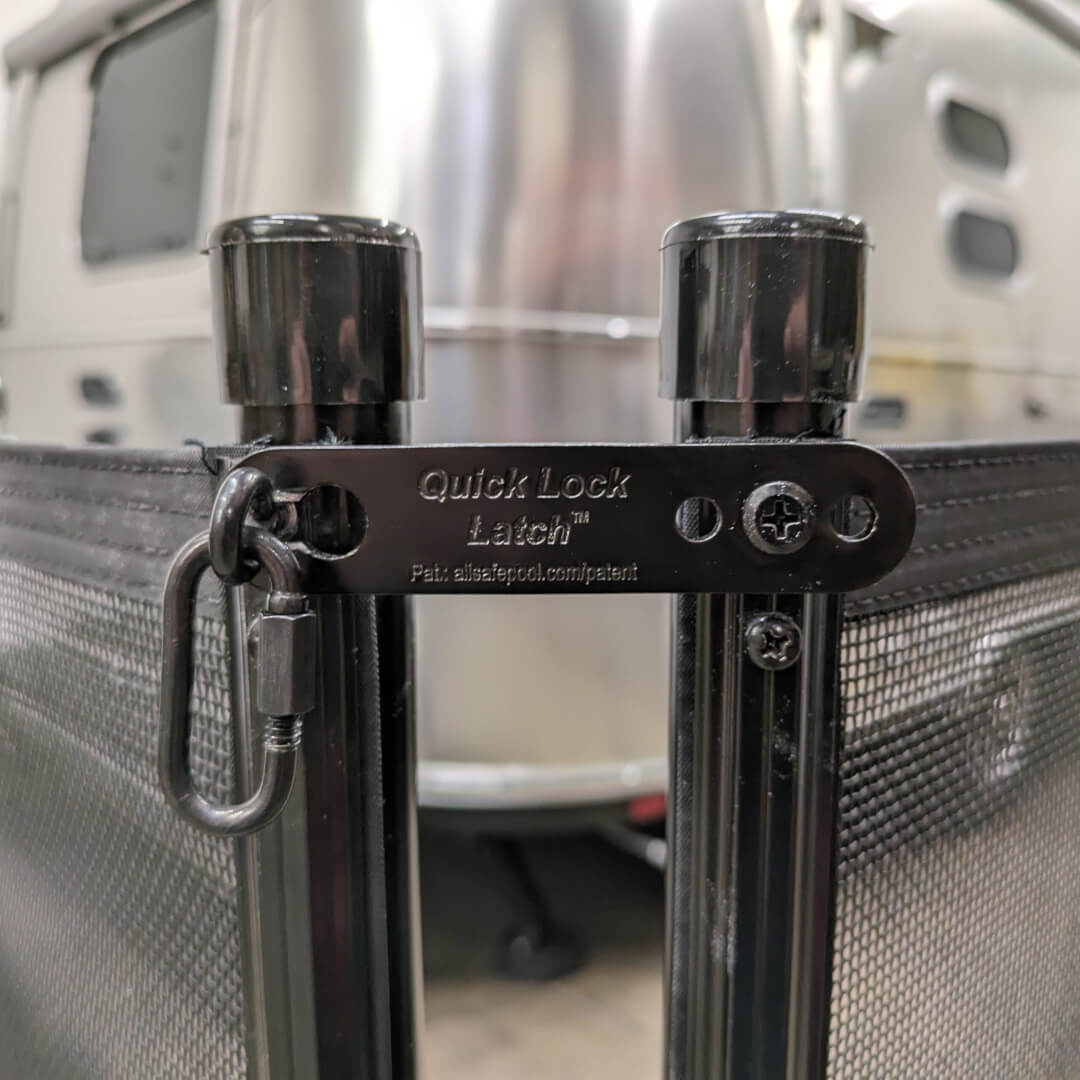
The Quick Lock Latch addresses the frustration commonly associated with traditional spring-loaded safety latches used in mesh pool fences. Unlike its predecessor, which often complicates the process of connecting or disconnecting fence sections due to rotational issues and cover difficulties, the Quick Lock Latch simplifies this task to a few intuitive steps.
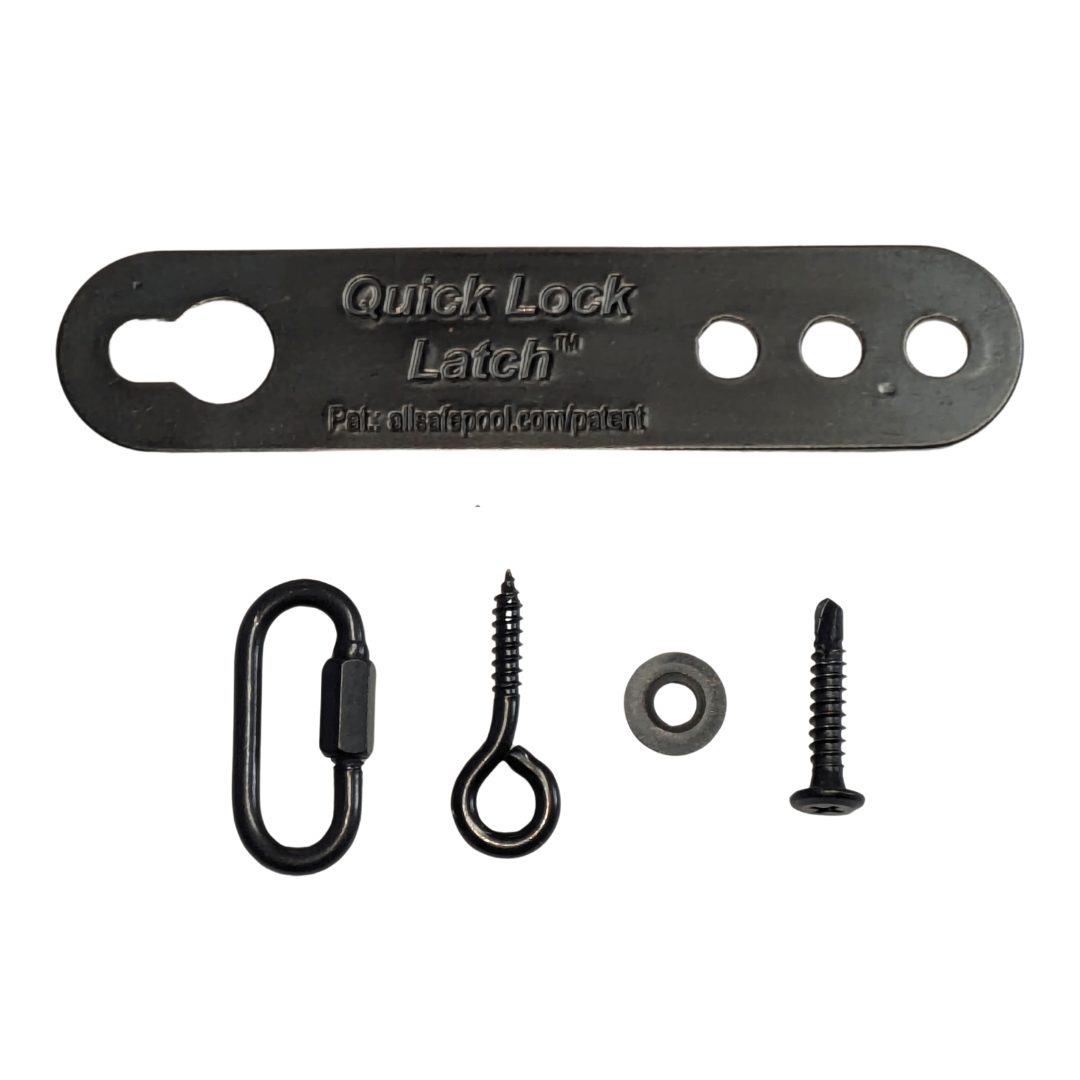
This innovative latch system comprises several components: a Quick Lock Latch Bracket, Quick Link, Eye Screw, Spacer, and Screw, all crafted from durable black anodized aluminum for both strength and aesthetic appeal.
Prepare: Identify the two fence poles you want to connect.
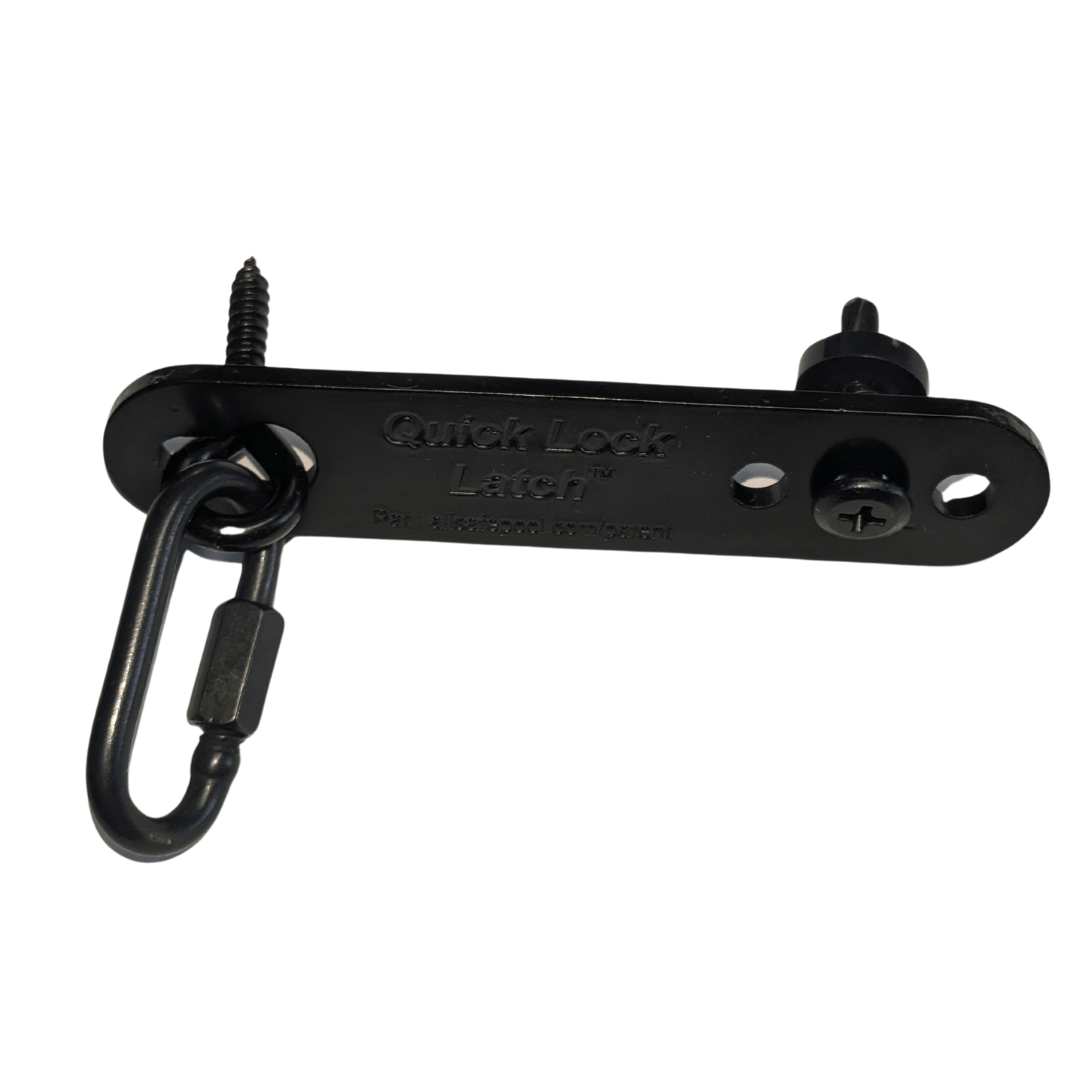
Attach Bracket: Remove the top screw from the right-side pole. Insert the larger screw through the middle hole of the Quick Lock Latch and into the pole, placing the spacer in between.
Install Eye Screw: Insert and tighten the eye screw into the top hole of the left-side pole.
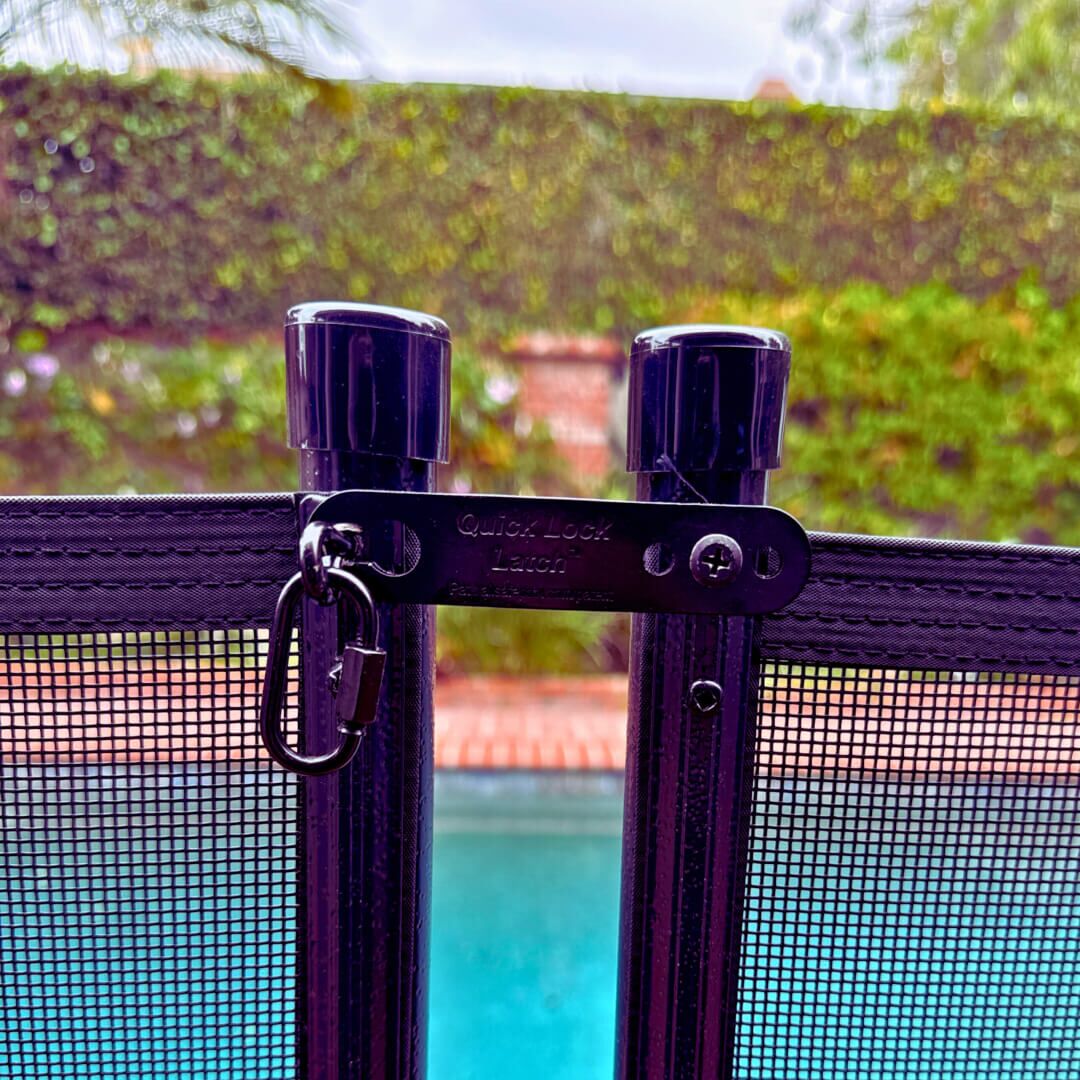
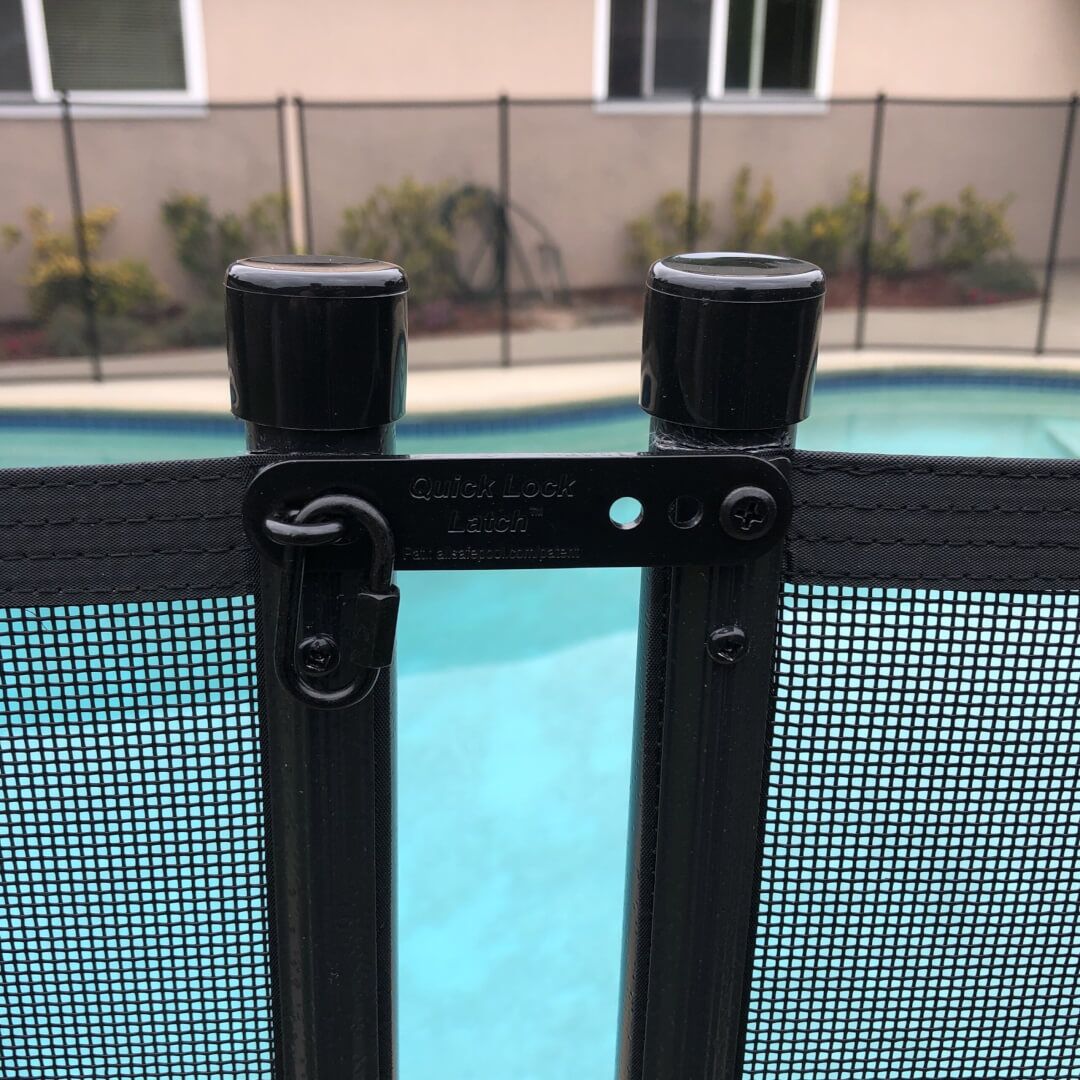
Latch Closed: Hook the eye screw into the keyhole of the latch bracket and secure with the quick link.
Adjustable Tension: The Quick Lock Latch offers the flexibility of three tension levels. By relocating the screw from the middle hole to either the right or left, users can fine-tune the tension of the fence at each connection point. This feature not only enhances safety but also ensures a tighter and more visually appealing installation.
Fine-tune the connection using one of the three mounting holes:
Compatibility and Upgrades:
Existing pool fence installations can be easily upgraded to incorporate the Quick Lock Latch. Simply replace the existing spring-loaded latch while retaining the eye screw in place. Follow the standard installation procedure, adjusting tension as required using any of the three attachment holes.
Protected by U.S. Patent No. 12,360,088. All rights reserved.
To accurately determine the amount of fencing required for your project, first calculate the total perimeter that needs to be enclosed. Once you have this measurement in feet, consult the chart provided below for guidance. Each section of our fence spans 15 feet, so dividing your total perimeter by 15 will give you the number of sections needed.
If your plan includes the installation of a Self-Closing Gate, remember that each gate occupies a space of 3 feet. Therefore, you should subtract 3 feet from the total fencing length to accommodate the gate. This adjustment ensures that you purchase the correct amount of fencing material, avoiding unnecessary expenses and ensuring a seamless installation.
| Feet of Fence Needed | Fence Sections Needed |
|---|---|
| 1-15 | 1 |
| 16-30 | 2 |
| 31-45 | 3 |
| 46-60 | 4 |
| 61-75 | 5 |
| 76-90 | 6 |
| 91-105 | 7 |
| 106-120 | 8 |
| 121-135 | 9 |
| 136-150 | 10 |
| 151-165 | 11 |
| 166-180 | 12 |
| 181-195 | 13 |


Enter in your zip code to let us know where your pool is located.
Due to the many variations in monitors, phones, and browsers, color samples and product examples may appear different on different screens. Computers and mobile devices are not all calibrated equally and color reproduction on the Internet is not precise. The same is true for printed items such as brochures and other sales literature.
In addition, the colors of our products photograph differently under different lighting conditions. For example, photos taken in full sunlight will vary from photos taken on a cloudy or overcast day. Similarly, shadows from nearby objects can affect the color and transparency of our products. If a precise color or specific shade is important, please inspect the actual color of your product prior to installation.
Many of our products’ materials are not available through typical stores and vendors and therefore must be custom manufactured specifically for our use. In order to control costs and provide you with the best value possible, our raw materials are produced in large batches and can often take several months to receive. The colors of our materials can, and often do, vary slightly from batch to batch. Although we make every effort to minimize color variations, we cannot be responsible for these differences when they occur. If a precise color or specific shade is important, please inspect the actual color of your product prior to installation.
For example, we use the name “putty” to describe some of our products. Your idea of the color “putty” may be different than someone else’s idea of “putty”. In addition, products may have the same color name but may not be the exact same color. For example, we have different shades of “black”. Please do not order using color names as your only guide. If a precise color or specific shade is important, please inspect the actual color of your product prior to installation.
If it is important that your product be an exact color or shade, it is highly recommended that you inspect the actual product prior to its installation and address any concerns with your local independent installer. Most independent installers do not offer refunds or accept returns due to color variations.


