- Pool Fences
- Shop Online
- DIY Pool Fencing
- Pool Nets
- Pool Covers
- Resources
- About Us

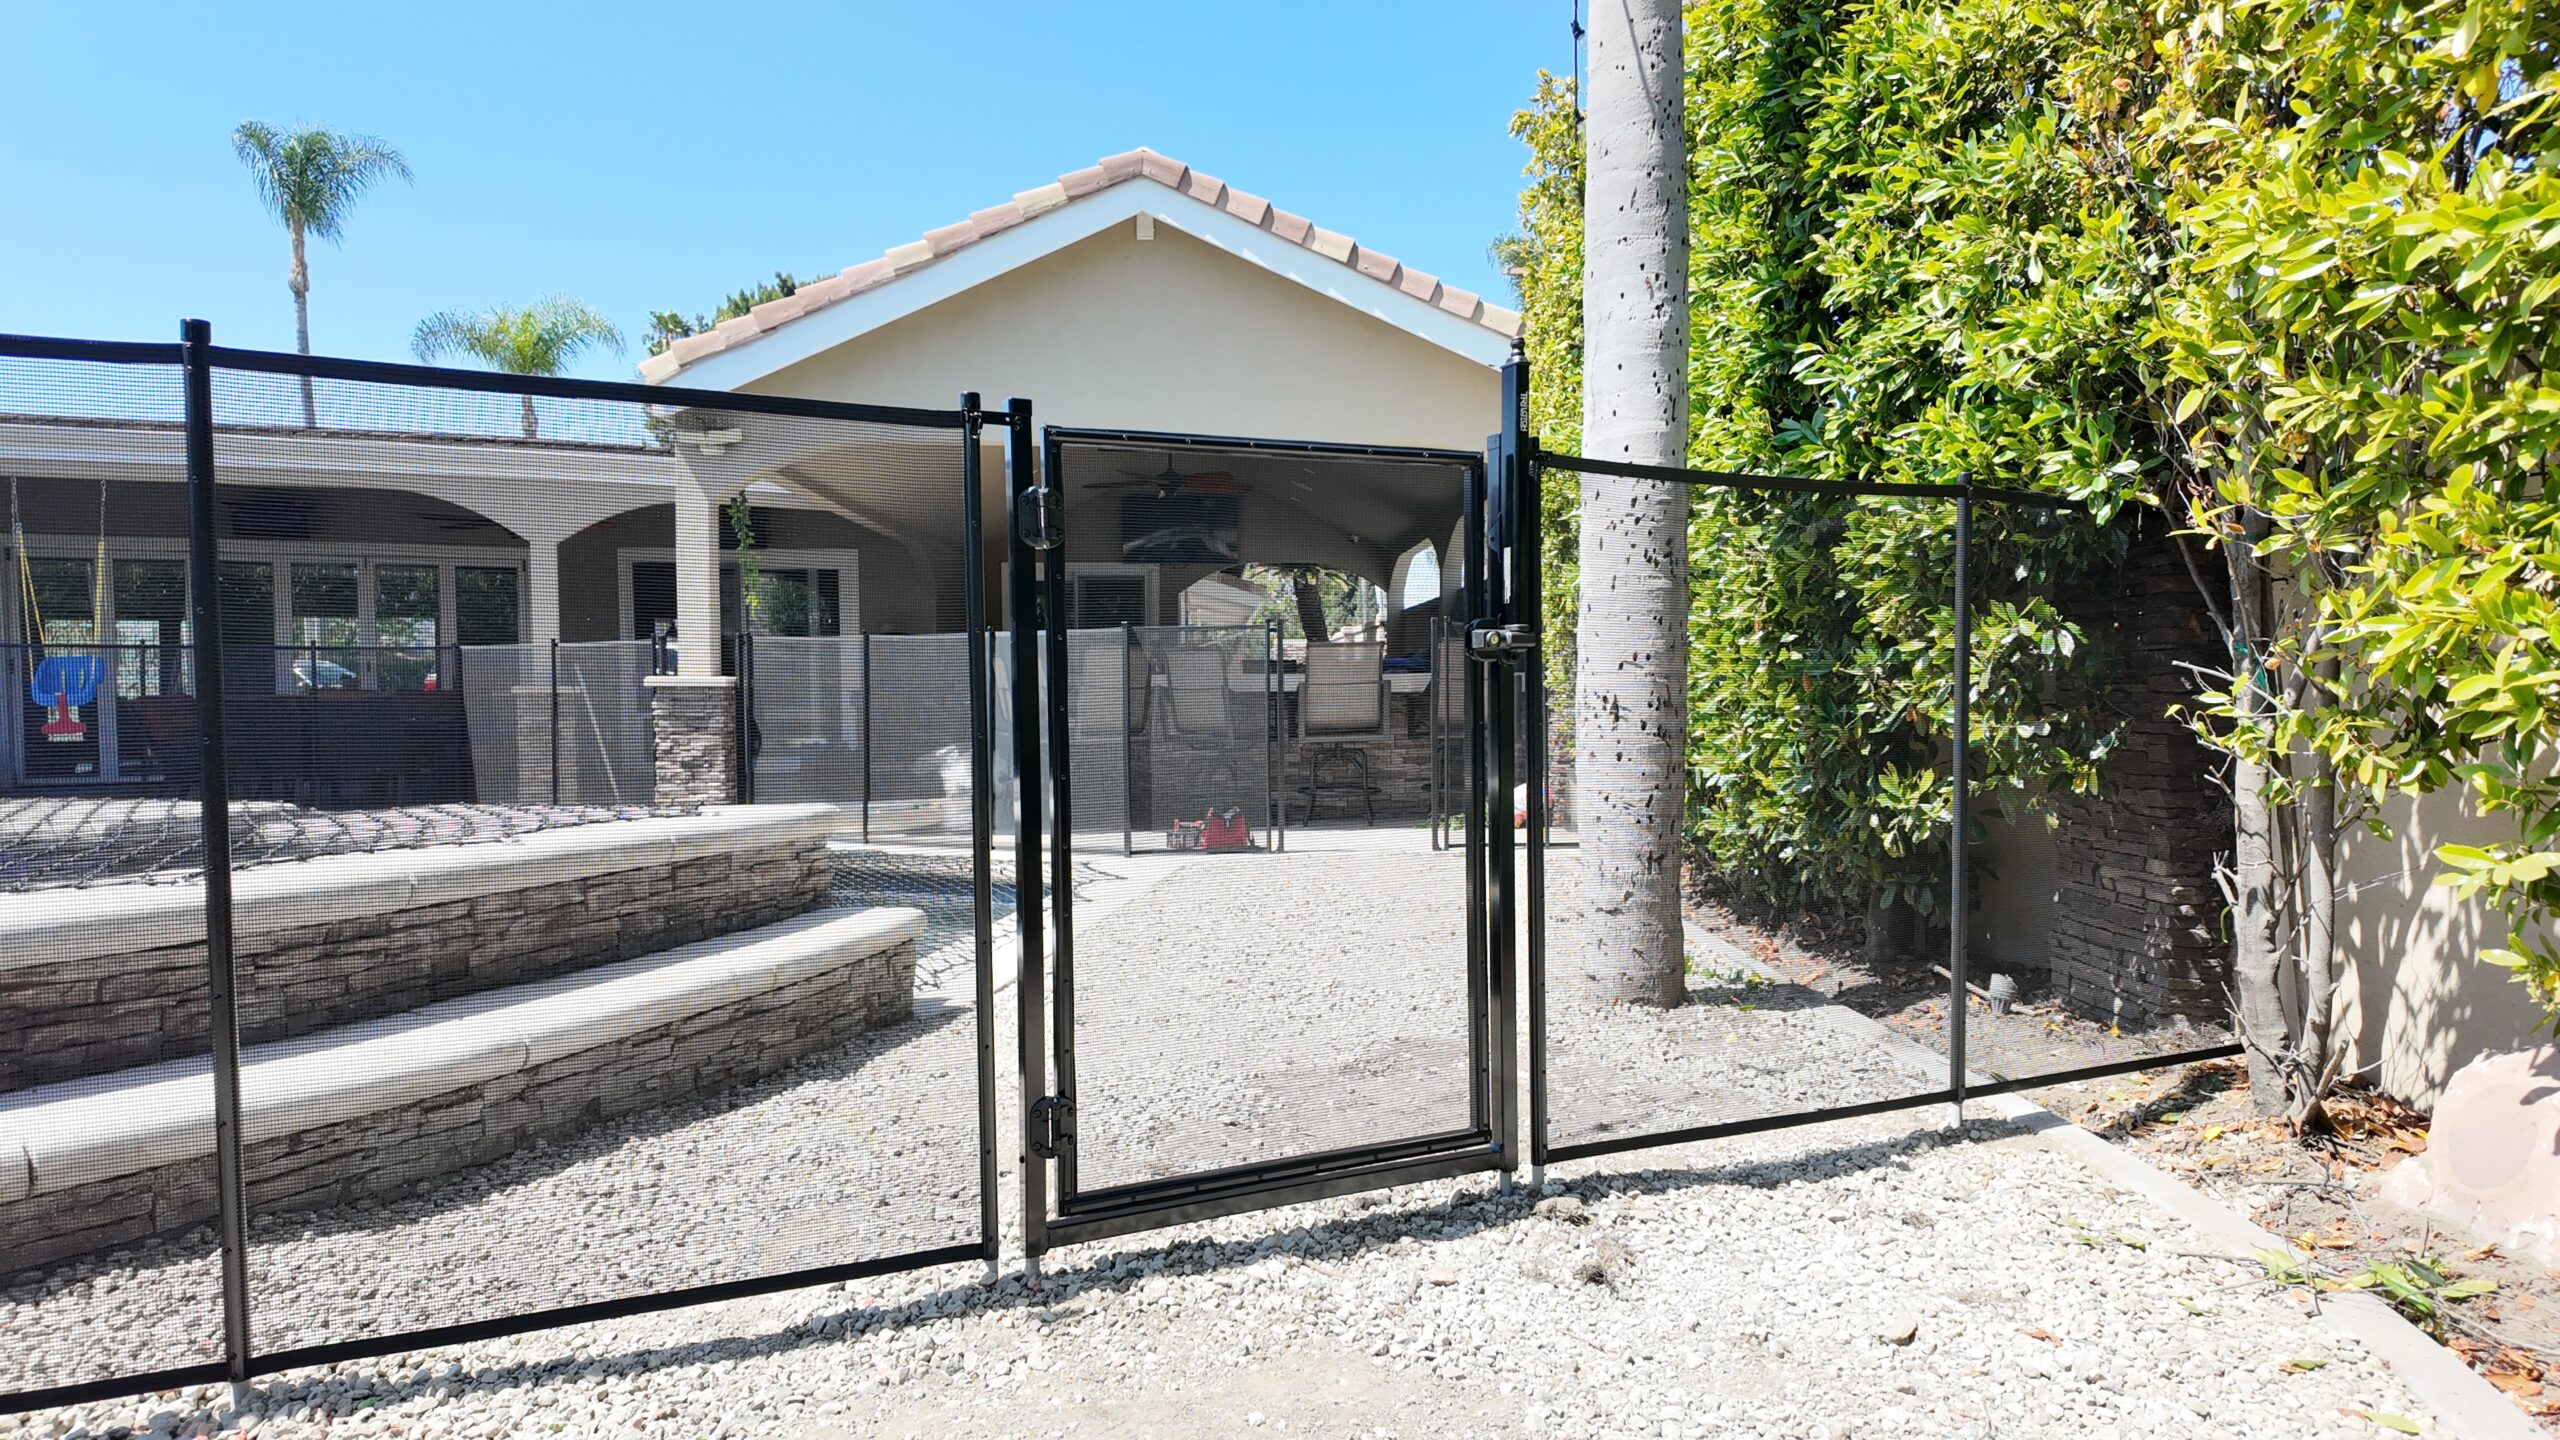
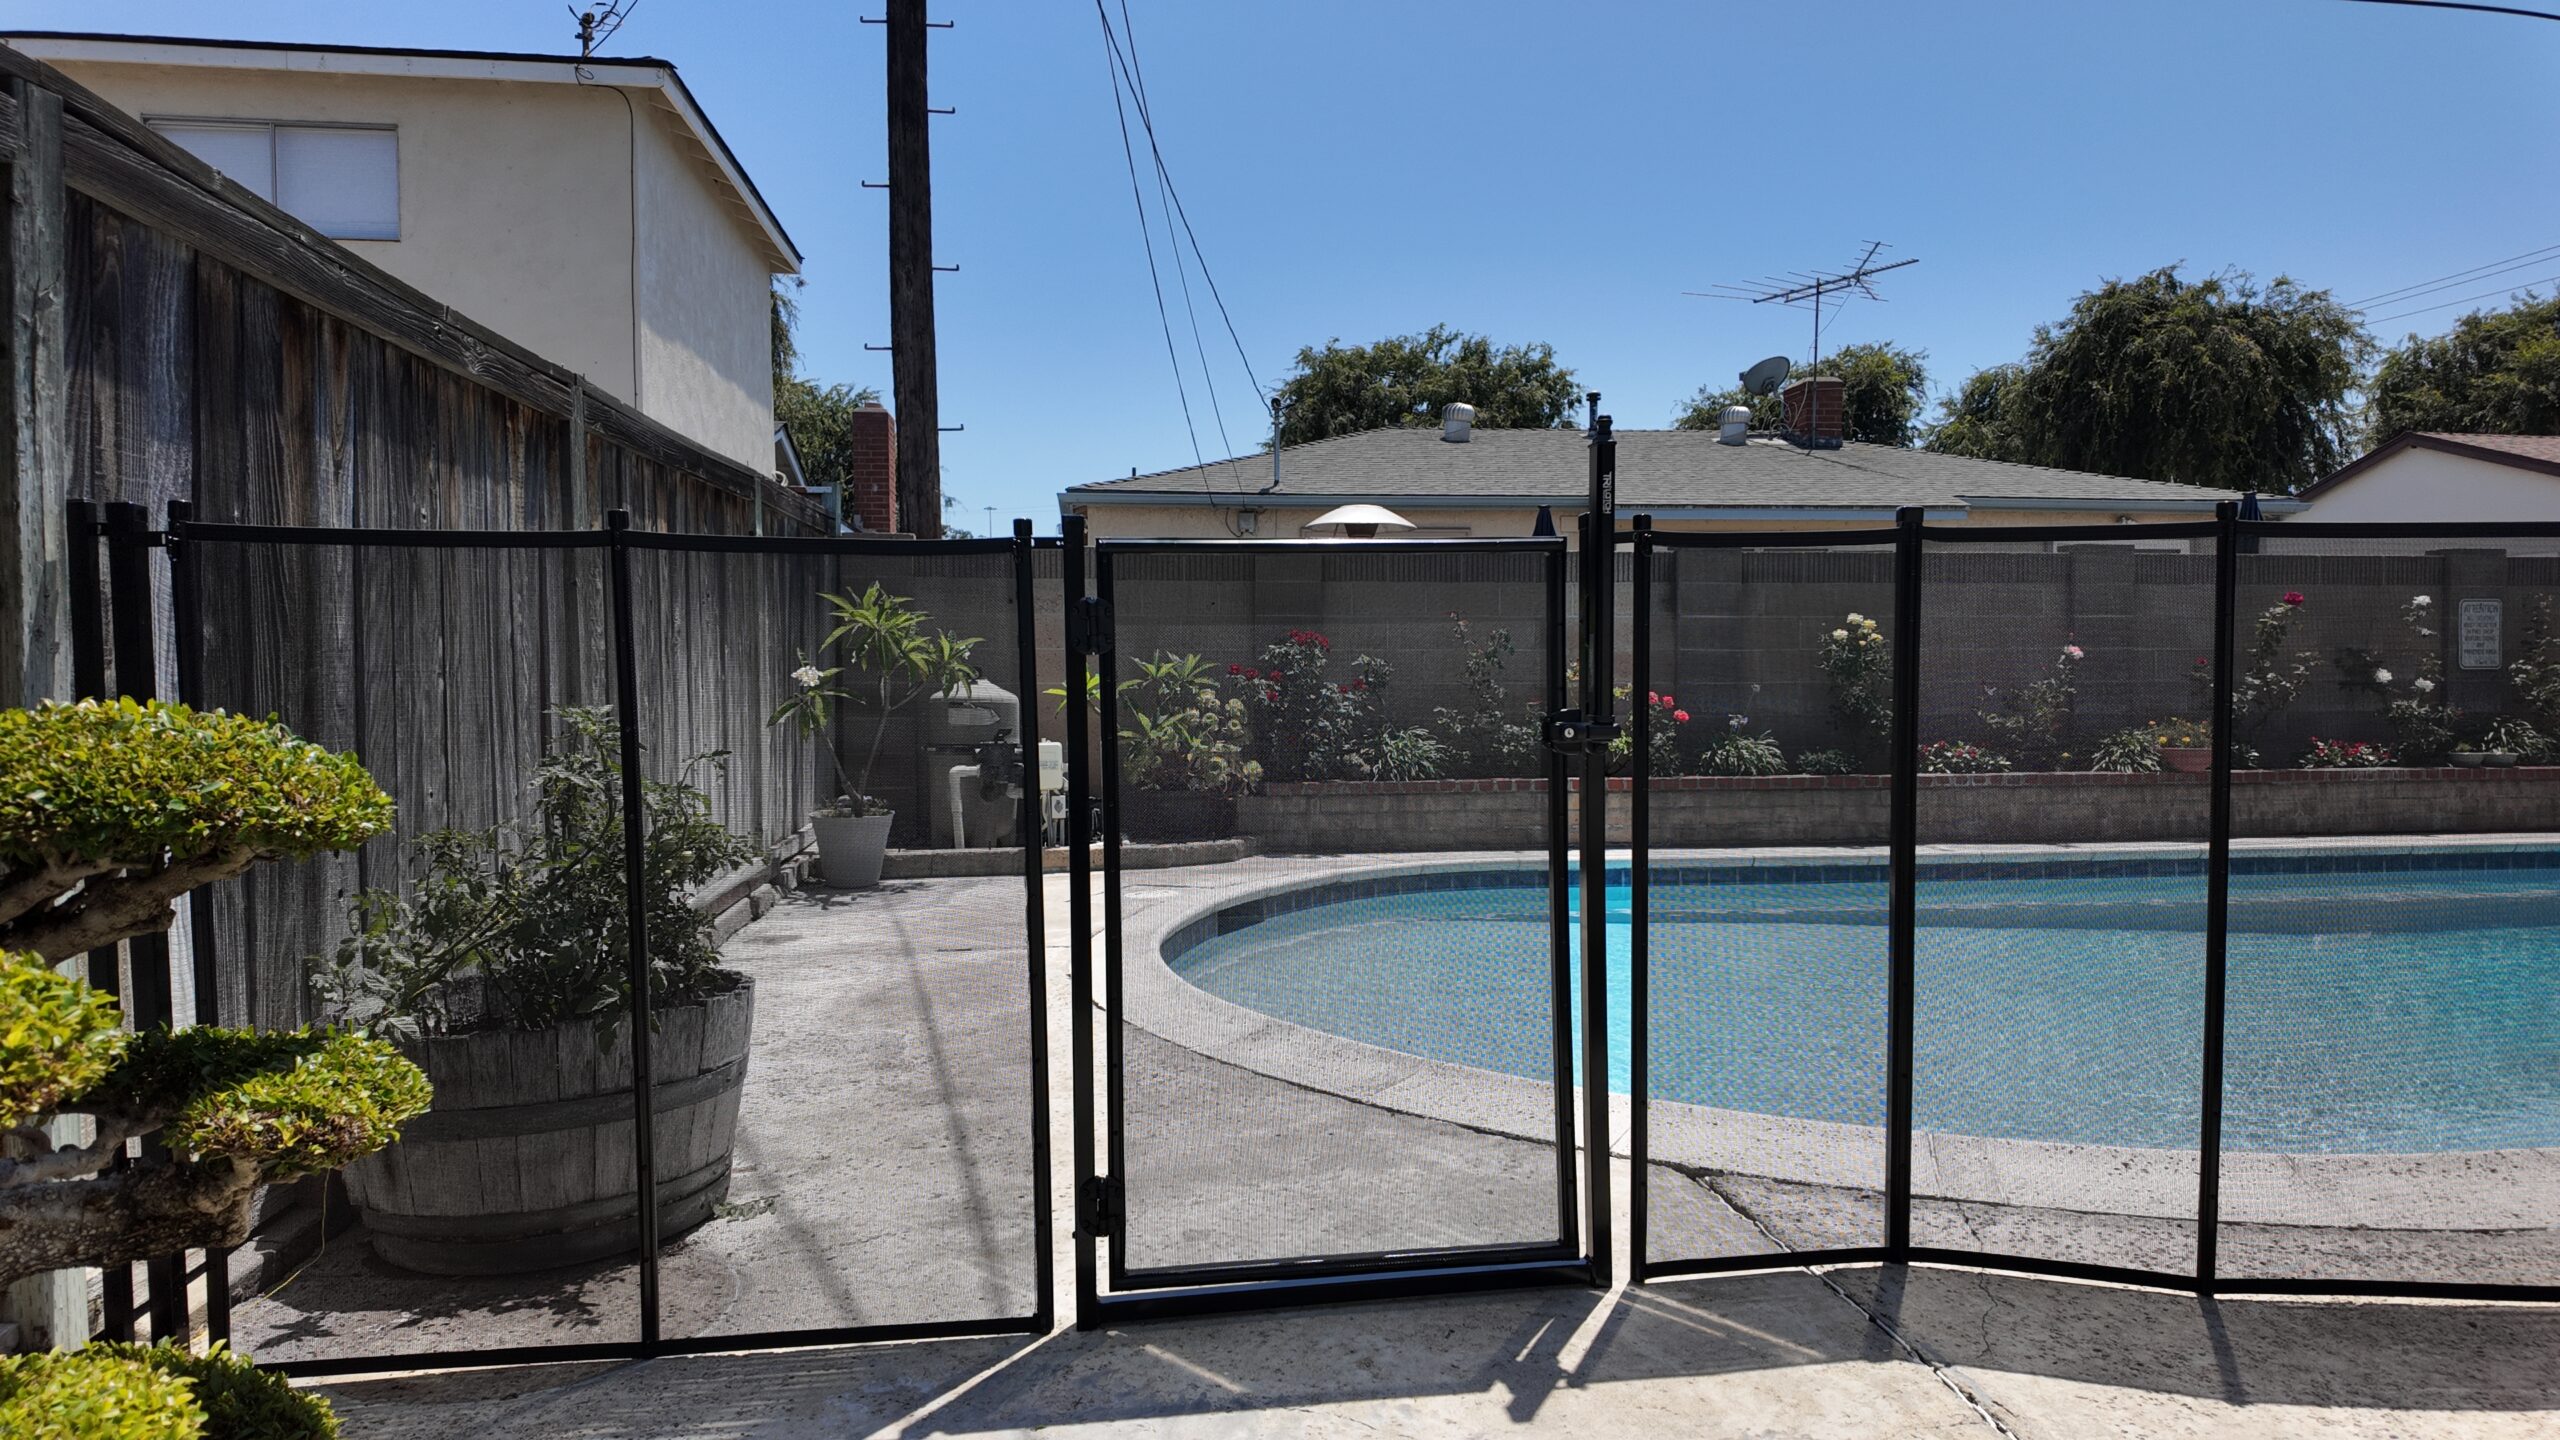
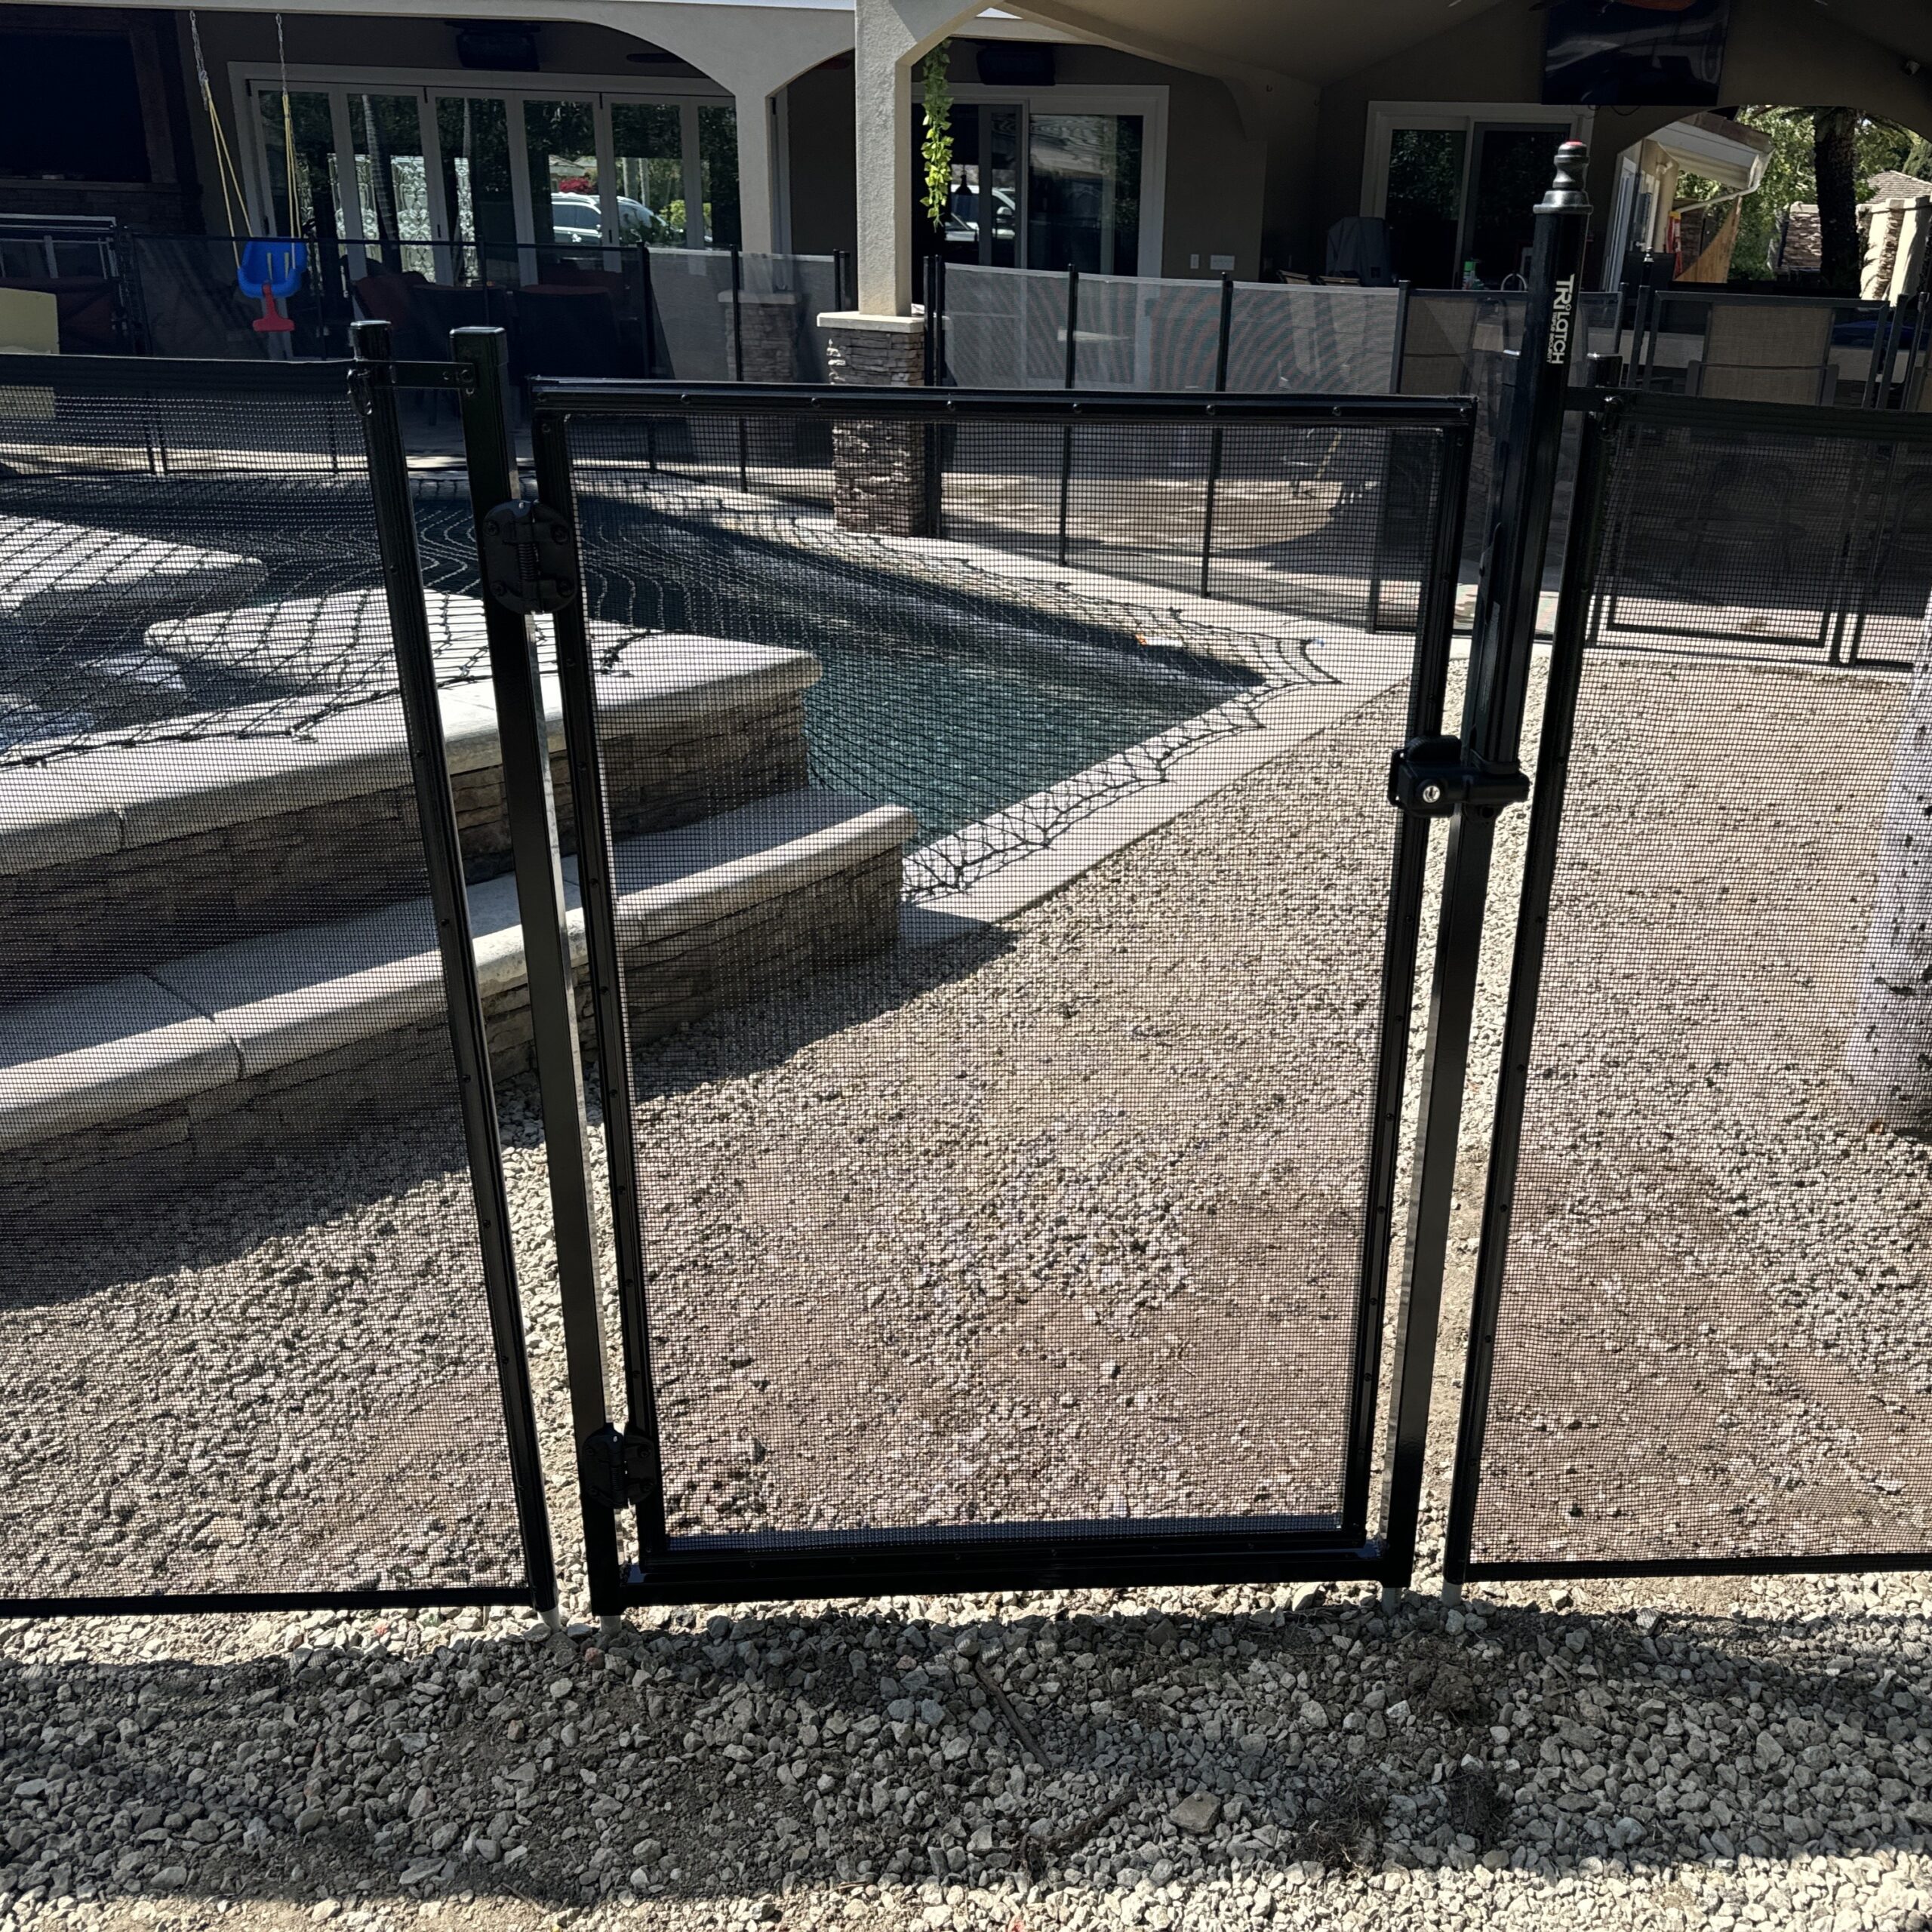
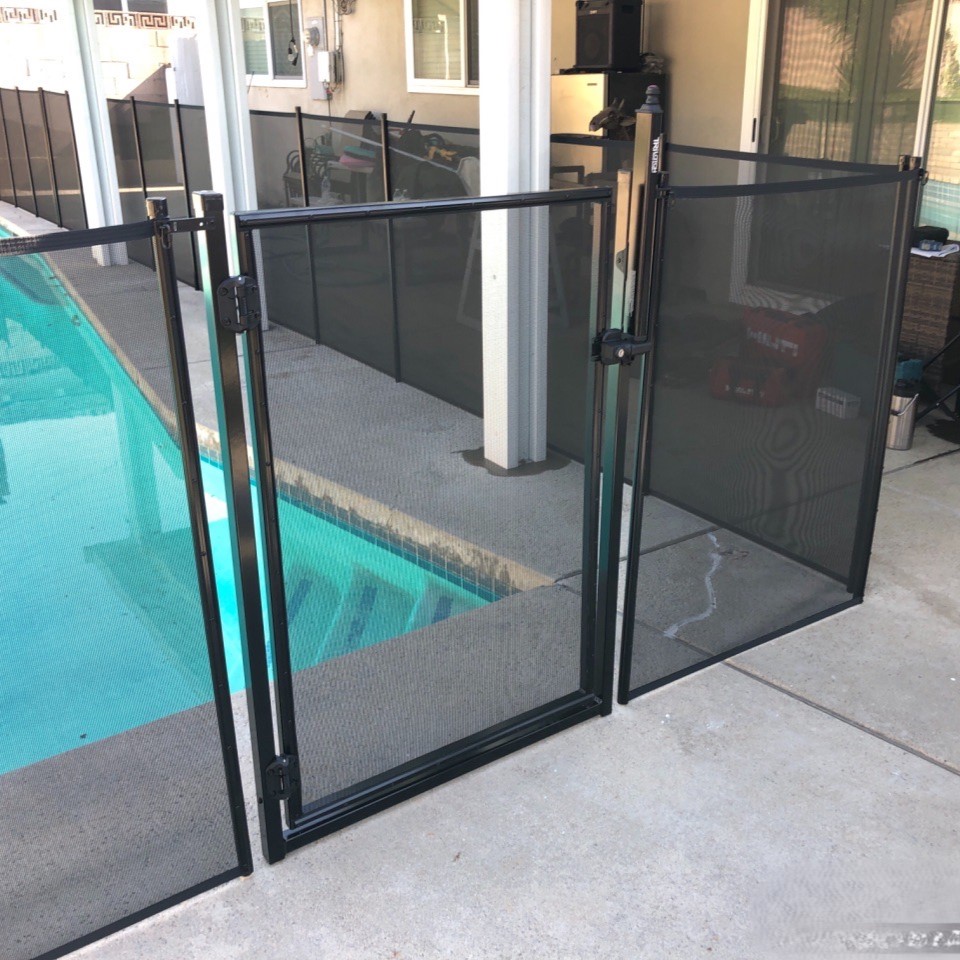
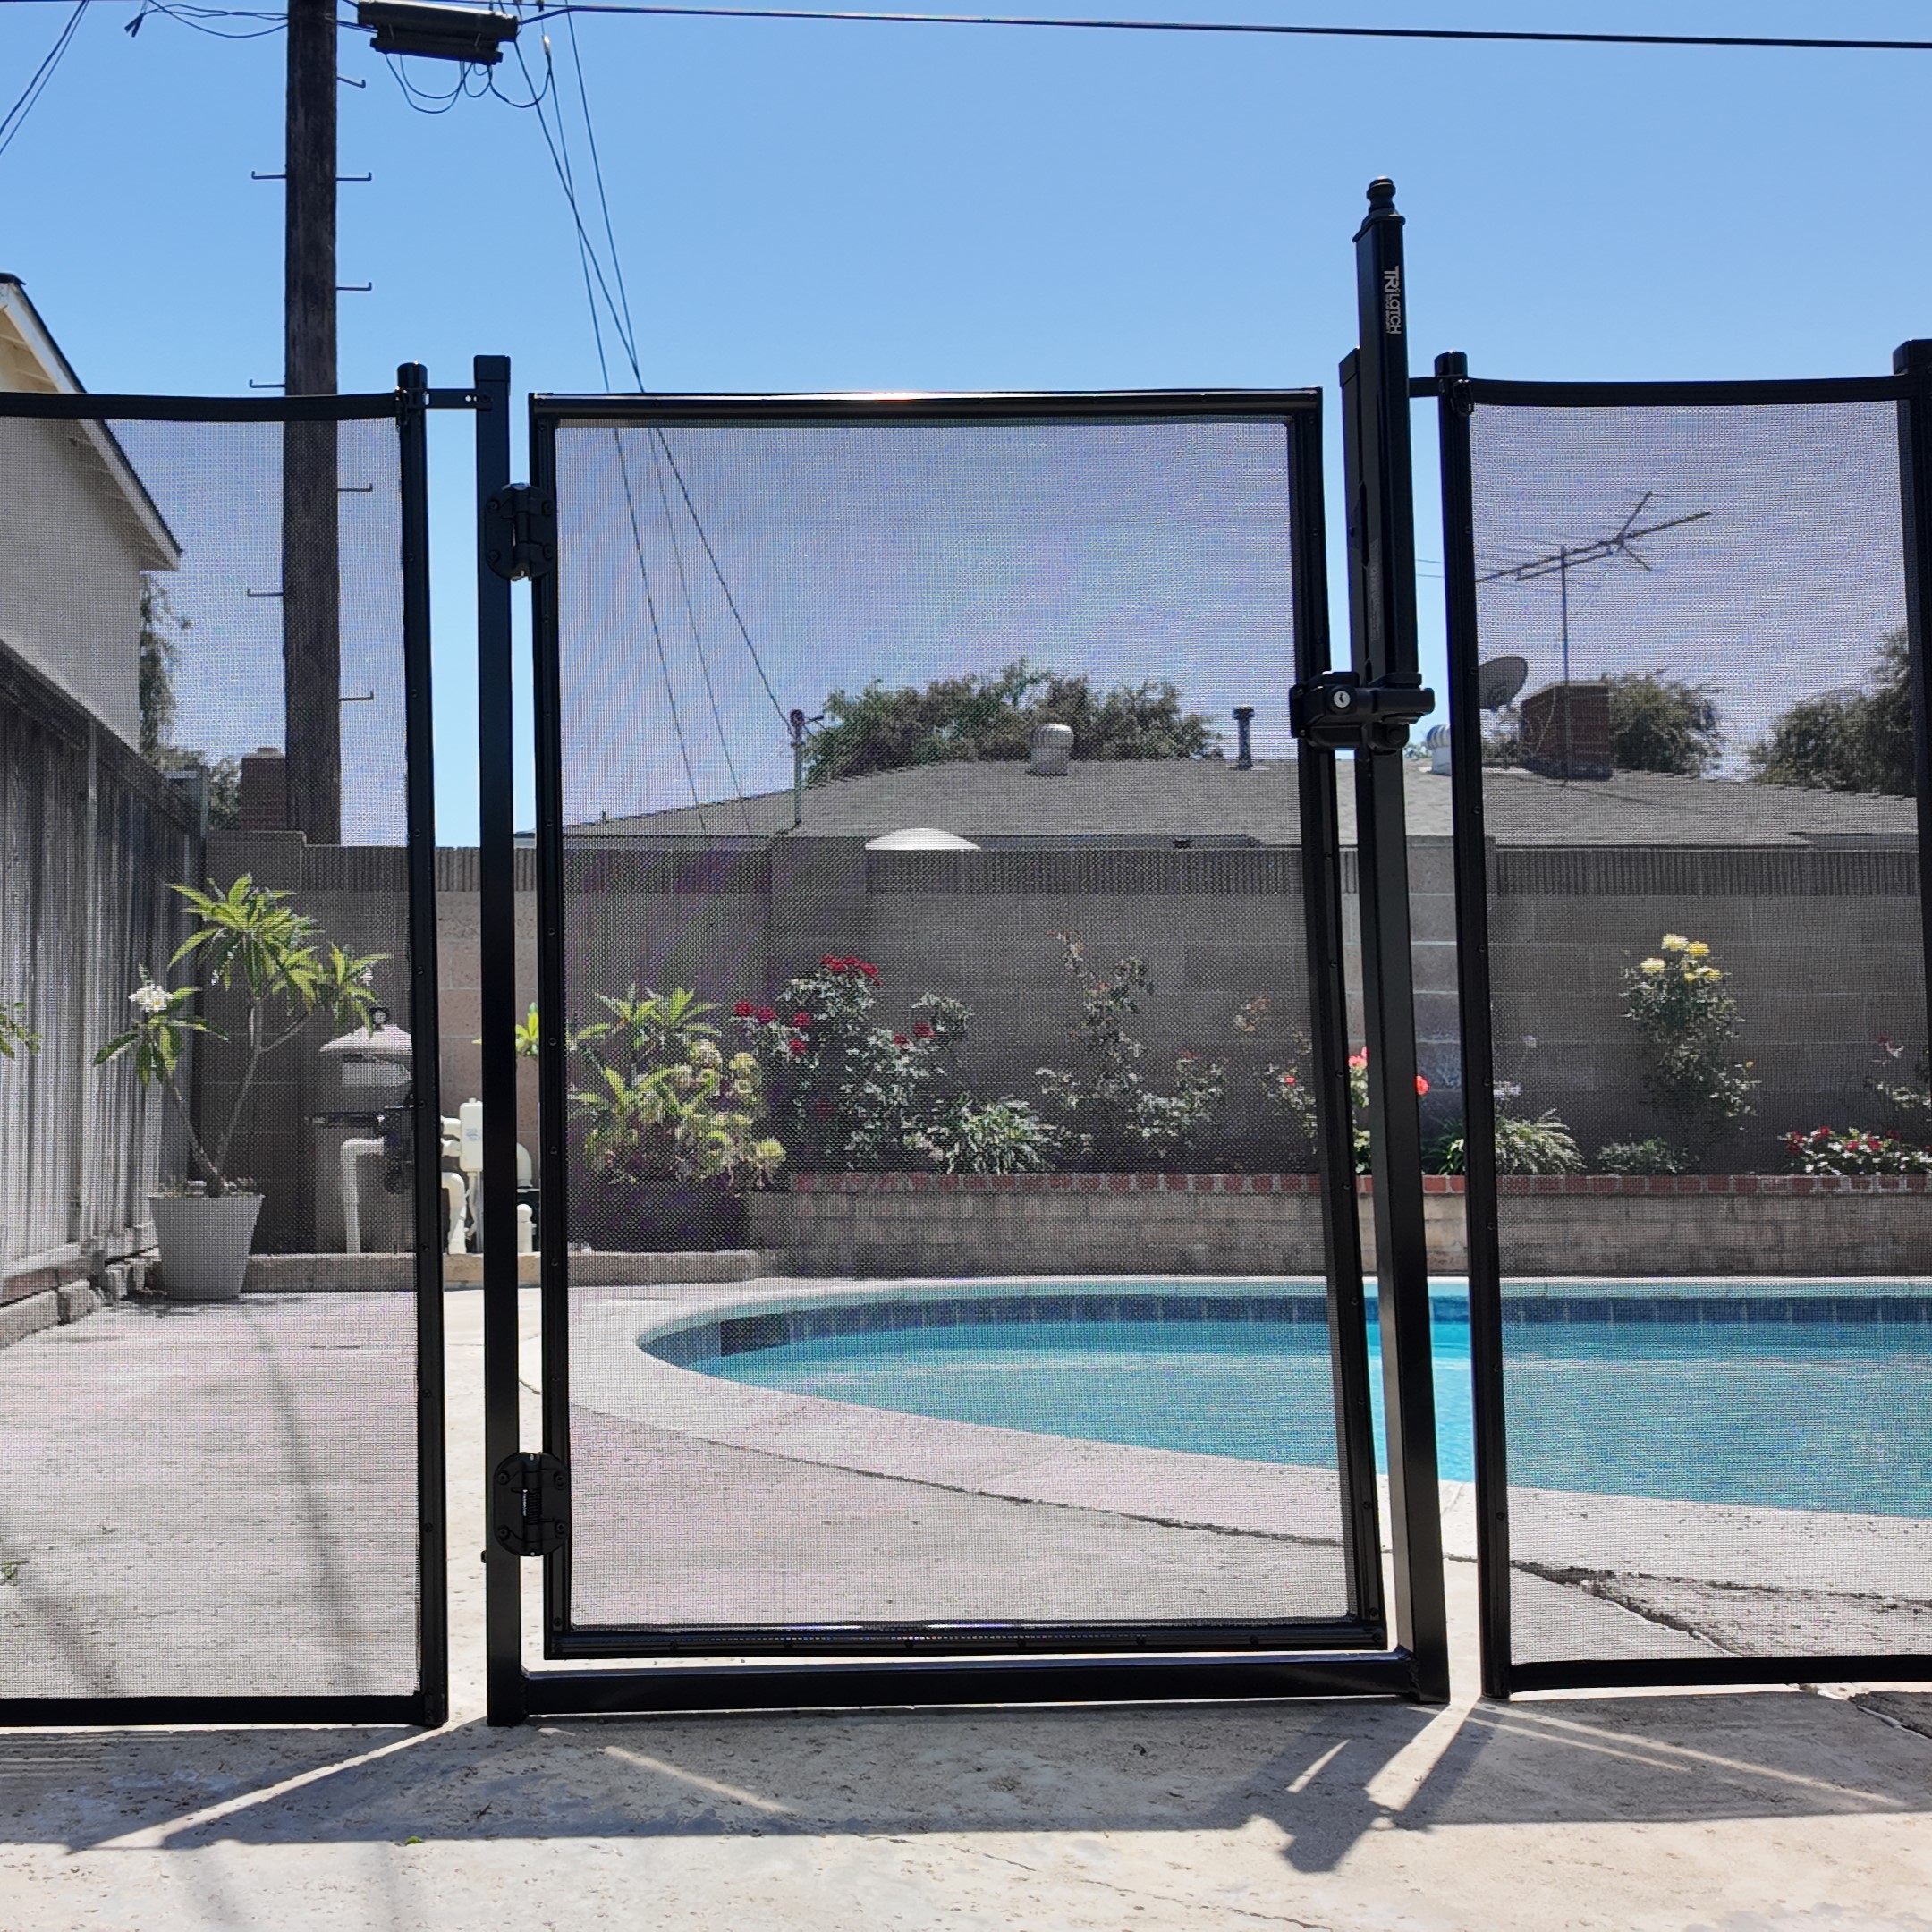
The U-Safe Pool Fence Gate Kit offers an innovative and easy-to-install solution for pool safety fences. Designed for All-Safe’s Classic Peg Style Fence. Our pool fence and gate system is perfect for DIYers and professionals alike. Its durable U-shaped exoframe provides enhanced stability, ensuring proper latch alignment without being affected by varying fence tension.
This reliable pool safety gate and swimming pool fence offer unmatched ease of use and peace of mind, making them a top choice for ensuring a secure pool environment. If you are thinking of installing a pool fence for kids with a pool gate, then this gate kit is the perfect pick.
No related Knowledge Base articles found for this product.
To accurately determine the amount of fencing required for your project, first calculate the total perimeter that needs to be enclosed. Once you have this measurement in feet, consult the chart provided below for guidance. Each section of our fence spans 15 feet, so dividing your total perimeter by 15 will give you the number of sections needed.
If your plan includes the installation of a Self-Closing Gate, remember that each gate occupies a space of 3 feet. Therefore, you should subtract 3 feet from the total fencing length to accommodate the gate. This adjustment ensures that you purchase the correct amount of fencing material, avoiding unnecessary expenses and ensuring a seamless installation.
| Feet of Fence Needed | Fence Sections Needed |
|---|---|
| 1-15 | 1 |
| 16-30 | 2 |
| 31-45 | 3 |
| 46-60 | 4 |
| 61-75 | 5 |
| 76-90 | 6 |
| 91-105 | 7 |
| 106-120 | 8 |
| 121-135 | 9 |
| 136-150 | 10 |
| 151-165 | 11 |
| 166-180 | 12 |
| 181-195 | 13 |


